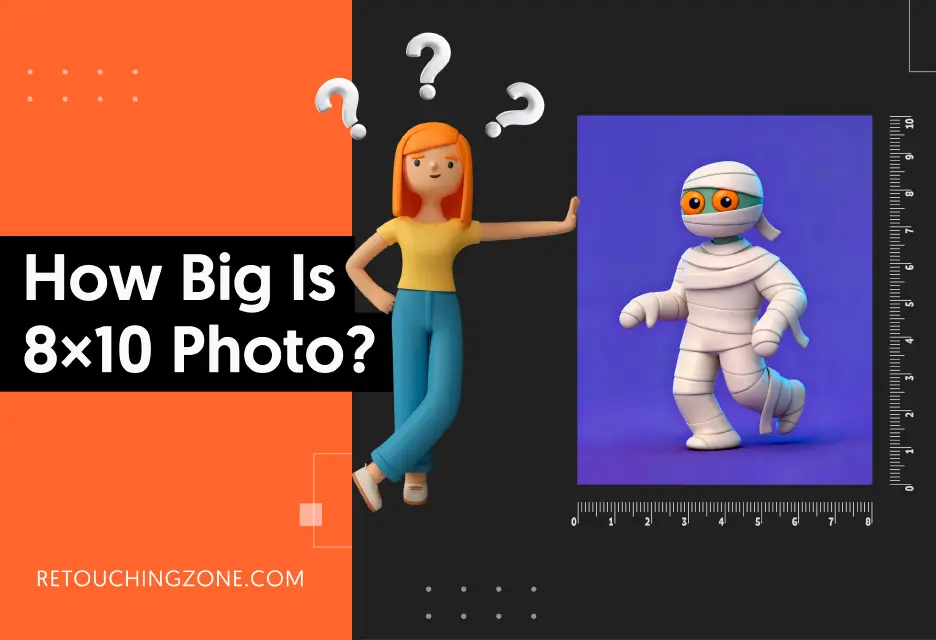
Whether you are a photo enthusiast, interior designer, or just a curious person who wants to fill up your wall with your favorite pictures, no photo image will be able to provide you with as classic a vibe as the 8×10 photo size. Knowing ‘How Big Is 8×10 Photo size’ is simple. This size photo can be easily captured with a digital camera, smartphone, or other media as well. If not, you can crop it in a 4:5 ratio to make it fit the frame. But whichever way you follow, knowing the height and width only won’t serve your purpose.
You’ll need technical details and much more to get the perfect output. And that’s where we stand with you. Follow this guide to gather everything you need to know about the 8×10 photo size, including multiple converted measurements to centimeters, pixels, and more. Learn about the importance of aspect ratio, practical printing tips, and other key details to create a final output that matches your imagination.
Have a Quick Glance: Know how big is 8×10 photo size

Undoubtedly, the measurement of an 8×10 photo size is 8 inches by 10 inches. But, depending on the photographer’s frame, the height and width can be interchanged. The photo orientation can thus be both horizontal or vertical/ portrait or landscape. Let’s take a look at the exact converted size of 8;10 photo size.
| Measurement Unit | Dimensions |
| Inches | 8″ × 10″ |
| Centimeters | 20.32 cm × 25.4 cm |
| Millimeters | 203.2 mm × 254 mm |
| Feet | 0.67′ × 0.83′ (approx.) |
| Aspect Ratio | 4:5 |
| Orientation | Portrait or Landscape |
8×10 Photo Size: What is the aspect ratio?
The math is simple here. To get the aspect ratio of an 8×10 photo size right, all you need to do is divide the numbers by two. And that’s how you will achieve the proper aspect ratio of an 8×10 photo, which is 8 ÷ 2 = 4 and 10 ÷ 2 = 5, resulting in a 4:5 aspect ratio.
Unfortunately, most DSLR images are captured in full-frame capture with a 3:2 ratio. In that case, you’ll need to crop the image to avoid distortion or uneven margins. But once you choose to go for this particular 4:5 aspect ratio, you’ll get the perfect natural framing for the human head. Frankly, this is one of the most celebrated causes all around the globe behind picking this certain frame, which helps not only decorate the house wall, but also ensures perfection for art prints and galleries.
Also read related articles
- How Big is a 4×6 Photo Size
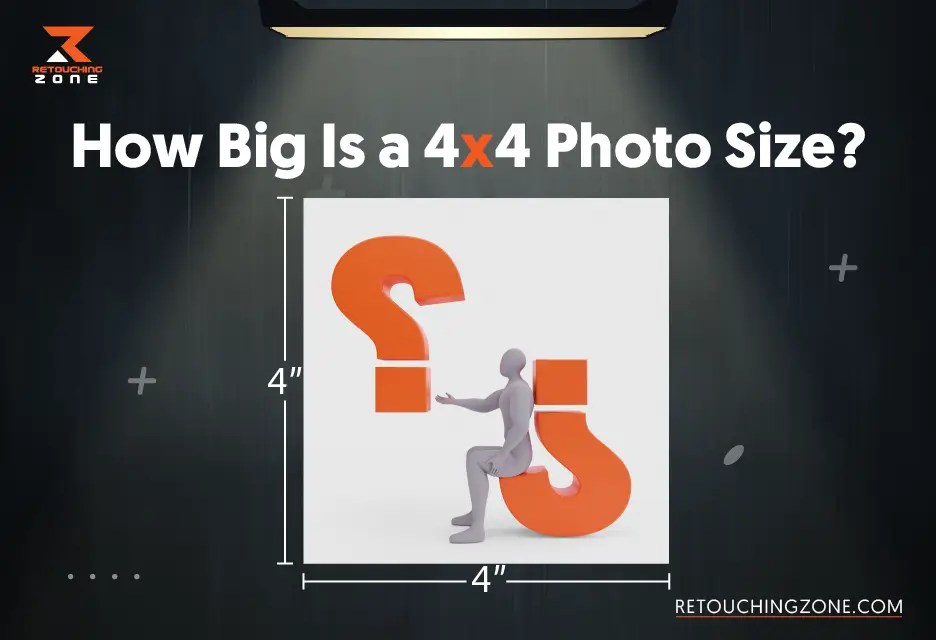
- How Big is a 4×4 Photo Size
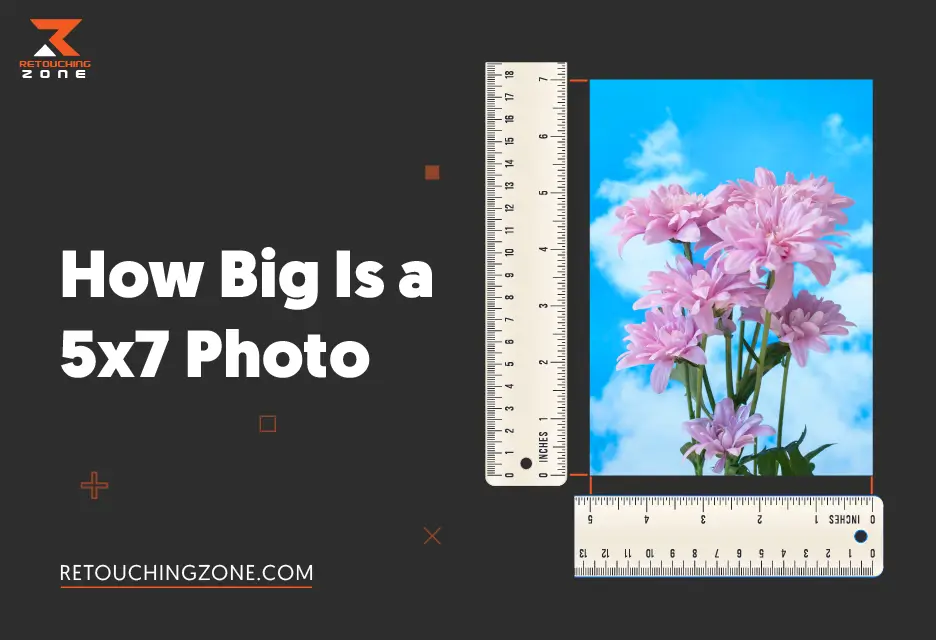
- How Big is a 5×7 Photo Size
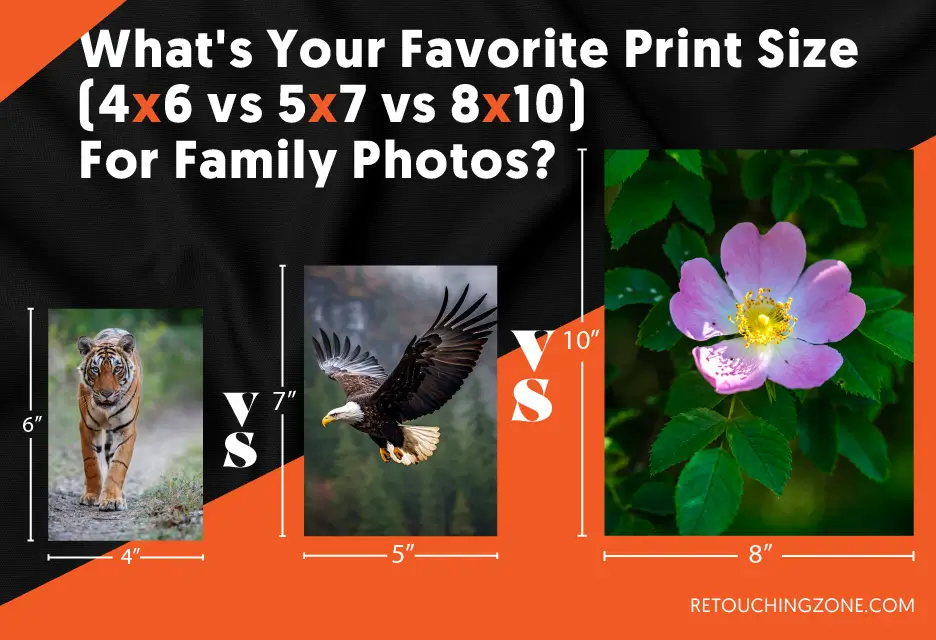
- What Is deferent : 4×6 vs 5×7 vs 8×10 Photo Size
How Many Pixels Should be set for an 8×10 photo Size?
To convert the physical size of an image to the digital size, you must convert the inches to pixels, too. Universally, it’s known and measured as DPI or PPI, which is dots per inch and pixels per inch. There are multiple types of pixels used for multiple purposes. For example:
- 72–96 PPI, which is used to ensure better display on web & screen
- 150 PPI, which provides a good-quality result for the printed photo
- 300 PPI, with which professional photographers generally do gallery prints
- 600 PPI, which is used for ultra-high resolution to ensure the finest scanning, archival prints, etc
For 8×10, the pixel measurement works in the following way-
![]()
| Resolution (DPI) | Pixel Dimensions (px) | Total Pixels (Megapixels) |
| 72 DPI | 576 × 720 px | 0.41 MP |
| 150 DPI | 1,200 × 1,500 px | 1.8 MP |
| 300 DPI | 2,400 × 3,000 px | 7.2 MP |
| 600 DPI | 4,800 × 6,000 px | 28.8 MP |
Now, the question is, which PPI should you use for the 8×10 photo size? You already know which pixel will serve your purpose. But universally, 300 DPI is considered the standard pixel amount to ensure the standard result. So, for an 8×10 photo size, if you want a better output, go for 2,400 × 3,000 pixels.
Picking Camera Resolution: Which one would be the best for an 8×10 print?
As we have already discussed, choosing 300 DPI is the perfect option for 8×10 print. And for 300 DpI, it’s best to aim for ~7.2 megapixels or higher. Nowadays, most smartphone comes with 12 MP or more. Think about the DSLR or the mirrorless cameras. They also provide 8 to 12 MP. So, without further thought, you can pick any smartphone or camera to shoot an 8×10 photo in better resolution.
Just keep one thing in mind that MP doesn’t set everything right for your picture. ISO, sharpness of your lens, focus, and many other elements influence the print quality. So, keep an eye on the other things too.
Difference Between 8:7 & Other Photo Sizes: Have a comparison
Just like the 8×10, other photo sizes also provide their unique pros and cons. To understand the perfect size to make your imagination come true, take a look at the comparison analysis below.
| Feature | 4×4 Photo | 4×6 Photo | 5×7 Photo | 8×10 Photo |
| Dimensions (Inches) | 4 × 4 in | 4 × 6 in | 5 × 7 in | 8 × 10 in |
| Shape | Square | Rectangle | Rectangle | Rectangle |
| Aspect Ratio | 1:1 | 2:3 | 5:7 | 4:5 |
| Best For | Instagram prints, scrapbooks | Standard prints | Portraits, family album, gifts | Professional portraits, Gallery prints, and framing |
| Cropping Need | Cropping may be needed. But only for rectangular images | Matches most DSLR and phone sensors | Slight cropping required | Requires cropping (3:2 or 16:9 images) |
| Typical Use | Decorative prints | Regular printing, Instant memories | Home décor, gifts | Studio portraits, Gallery exhibitions, Professional display |
Printing tips for 8×10: color, sharpening, profiles, and bleed
Printing top-quality pictures out of 8;10 is highly possible. But to ensure the final output is marvelous, follow these tips:
- Set the right color profile

Generally, most of the photo labs and printers use sRGB, and that’s the standard printing option. But if you want professional printing, go for Adobe RGB (1998). Besides, don’t forget to do the soft proofing by previewing the picture beforehand by applying the color profile.
- Sharpen prior printing

Sharpening pictures before printing always works. But don’t oversharpen the image. Specifically, for the glossy paper, sharpen the image less. And for the matte paper, sharpen the image slightly more before printing.

Do you want your picture to cover the whole frame, or want to keep the margin visible a bit? If you want the image to cover the entire frame, keep an extra margin or bleed while printing. In this case, add ⅛”–¼” extra image space around. And, if you are printing from a lab, tell them specifically how much space you want to keep. That’ll make the process easier.
- Soft proof and test
Whether you are printing wedding photos or art prints, color plays a crucial role in every bit of it. To make everything work well, check the color before batch printing. This’ll save your money and time.
How well 8×10 photo size fit into frames
8×10 is considered one of the most used and universally standard photo sizes for all frames. But, well, some mats and borders may cut the slight edges of the picture. Take a peek to understand it better:
| Framing Option | Detailed Analysis | Best Practice |
| 8×10 Frame (No Mat) | Fits an 8×10 photo size perfectly. Some portion can get cut near the edges. | Softproof the image area, as most 8×10 frames show approximately. 7.5×9.5 inches of the image. |
| 8×10 Frame (With Mat) | A thin border/mat gets placed inside the frame, which results in covering the edges slightly. | Keep the mat opening a little bit smaller to make the image properly visible. |
| Larger Frame (e.g., 11×14 with Mat) | Due to its bigger size, this frame displays the entire picture exactly. | Place the image in the center of the frame by choosing a customized mat or a mat with an 8×10 opening. |
| Gallery or Art Display | Professionals tend to use this frame to use wide mats. | You can choose any frame size or style as per your preference. Best to pick 1.5″–3″ wide mats accordingly. |
Common uses of 8×10 prints
Generally, professionals pick an 8×10 photo size to ensure that all the tiny details of the image are visible in the frame. It’s easier to display too. What else can you use this frame for? Have a glance:
Portraits and headshots — 8×10 photo size keeps the focus on point and makes the headshot natural and vibrant. That’s why most of the studios use this size.

School and senior photos — Due to its elegance and professional outlook on the headshot, photographers prefer it for their school photoshoot, too.

Art prints and limited editions — This photo size gives a classy aura and detailed view of the subject, which makes it appropriate for the gallery or exhibition.

Archival/photo documentation — Large-format negatives of 8×10 give the highest fidelity, for which it’s historically known to be used for archival purposes.

Did You Know: The 8×10 photo size started with Film Cameras?
It’s real! This photo size came from old film cameras. Back at that time, there were no digital cameras. Photographers used to take pictures not on rolls, but on sheets of film. And those sheets had a specific size- 8×10. And that’s where the 8×10 name originally originated from. At that time, this size was picked for its professional and detailed output.
Here’s a sneak peek for you regarding how detailed this photo size is compared to everything else:
| Camera Type | Film Size | How Big It Is | Image Quality | Who Uses It |
| Phone / Digital Camera | Very small sensor | Tiny | Good (for everyday) | Everyone |
| 35mm Film Camera | About 1×1.5 inches | Small | Decent detail | Hobby photographers |
| 4×5 Film Camera | 4×5 inches | Medium | Very detailed | Studio / pro photographers |
| 8×10 Film Camera | 8×10 inches | Huge | Extremely detailed | Museum photographers |
Practical Tips on 8×10 Photo Size Cropping and Upscaling
- My image ratio isn’t 4:5. Now what to do? Don’t auto-stretch or distort the image to fit. Just use Photoshop or Adobe Lightroom to crop it to 8×10.
- My file size is small. How to upscall? It’s easy. There are so many software programs around that will help you to increase your photo resolution which will match to 300 DPI. But to get the best result, going for the high-resolution photo file is the best option.
- My image is kinda huge in size. How much should I downscale it? For a huge image, downscale the pixel to 2,400×3,000 px for 300 DPI. This will simultaneously make your image sharp and clear the noise.
Common mistakes that you can avoid
The common mistakes that people make specifically for the 8×10 image size are the following:
- Picking and saving images in the wrong color space. To avoid making this mistake, softproof the image before printing, and if you are using the lab, send them the right color ICC/recommendation you want.
- Choosing the Low-resolution files to print. If the original files are of low resolution, you can’t expect better output from them. So, choose a file with better resolution, cause a 72-PPI file won’t give you crisp and sharp output in 8 or 10 frames.
- Not checking or proving the mat size. As part of the photo in 8×10, the photo size gets cut by the mat. Be sure which type of frame and, according to its size, which size of mat you want to place in the frame.
Cost and lab considerations
Depending on multiple sizes, 8 and 10 can seem much inexpensive than the large prints. On the other hand, it’s a bit expensive compared to the other small sizes. And the price varies based on the blees, paper, pixel, and other things. You can print it at home, too. But if you are going to print your 8×10 photo size on any lab and ensure your preferred margin, ICC profile, and paper type beforehand, the cost can be limited.
FAQ
-
What is the perfect pixel for an 8×10 photo?
At 300 DPI, an 8×10 photo size requires at least 2,400 × 3,000 pixels for perfect sharpness and a detailed view. Otherwise, a lower resolution may blur your image and lessen the image quality.
-
Can an 8×10 photo be printed from a smartphone?
Of course. Most of the modern smartphones are now capable enough to capture and produce perfect prints from images. They have enough megapixels. You just have to keep an eye on the 4:5 aspect ratio.
-
Which paper should I choose for 8×10 photo prints?
You can use glossy or matte paper for an 8×10 photo print. But be cautious, though. While choosing color accuracy and margin, the paper type can influence the final output.
-
Is cropping needed for an 8×10 photo print?
As most of the camera sensors don’t align with the 4:5 aspect ratio, you may need to crop your image before printing. But while doing so, always keep your subject at the center of the frame.
-
Which frame would be the perfect fit for an 8×10 photo size?
Go for a frame that has an 8×10 label. And don’t forget to check the mat opening, as it can cover the image edges slightly.
Final thoughts
Considering How Big Is 8×10 Photo size, all the pros, cons, and comparisons, you can call 8×10 as one of the most popular and detailed print dimensions, which goes perfectly with gallery exhibitions, portraits, home decor, and many more. By balancing the margins and paper, you can make it a perfect gift item too. This frame will provide you with perfect tiny details of the picture, and that too in a natural way. It’s large enough to focus on the sharpness and fit into the walls perfectly. Are you an artist, photographer, or just a person who wants to make the wall decor spontaneous? Combined all the facilities, if you want to have a value and high-impact photo presentation, an 8×10 will neatly serve your purpose.