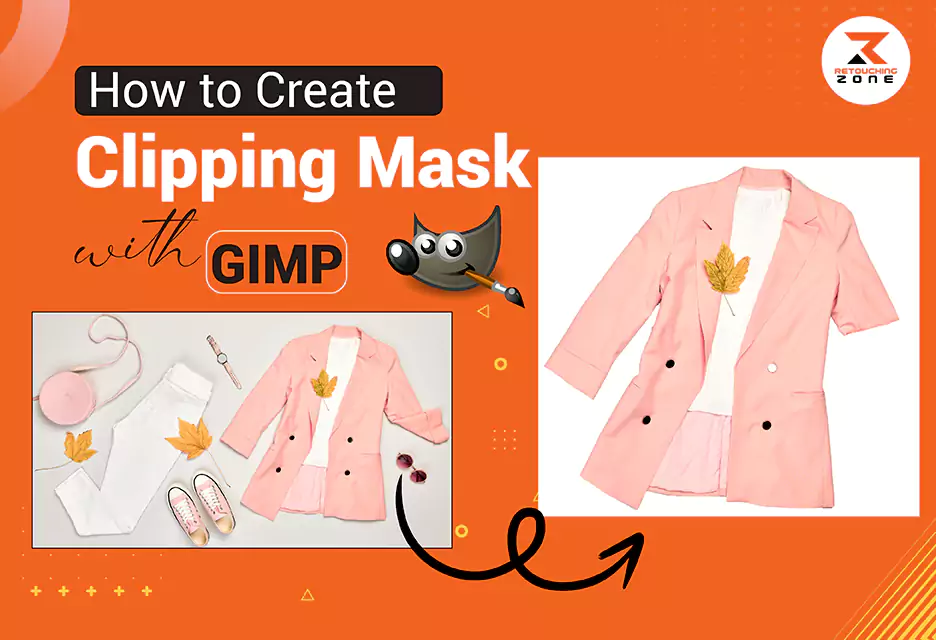
Ever think of using GIMP for masking? Yes, you heard me right! You can create clipping mask with GIMP. GIMP is a popular software which is equipped with this clipping function. You can hide or reveal parts of a layer without permanently altering the original image. This technique is especially useful for combining multiple photos and tasks like selective adjustments and composite images. You won’t have to compose each pair of photos individually. This article covered the right way to use this free app to create perfect clipping masks step by step.
What Is GIMP?
GIMP is a free and open-source image editing software. Graphic designers, photographers, and illustrators use this powerful image processing program for various types of image manipulation tasks.
This free-based software offers a wide range of customization options and 3rd party plugins. This raster graphics editing software lets you create layers, filters, and masks.
The clipping mask function is available in GIMP for 2.10 or newer versions. You can apply a layer mask to a layer group and make a clipping mask. The newer version gives you flexibility to cut any shape into a layer.
What is Masking in GIMP?
A clipping mask is a powerful tool that enables you to hide some portions of an image or layer within a boundary without affecting the outside border areas. You can also use this non-destructive action to make the crucial regions visible. It comes in handy for both simple and complex effects.
With clipping masking, you adjust the shape, texture, or color of the selected area through a group of layers without affecting the original image. It is highly versatile to blend multiple selected areas of one or several photos across different layers.
How to Create a Clipping Mask with GIMP?
Though creating a clipping mask in this image editing software is not exactly the same as in Photoshop, the basics are almost similar. Here is how you can create a clipping mask with GIMP in step-by-step.
Step:01—Make a New Project
Go to the top of the main software window and select File > New to open a new project or image. Alternatively, press “Ctrl+n” on your keyboard. A new pop-up box named “Create a new image will open.”

Step:02—Define the Dimensions
Enter your preferred image dimensions and resolution. Define your canvas’s exact pixel size and aspect ratio. You can also choose the image size and other advanced options. This will help you maintain consistency across all images. You won’t have to worry about unwanted scaling or cropping.

Step:03—Choose a Background Color
You can also choose the background color of your photo after selecting the new project option from the menu bar. Navigate to the main menu bar area and choose Tools > Paint Tools > Bucket Fill. The shortcut key is “Shift+B.”
Double-click on the Fill Tool icon and choose your preferred background color. The background color will determine the type of fade that happens during the gradient setting process.

Step:04—Import the Image
After selecting the new project, choose one or multiple images and combine them into a group of layers. Select File > Open as Layers and choose your preferred photos to open as layers on the existing project.

Step:05—Select Your Layers
Once you select all the images, hover over the layers panel. Categorize the pictures into one-by-one layers. Maintain the sequence based on the editing requirements.

Step:06—Create a New Layer
Navigate to the bottom area of the layer panel. Tap on the “Creating a new layer group” option to create a layer group folder. Tap on the folder two times to change the name based on your preference.

Step:07—Add Layer Mask
After organizing all the layers into a single folder, apply a clipping mask to the layer. Navigate on the left-hand side of the workspace and tap on the selection tools. Select your preferred shape and use it on the particular layer.

Step:08—Create the Clipping Mask
Hover over to the Layer Group section and double-click on it. Select the “Add Layer Mask” option from the drop-down list.
A new option will pop up, named “Initialize Layer Mask To.” Choose your preferred selection option and tap the “Add” icon. Now, the system will generate a clipping mask based on the selected shape.

Step:09—Merge the Layers and Edit the Image
Pay close attention to this step. Choose each image individually and hit the “Add Layer Mask” icon. Also, select your preferred color while the selected portion is in the masking state.
Once you pick the right hue, use the correct gradient to make it compatible with the merged images. GIMP also gives you flexibility to determine what portion of the photos will disappear into the gradient by applying a clipping path.

All pictures will be layered as a single one as you merge them into a single group. Editing them together and putting them into the same layer will be easy. Ensure to activate the Gradient Tool to apply a gradient fill on the active layer. Adjust the gradient’s opacity from the Gradient Options Panel.
Choose Tools > Transform Tools > Move. Adjust the position of the edited image using the move tool.
Step:10—Save the Image
Once you are done editing the image, save the edited content. Navigate to the top menu bar area and select File > Export As. When the file explorer window pops up, navigate to the directory to choose your desired destination.

Use the “Select File Type” option to manually specify the file type from the “Export As” dialog box.
FAQs
-
Is creating clipping mask in photoshop is same as in GIMP
Both computer-based photo editing software have clip layer functions to apply layer groups and layer masks. However, Adobe Photoshop has a more powerful “Create Clipping Mask” function than GNU Image Manipulation Program (GIMP).
-
What is the clipboard mask in GIMP?
When you cut or copy a picture or layer, it will be stored in the clipboard mask. You can apply it to another editing area. This saves you time and effort as you won’t create the same masking again.
-
How do I use the quick mask in GIMP?
After creating a new image or document, choose the QuickMask mode from the picture window panel. Use your preferred drawing tool and start painting over the particular area of the image or document to create a masking. Turn off the QuickMask by pressing the “Shift+Q” button.
-
How do import and export images in GIMP quickly?
Use the shortcut key “Ctrl + Alt + O” for importing and “Ctrl + Shift + E” to exports images in GIMP.
-
Which one is better for clipping mask: GIMP or Photoshop?
Adobe Photoshop is slightly better GNU Image Manipulation Program (GIMP) for clipping mask as you can create and manage clipping masking more easily and efficiently. A person has better control over layer visibility and effects.
Conclusion
Though GIMP is not as powerful as Adobe Photoshop, it is more than enough to make clipping masks easily. You can use this versatile clipping function to produce a wide range of graphic content. We have outlined the right way to create a clipping mask with GIMP in simple steps. Practice a few times to get better on the clipping tool. Zoom in the image appropriately to select your preferred area.