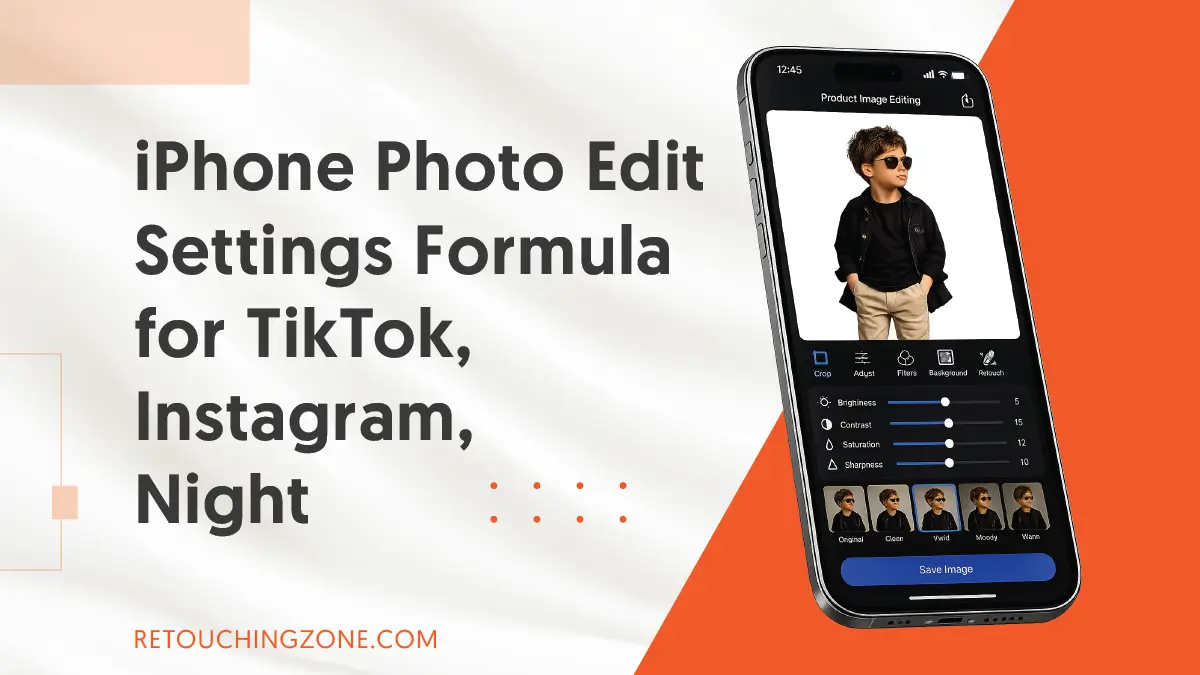
Stop dragging sliders abruptly. Apply these iPhone photo edit settings formulas, so you get consistent results without guessing. And these apply to TikTok, Instagram, night/dark, indoor, and even nature & landscape.
In fact, all of these basically imply the lighting and color conditions in your photo, which set the stage for your photo to go viral.
Keep reading, you’ll find this blog is an opportunity to have some copy-ready formulas while also learning to get the best out of the iPhone photo app and filters. Let’s get started!
What is the iPhone Photo Edit Settings Formula?
This formula brings together a list of essential image editing parameters with specific configurations, which collectively contribute to the enhancement of iPhone edit photos. For example, exposure, contrast, brilliance, highlights, shadows, brightness, and sharpness.
You randomly drag the sliders of these parameters back and forth until the image looks right or is exactly how you want it. But what if you could get a numerical value for each of these determinants in advance, so that you no longer have to rely on your own guesses?
This settings formula is the answer.
The advantage of this is that it saves time and allows you to make the desired edits without ruining the overall look of the image.
iPhone Photo Edit Settings Formulas for Different Styles

Here are formulas for TikTok, Instagram, Night/Dark, Indoor, and Nature styles you can copy and apply without ruining your photos.
Viral TikTok Favorite Formula
This is the famous formula for achieving the golden-hour look for TikTok, which works effectively for shots taken in natural daylight.
| Two-step trick: First, apply all values below at full strength. Then, drag the Exposure and Brilliance sliders to the very beginning and lower them to 0. |
The Settings
- Exposure: +100
- Brilliance: +100
- Highlights: -35
- Shadows: -28
- Contrast: -30
- Brightness: -15
- Black Point: +10
- Saturation: +10
- Vibrance: +8
- Warmth: +10
- Tint: +39
- Sharpness: +14
- Vignette: +23

Configuration for Instagram Aesthetic
For Instagram photos, you should focus on warm, bright, low-saturation, and quality tones, which work better for street style and architecture shots.
The Settings
- Exposure: +10 to +15
- Brilliance: +20
- Highlights: -25
- Shadows: +15
- Contrast: -15
- Brightness: +10
- Black Point: +5
- Saturation: -10
- Vibrance: +15
- Warmth: +12
- Tint: +5
- Sharpness: +15
- Definition: +10

Night/Dark Settings Formula
Night shots taken on an iPhone need to soften the harsh city lights, remove digital noise, and overall, add a somber atmosphere to the image. And this is exactly what Dark Formula does with great efficiency.
The Settings
- Exposure: -10
- Brilliance: +30
- Highlights: -45 to -60
- Shadows: +25
- Contrast: +15
- Brightness: -5
- Black Point: +15
- Saturation: +5
- Vibrance: +20
- Warmth: -10 to -15
- Tint: +10
- Sharpness: +20
- Noise Reduction: +15

Formula for Indoor Photos
Indoors, you need to be mindful of warm artificial light, shadows, and the bright, natural light of a windowed studio. This formula addresses all of these and performs well for home interiors, cafes, and flat-lay portraits.
The Settings
- Exposure: +15 to +20
- Brilliance: +35
- Highlights: -20
- Shadows: +25
- Contrast: -10
- Brightness: +10
- Black Point: +8
- Saturation: -5
- Vibrance: +12
- Warmth: -8 to -12
- Tint: +5
- Definition: +12

Nature & Landscape Formula
When taking nature photos, this formula prevents the iPhone camera from making greens and blues look overly artificial and neon. As a result, deep greens are deeper, earthy colors are richer, and bright skies are in balance with dark landscapes.
The Settings
- Exposure: -5
- Brilliance: +15
- Highlights: -30
- Shadows: +10
- Contrast: +12
- Brightness: -5
- Black Point: +10
- Saturation: -8
- Vibrance: +25
- Warmth: +8
- Tint: -5
- Sharpness: +10
- Definition: +20

Applying a Formula to Batch Photos
For editing multiple photos, you don’t have to apply the formula to each photo separately. Suppose you have applied the formula to one photo. Then follow these steps:

- Tap the three-dot menu in the top right corner inside the built-in Photos app of iOS
- Select “Copy Edits”
- Now go to your next photo
- Then tap the three-dot menu again and click “Paste Edits”
- Repeat the above steps for each photo
iOS Phone Camera Settings Before Shooting
The following setting adjustments before the photoshoot will be helpful for your next edit photos on iPhone:

Settings App
- Go to your iPhone’s Settings app
- Scroll down and find Camera
- Select High Efficiency (HEIF) in Camera Capture
- Turn on Pro-Raw & Resolution Control. Set Pro-RAW to Pro-RAW Max (up to 48 MP)
- Toggle on Exposure Adjustments and Pro-Raw & Resolution Control
- Turn on Grid and Levels in the Composition tools
On-Screen Configuration

- Make sure there is no cutout above the RAW MAX icon in the top right corner of your screen.
- Tap the arrow icon at the top of the screen
- From the dropdown menu, tap the circle with the (+/-) sign, slide it down to -0.3 or -0.7.
- While taking the photo, tap and hold on the main focal point of your subject until a yellow box with “AE/AF LOCK” appears above it. Once it’s locked, you’ll see a small sun icon next to the box.
- Now, touch your finger on the screen and slide it down slightly to adjust the exposure.
Pro-tips
- Do the photoshoot with RAW Max turned on only for your landscape, editorial, and fashion photos, as these files tend to be quite large (around 50-75 MB per image).
- While zooming, stick to using your phone’s physical lenses, where the 0.5x option is the best for the trendy Instagram/TikTok style.
How Light and Color Affect the Photo’s Look

No matter what platform you’re shooting for, the look of your photos depends a lot on lighting and color. It’s important to bring out the highlights and bring out the details in the shadows to make the bright areas pop.
You’ll see skin as neon or orange when the saturation is high, and the vibrancy is low. Indoor lights and sunsets need a warmer color cast, while cloudy days need a bit more cool color.
Using Filters and Presets to Achieve the Formula

You can achieve iPhone photo edit settings for best quality by using appropriate filters. For example, first adjust the highlights, exposure, white balance, and blur. Then open the Sludge panel and reduce the intensity.
You will see that the base correction is doing the real work, while the Smudge is just adding a little mood.
When you find the right quintet for your illustration, repeat it on analog prints. For example, a cooler Sludge for a megacity night or a slightly warmer Sludge for a cafe photo.
That is, you can save your adjusted settings as presets in iOS, which will later be useful as an alternative to manual editing.
Frequently Asked Questions About iPhone Photo Edit Settings
1. What are the key parameters of the iPhone photo edit settings recipe?
Key parameters in the iPhone photo edit settings recipe include exposure, brilliance, contrast, highlights, brightness, sharpness, shadows, saturation, vibrance, and black point.
2. What should be the iOS camera setting for a golden hour in TikTok?
To do this, set your iPhone to 4K resolution at 24 or 30 fps and format to High Efficiency (HEIF). Then enable gridlines in the camera settings and use the Warm photographic style. Tap and hold to lock AE/AF.
Finally, tap the sun icon and drag it down to reduce the exposure. This basic setting will prepare your iPhone camera to capture the golden hour for TikTok.
3. How do I use the same edit settings for multiple photos on my iPhone?
After editing any photo in the iPhone’s own Photos app, tap the three-dot menu at the top right of the screen. Then click “Copy Edits” from the dropdown menu.
Then go to the new photo and click the three-dot menu again. Now select “Paste Edits” from the dropdown menu. You just applied your edit settings to the new photo, and thus, repeat this process for as many photos as you want.
4. What is the difference between ProRAW and ProRAW Max on iPhone?
The main difference between the two is resolution and file size. In ProRAW, the photos you take with your iPhone are at 12 MP. In contrast, ProRAW Max lets you take photos at up to 48 MP.
So you get significantly better cropping power and more detail here than in ProRAW. And for good reason, the image file size of photos taken in ProRAW Max is also much larger.
5. When should I push Exposure vs Brilliance?
Increase Exposure when the photo is overall too dark, and you need to brighten everything uniformly. Increase Brilliance to reveal hidden details without washing out the image. It’s a smart tool that brightens dark areas while simultaneously toning down overly bright highlights.
Summing Up
This iPhone photo edit settings formula list sets a configuration standard for TikTok, Instagram, Night, Indoor, and Nature. After applying these settings initially, you can increase or decrease them to get the desired results as per your needs.
While these are ready-made for your work, if you want to edit manually, you’ll need to have an idea of the parameters involved. From Exposure and Brilliance to Tint and even Vignette, you have to understand how small changes to any of them can change the look of the image.
And by setting your iPhone camera to take high-quality photos before the photoshoot, you won’t have to worry too much during the editing phase.
These formulas cover the fundamentals well, but results vary depending on your original shot quality, lighting conditions, and subject. So, it’s not unreasonable to seek the help of an editing partner to help you navigate these nitty-gritty issues.
Retouching Zone, a company with over a decade of experience in image editing, is here to help. Check out their free trial to see how they handle the effects of light and color on your images.