The most stunning products can go unnoticed online, where some practical studio product photography tips can make all the difference in capturing images that truly sell. An e-commerce business without high-quality photos is like a storefront with no window; no matter how great your products are, your customers can’t see what you are offering. Struggling to capture sharp, visually appealing product shots in a studio?
Or you might be looking for creative ways to make your images stand out? Don’t think your job is done after buying a high-end DSLR camera. You must master lighting, angles, and many other techniques to capture stunning product photos. So, what tools and strategies do professional product photographers use to elevate product photography? This blog covers expert studio product photography tips for captivating product images. Let’s dive in!
01. Get to Know Your Clients’ Needs
Don’t think all clients have the exact requirements and goals. Every brand or business has a unique vision, messaging, and marketing goal. Your client may have specific technical requirements, too.
You have to understand their target audience. Plus, make sure you have a clear idea of what platform the product will be displayed on. It enables you to tailor the shoot to highlight key product features.
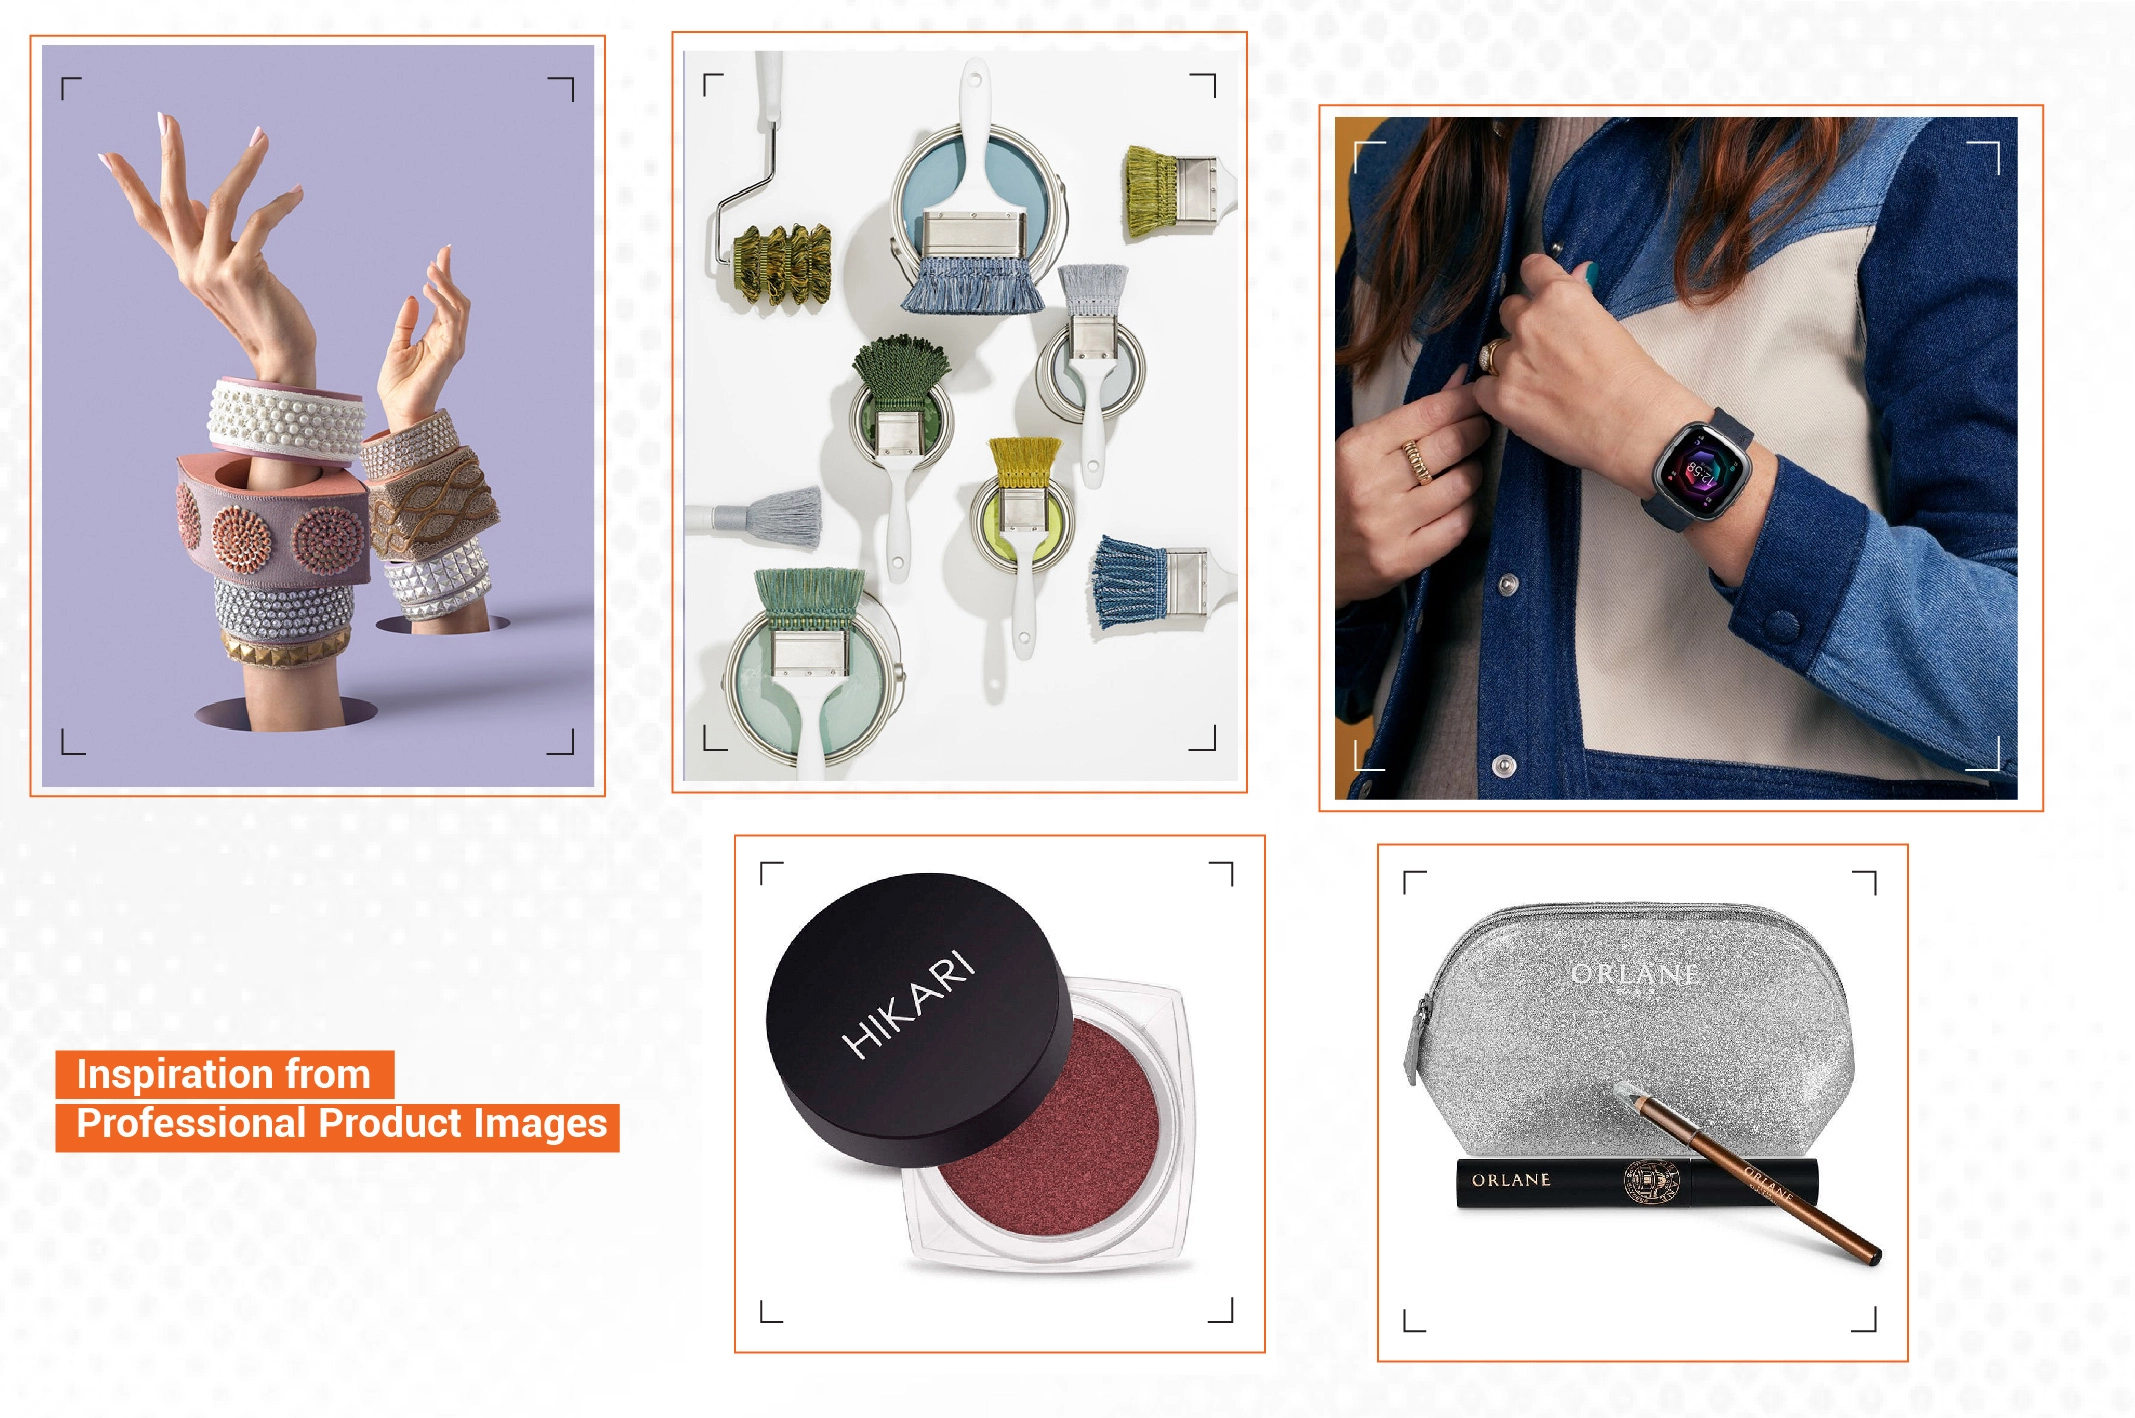
02. Take Inspiration from Professional Product Photographers
Professional product photographers have the experience and achievements to spark new ideas. Take inspiration from them to create polished, high-quality product photos. It can help you truly capture the essence of the products.
Learn what lighting, composition, angles, camera settings, and visual style to use for different products. They can help you get insights on managing reflections, controlling background distractions, and handling color accuracy for brand consistency.
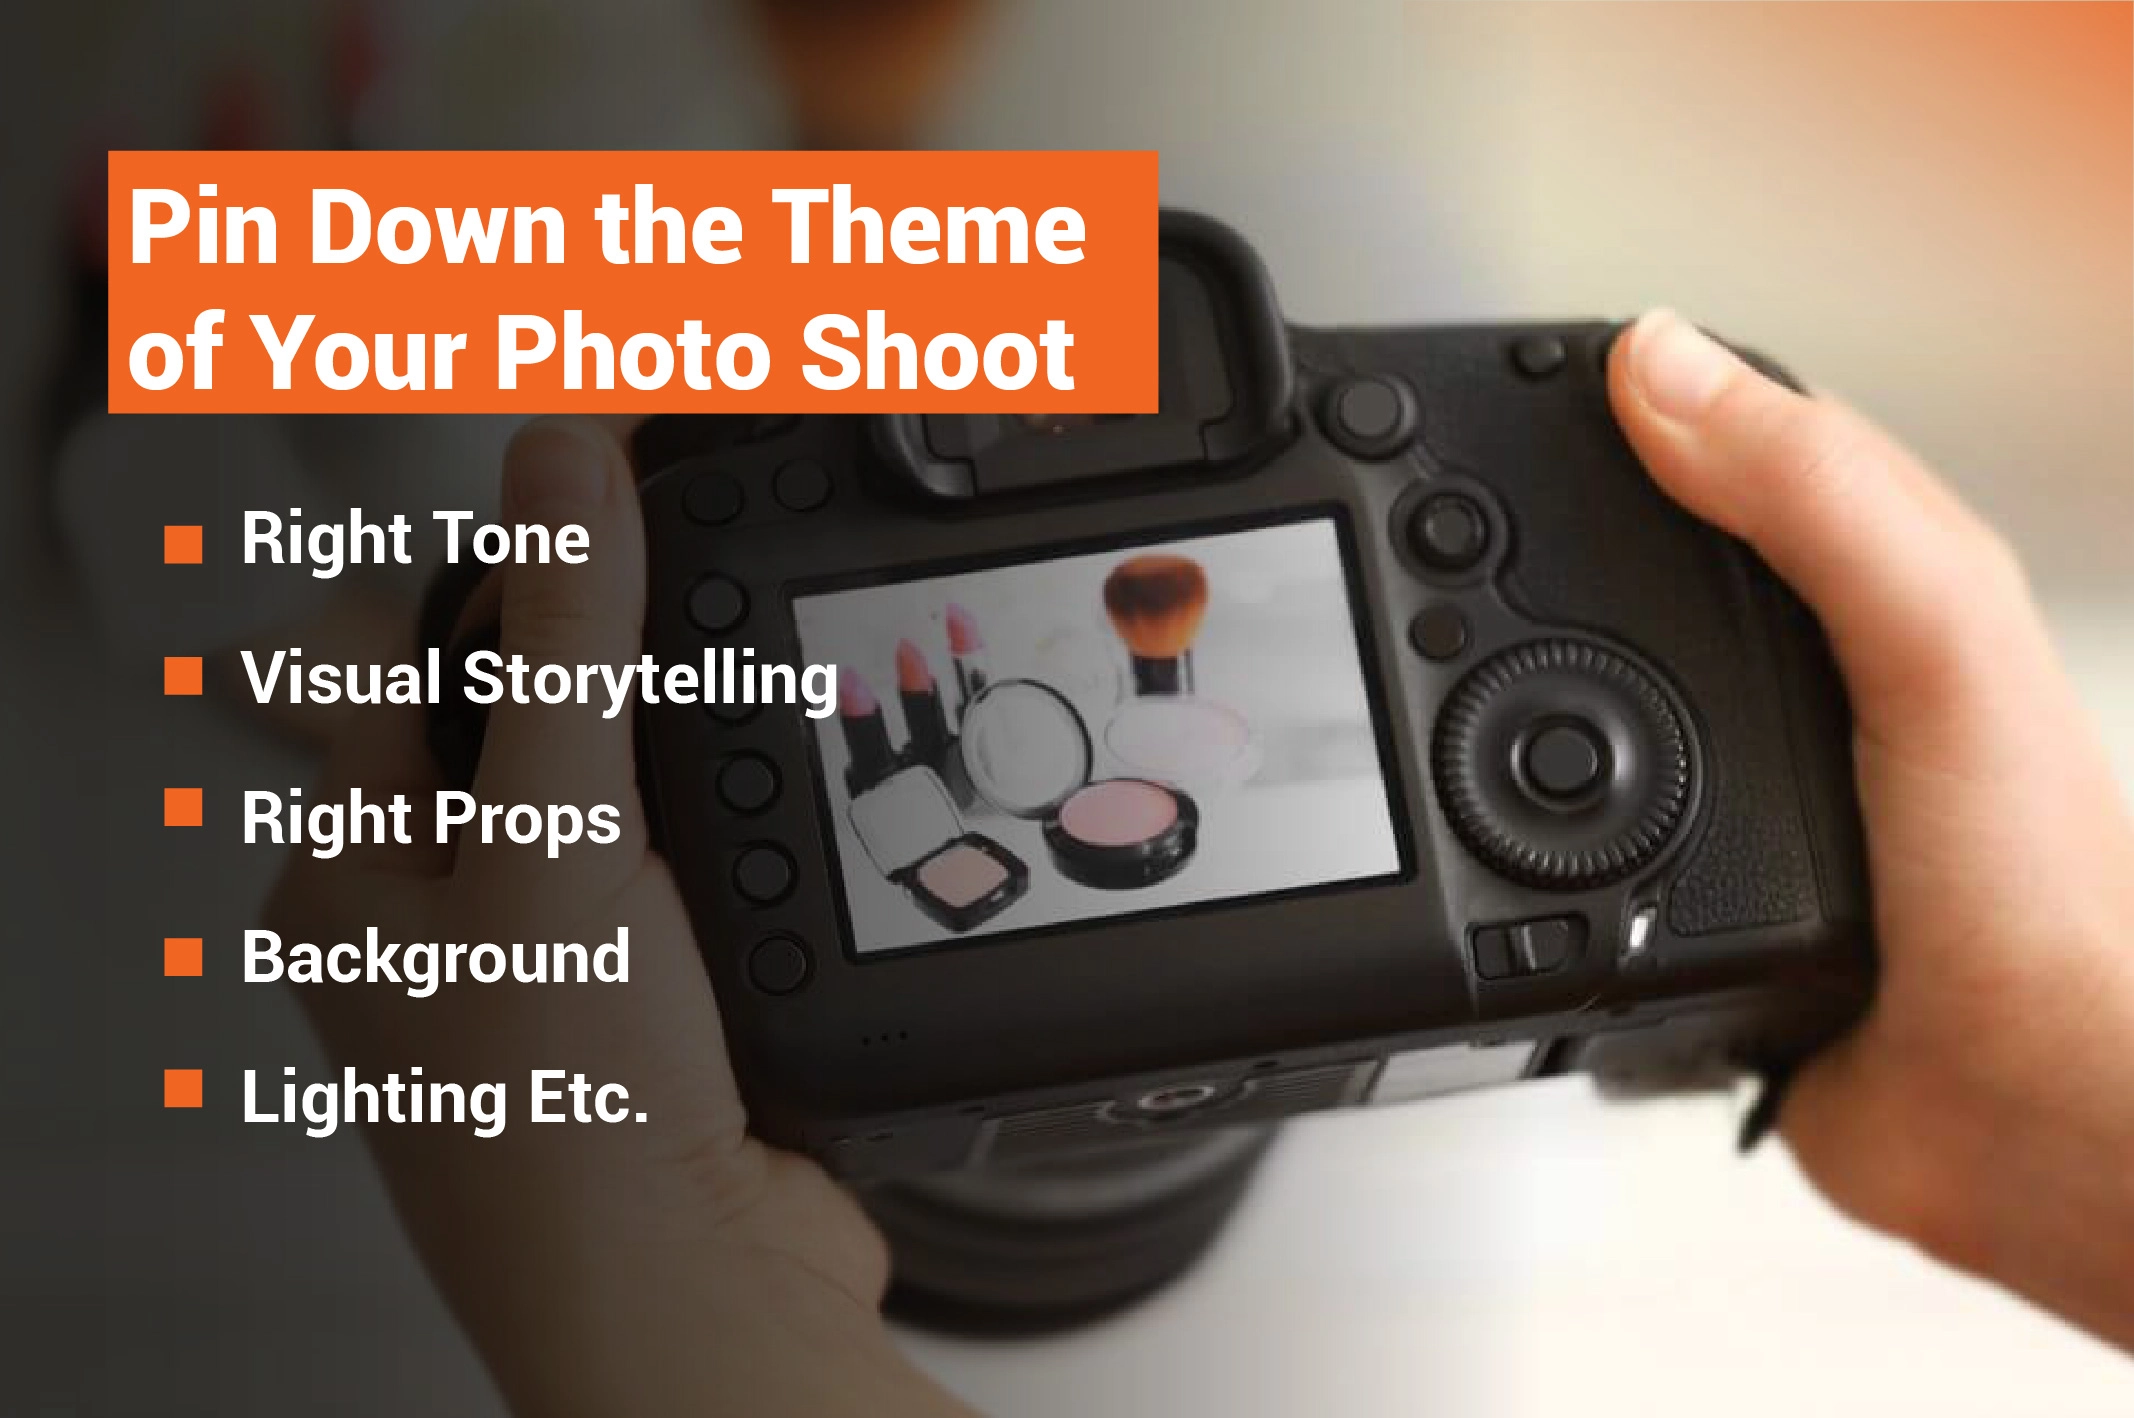
03. Pin Down the Theme of Your Photo Shoot
Set a clear goal for the theme of your photo shoot. It lets you set the right tone, style, and overall shoot direction. You can maintain consistency in visual storytelling. It allows you to align with the brand’s identity and messaging perfectly.
In addition, setting a clear theme helps you get the right props, background, lighting, and mood. Your product will look more appealing and relevant to the target audience.
04. Have a Plan
It may sound odd. Taking product photos in a studio is like shooting a movie. You have to create a sophisticated plan. A well-defined plan helps you achieve your ultimate goals. It streamlines post-production, reduces costs, and delivers professional images on time.
Ask yourself these questions to create a perfect plan for product studio photography.
- What type of product studio do you need to set up based on your target clients?
- What is your budget limit, and how much is it worth to invest?
- How much space is needed to set up the product studio?
- What lights, lenses, backgrounds, props, and additional items are needed?
- How will the workflow be organized to ensure efficient shooting and editing?
- What storage and organization systems are needed for equipment and products?
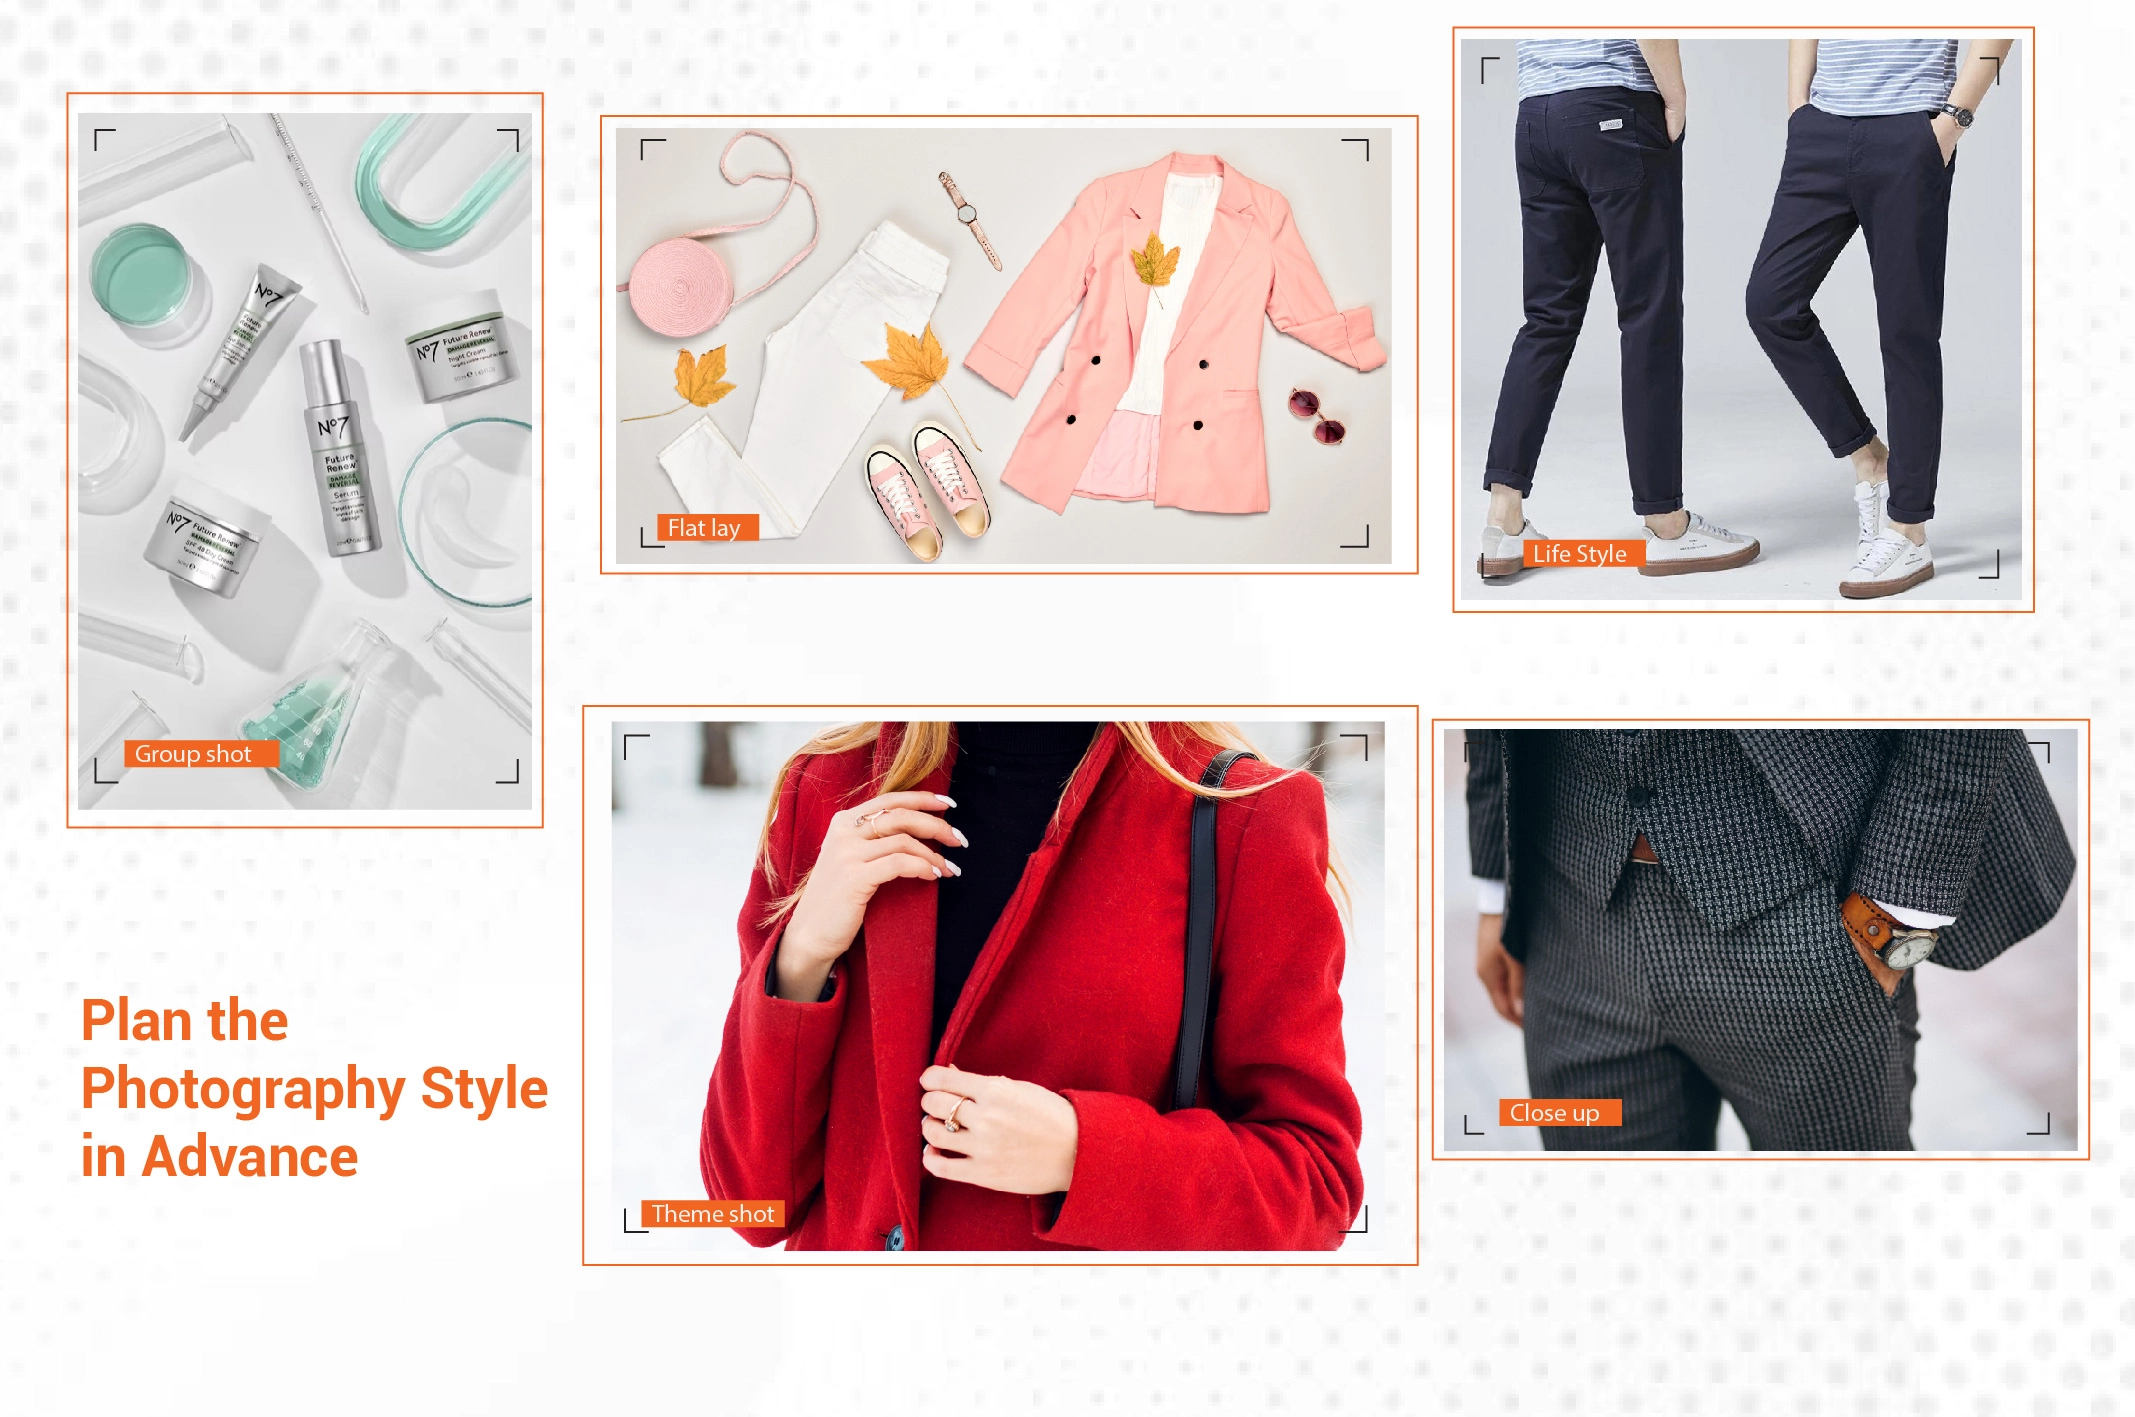
05. Plan the Photography Style in Advance
Not all product photography styles require the same studio setup. Determine whether you need single product, group, lifestyle, close-ups, or white background shots. If you only target a specific photography style, set up the studio only for that purpose. It will save you money.
However, a versatile studio setup is a must to comply with various product photography styles. The initial investment might be higher. But you will save a lot in the long run.
06. Keep It Simple
A well-lit, clean, organized product studio can help you achieve better-quality images. Create a visually appealing and comfortable environment for product photography. You might use various lights, lenses, backgrounds, props, and other items. The key is keeping everything well-organized to streamline workflow and save time. You will have quick access to essential tools. Could you not make them jam-packed? It will otherwise lead to frustration and distraction.
07. Utilize the Available Space
Does your product photography studio have limited space? A creative arrangement can help you use every inch of space available. If you are not an expert enough to design the room, hire a studio designer for optimal space utilization and better workflow efficiency. Install shelves and hooks to keep equipment and tools in a space-saving way. Choose equipment that has a minimalist design for easy storage.
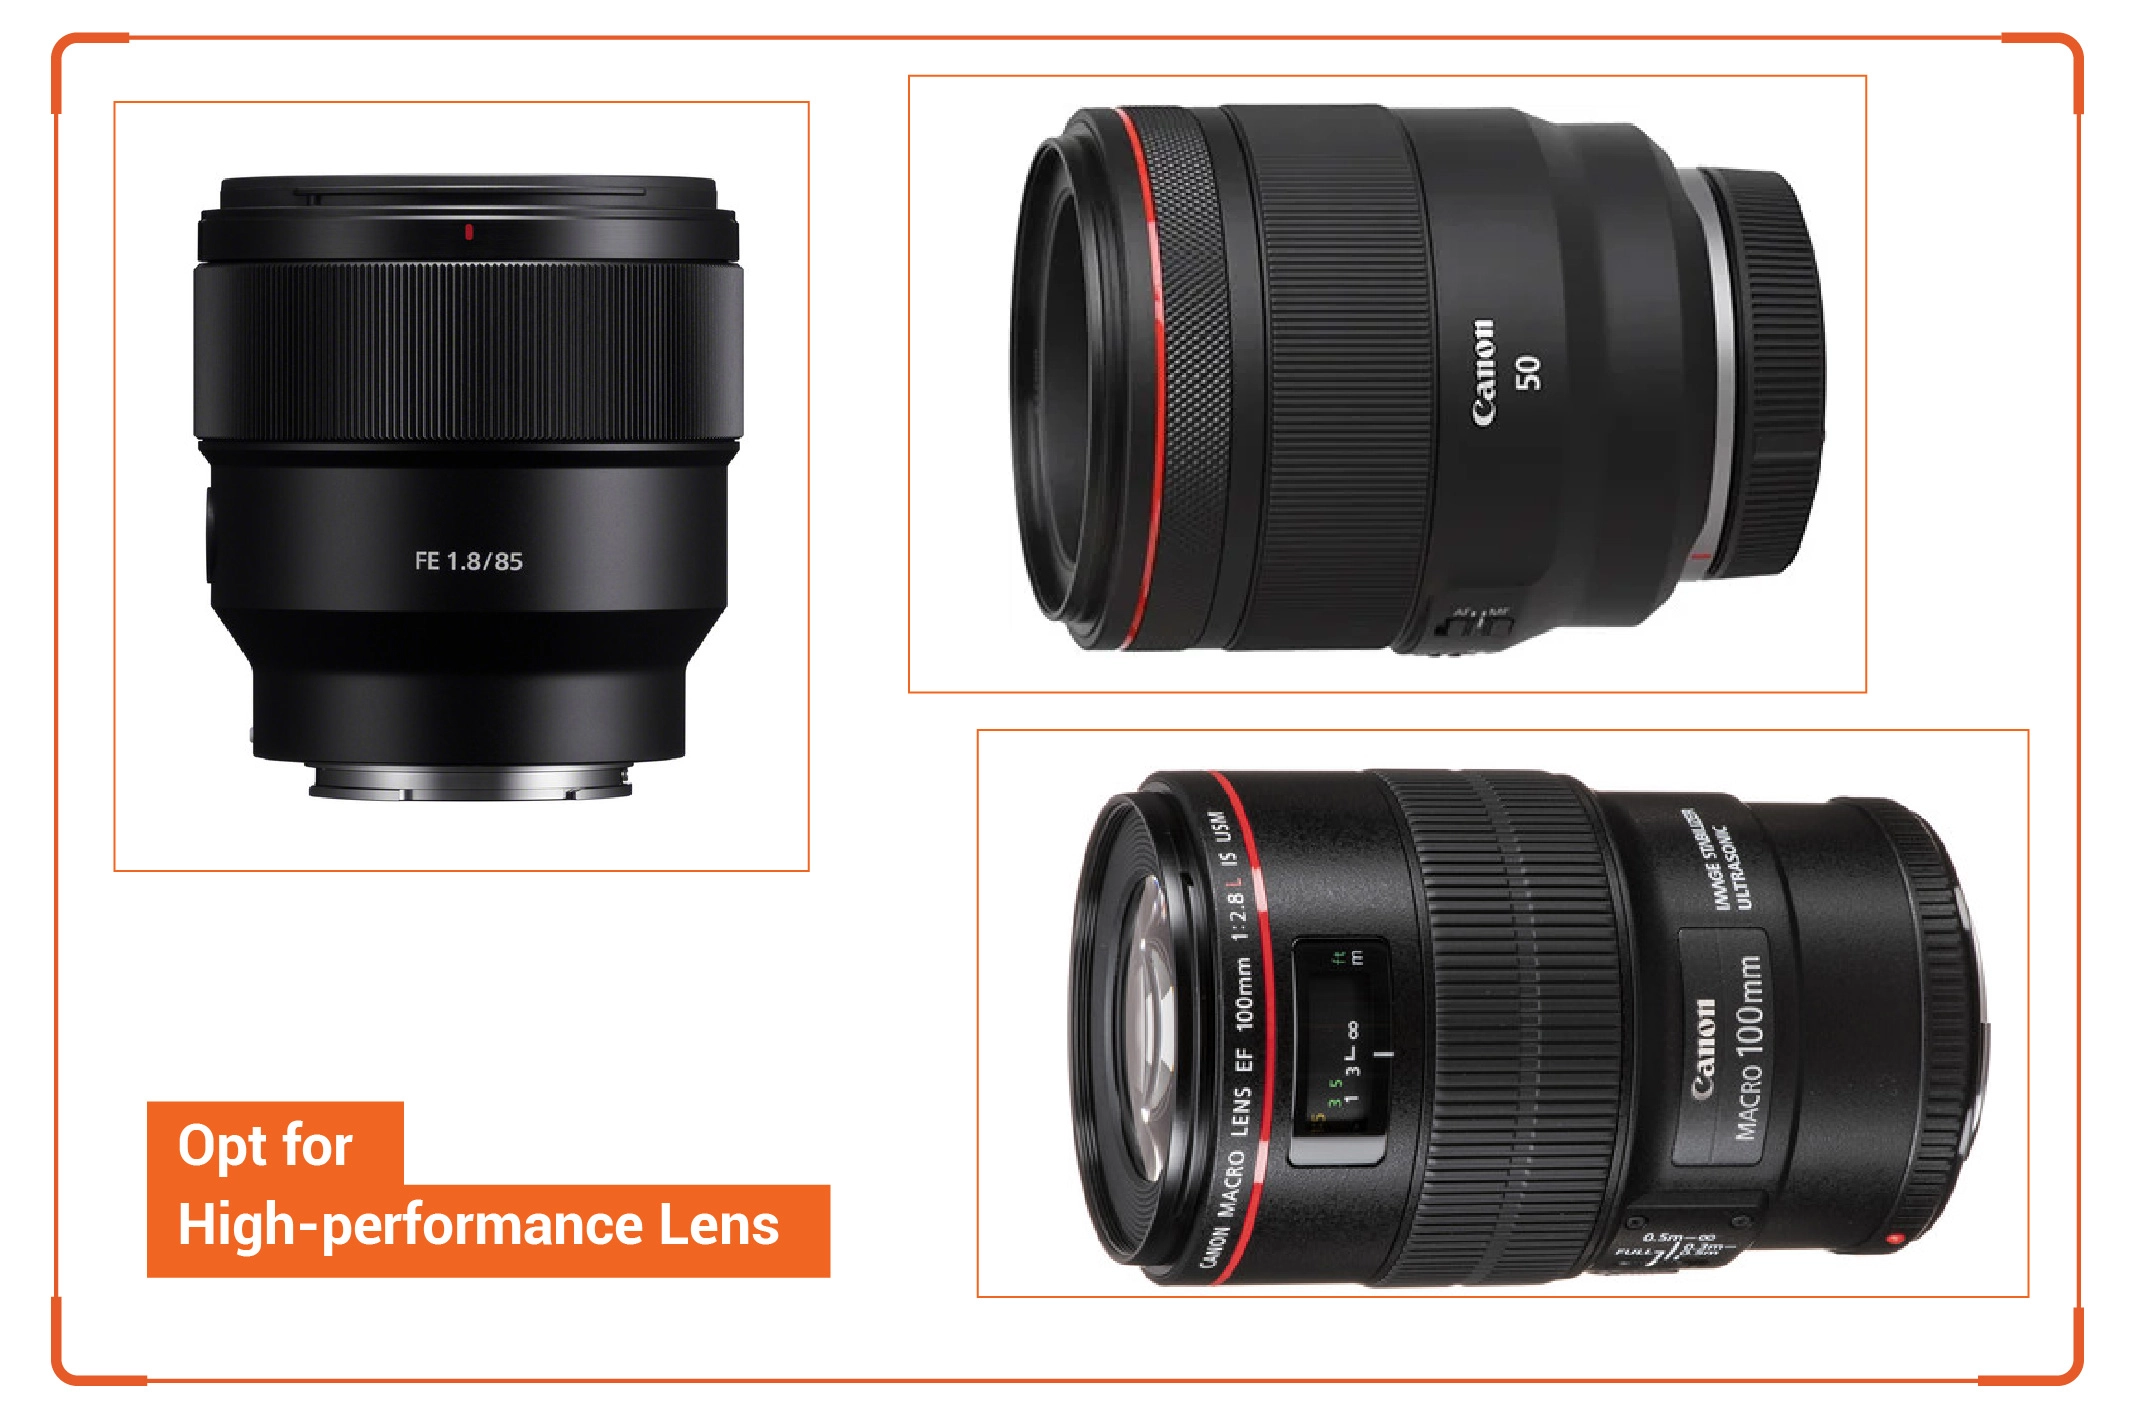
08. Opt for High-performance Lens
So, what lens should you use for studio product photography? Should you choose prime or macro lenses to capture product images? If you prefer full-frame product shots, 50mm prime lenses are an excellent choice. It is especially perfect for shooting products at a 1:1 film/digital ratio. You won’t have to worry about wide-angle distortion. Getting clear and sharp images will be hassle-free. 85mm prime lenses are also suitable for product photography to add compressed perspectives, especially for low-light situations.
Macro lenses (90mm or 100mm) are hard to beat regarding detailed close-up product shots. They are especially helpful for getting close to small products like jewelry or accessories to show all the tiny details clearly.
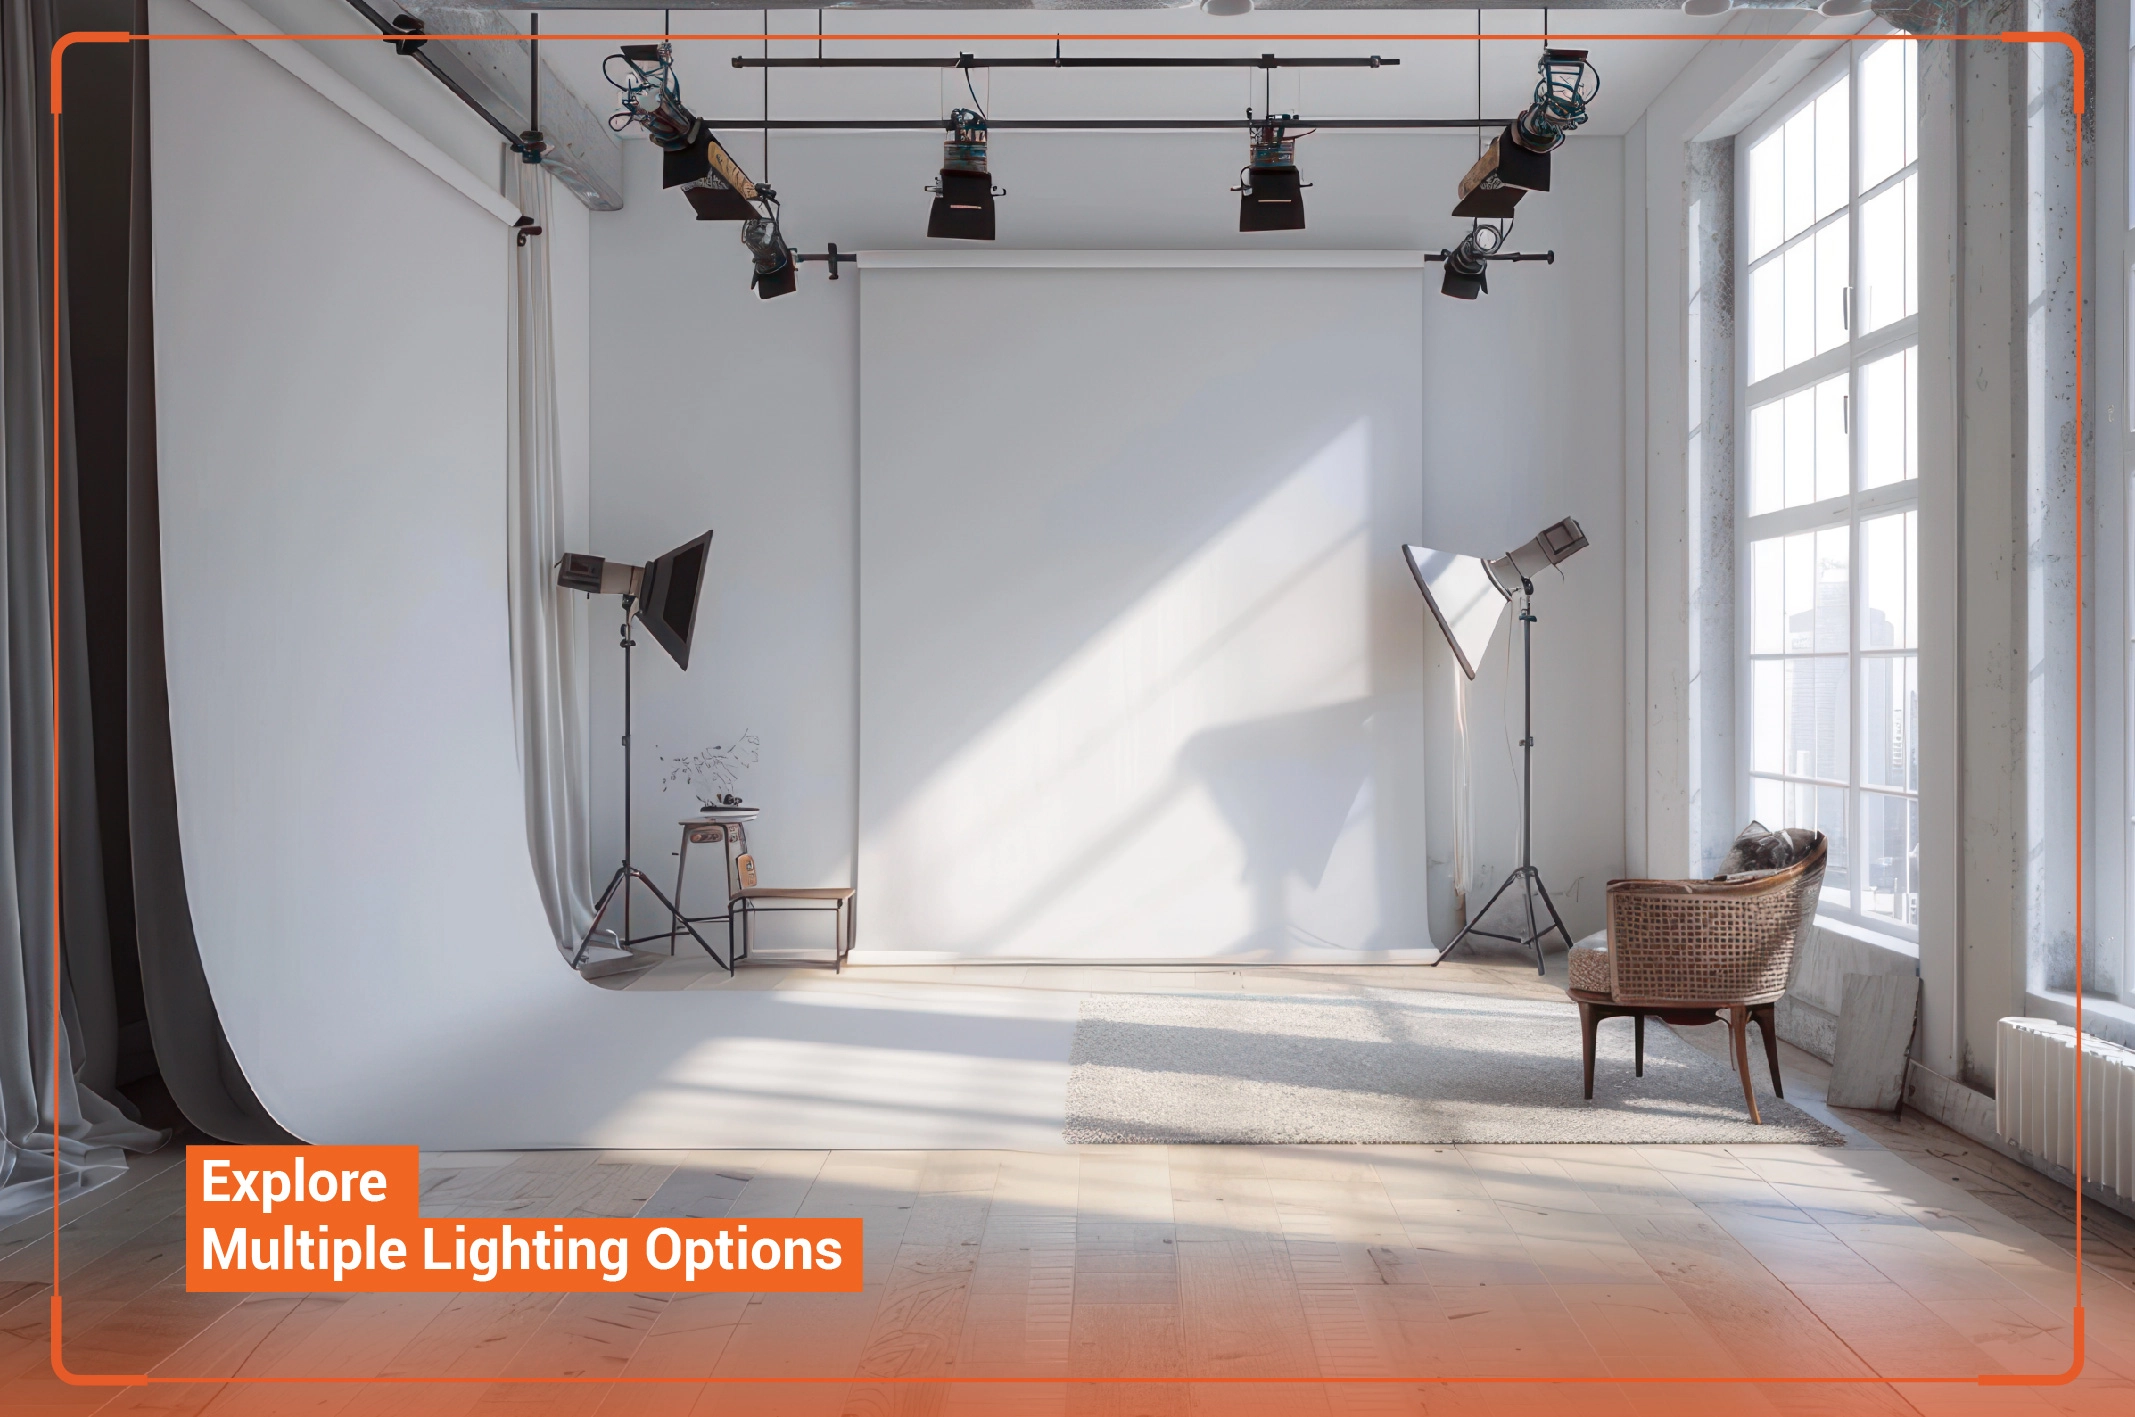
09. Explore Multiple Lighting Options
Should you only rely on artificial lighting? Just because you are doing an indoor studio product photo shoot doesn’t mean you can’t utilize natural lighting. The key is maintaining a balance between sunlight and studio light. Natural lighting in a product studio can help you achieve soft, even illumination and minimize harsh shadows. That is part of natural lighting. But what about artificial lighting? What type of studio lights should you use? Continuous lights are highly versatile, as you can use different types of fashion ecommerce photography. They are equipped with Hi-Sync technology to manage shadow direction and add specific softness to the shadow’s edge.
Strobe lights are great for capturing sharp images even with fast-moving subjects. They offer better power, control, and speed. You can also use rim lights to make the subject pop.
10. Show Creativity with Zoom
Not everyone can use the zoom function of a camera correctly. You may feel confused about whether to zoom in or zoom out instead of the standard focal length. A wrong approach can ruin the product image. But when you know how to use the zoom function creatively, you can add depth and unique perspectives to the product visuals. It enables professional photographers to achieve dramatic lighting with high contrast.
Whether you should get close to or farther away from the product subject in the image depends on what you want to highlight to your customers.
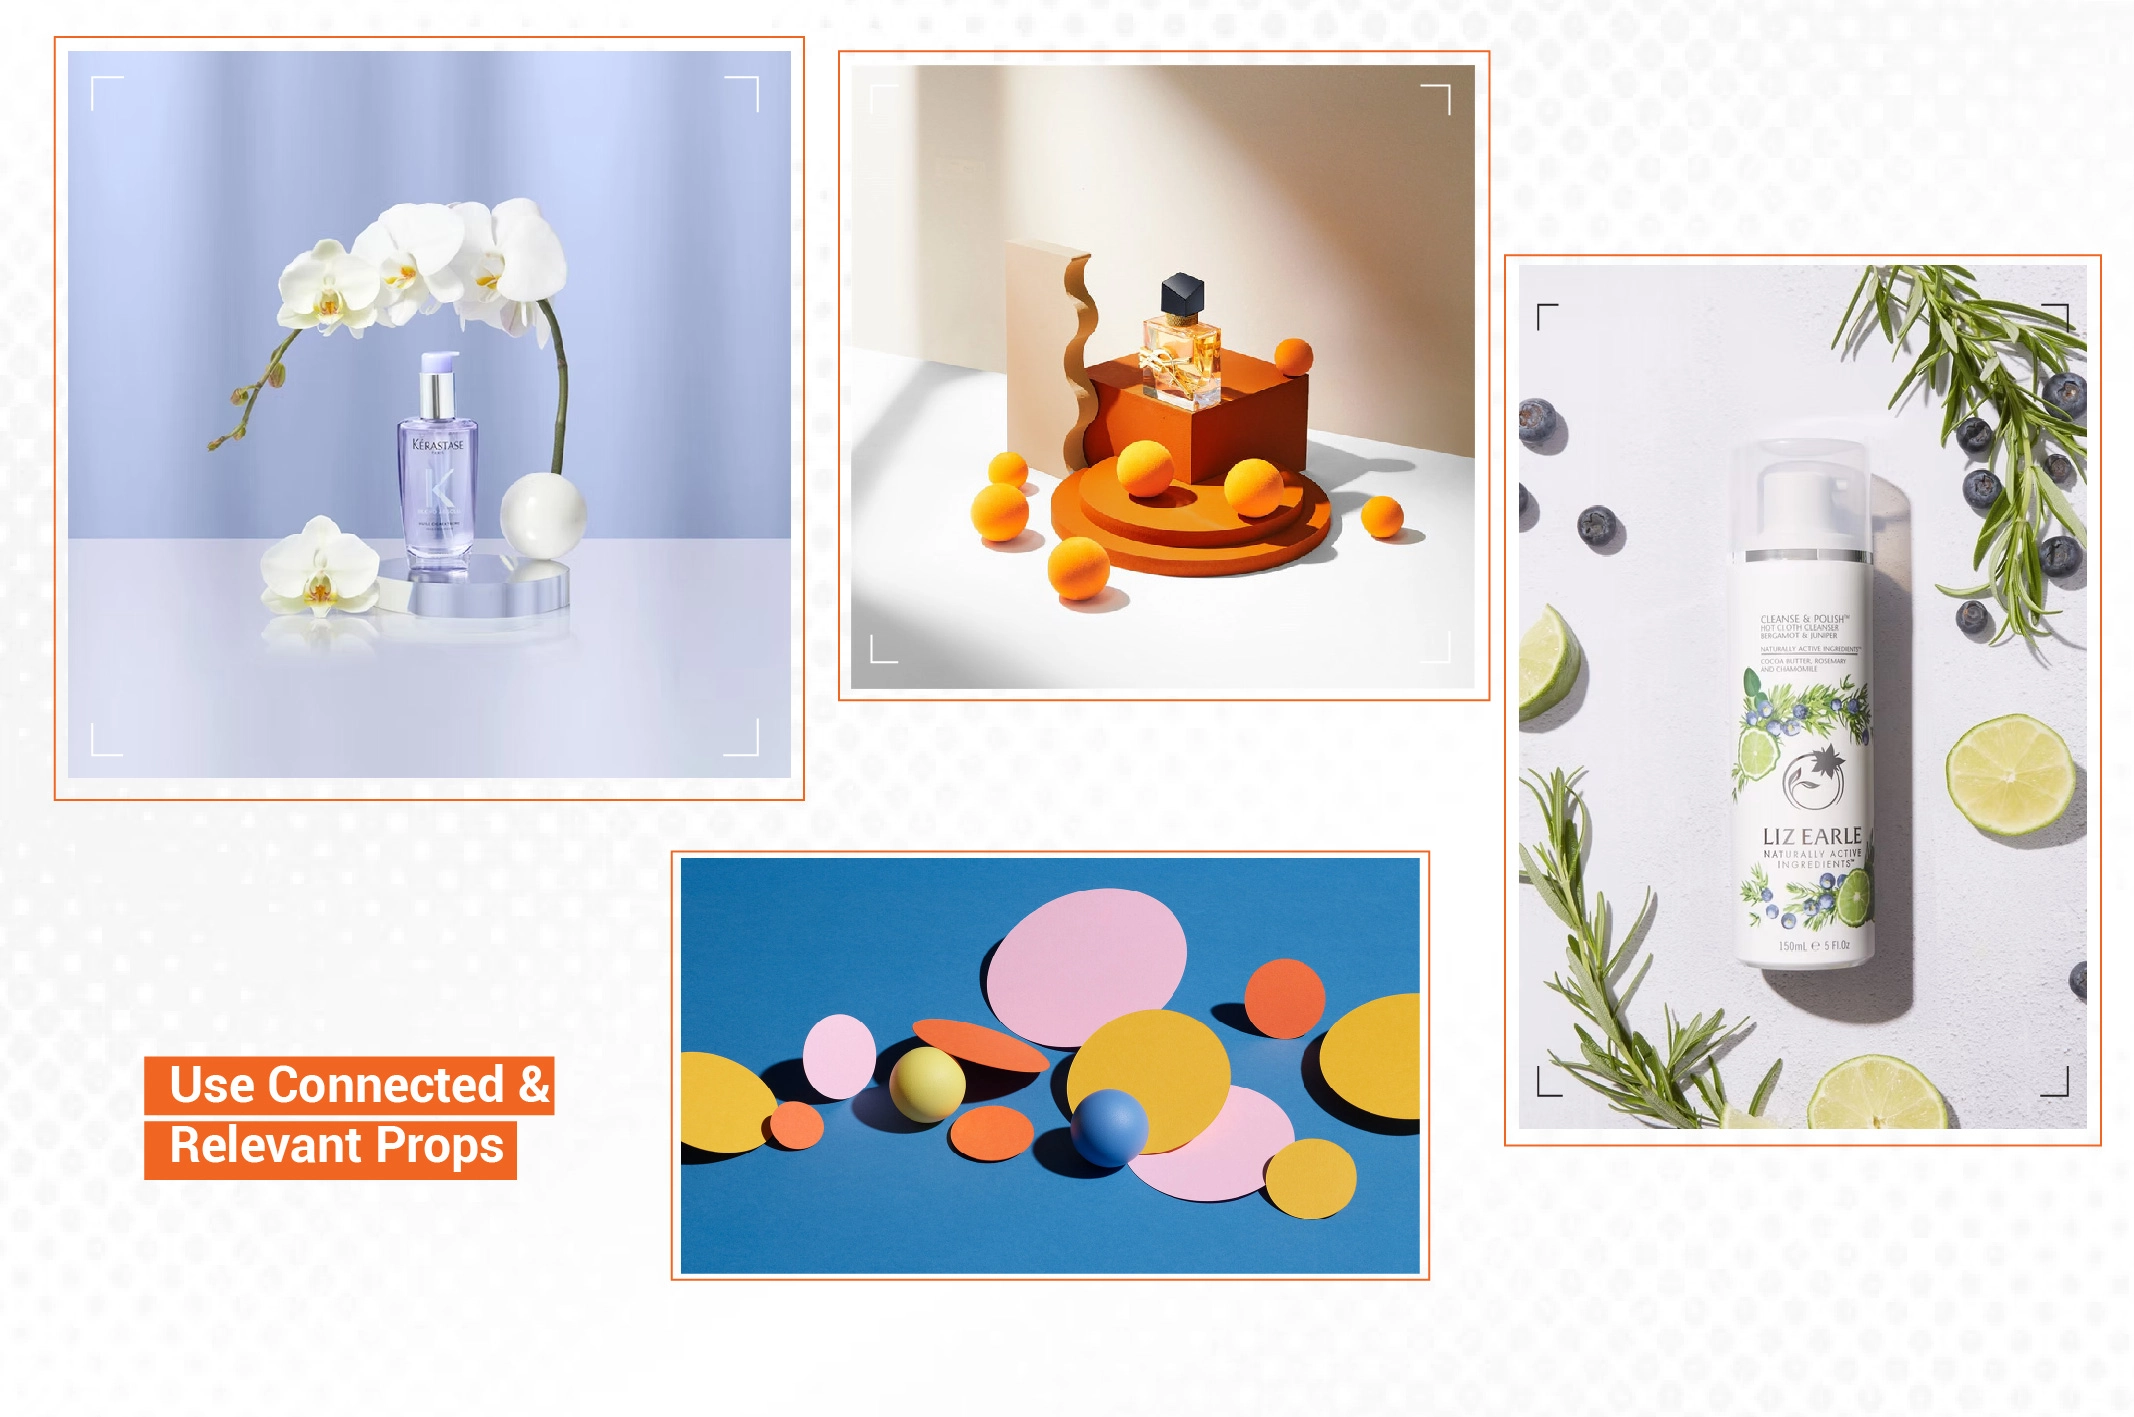
11. Use Connected & Relevant Props
Wondering about the secret of making the target audience more connected with the product? The right props in studio product photography can make the item look more natural and realistic. It sets the right mood and tone as well as adds context and visual interest to the product images. But what props should you use in e-commerce product photography? Choosing the correct physical elements is the key. Professional photographers use various types of props, such as tiles, pieces of wood, stones, potted plants, ribbon, flowers, sculptures, glasses, hats, books, magazines, etc.
It must align with your main product. Another important thing is keeping the selling item well-focused. Hence, use props as little as possible.
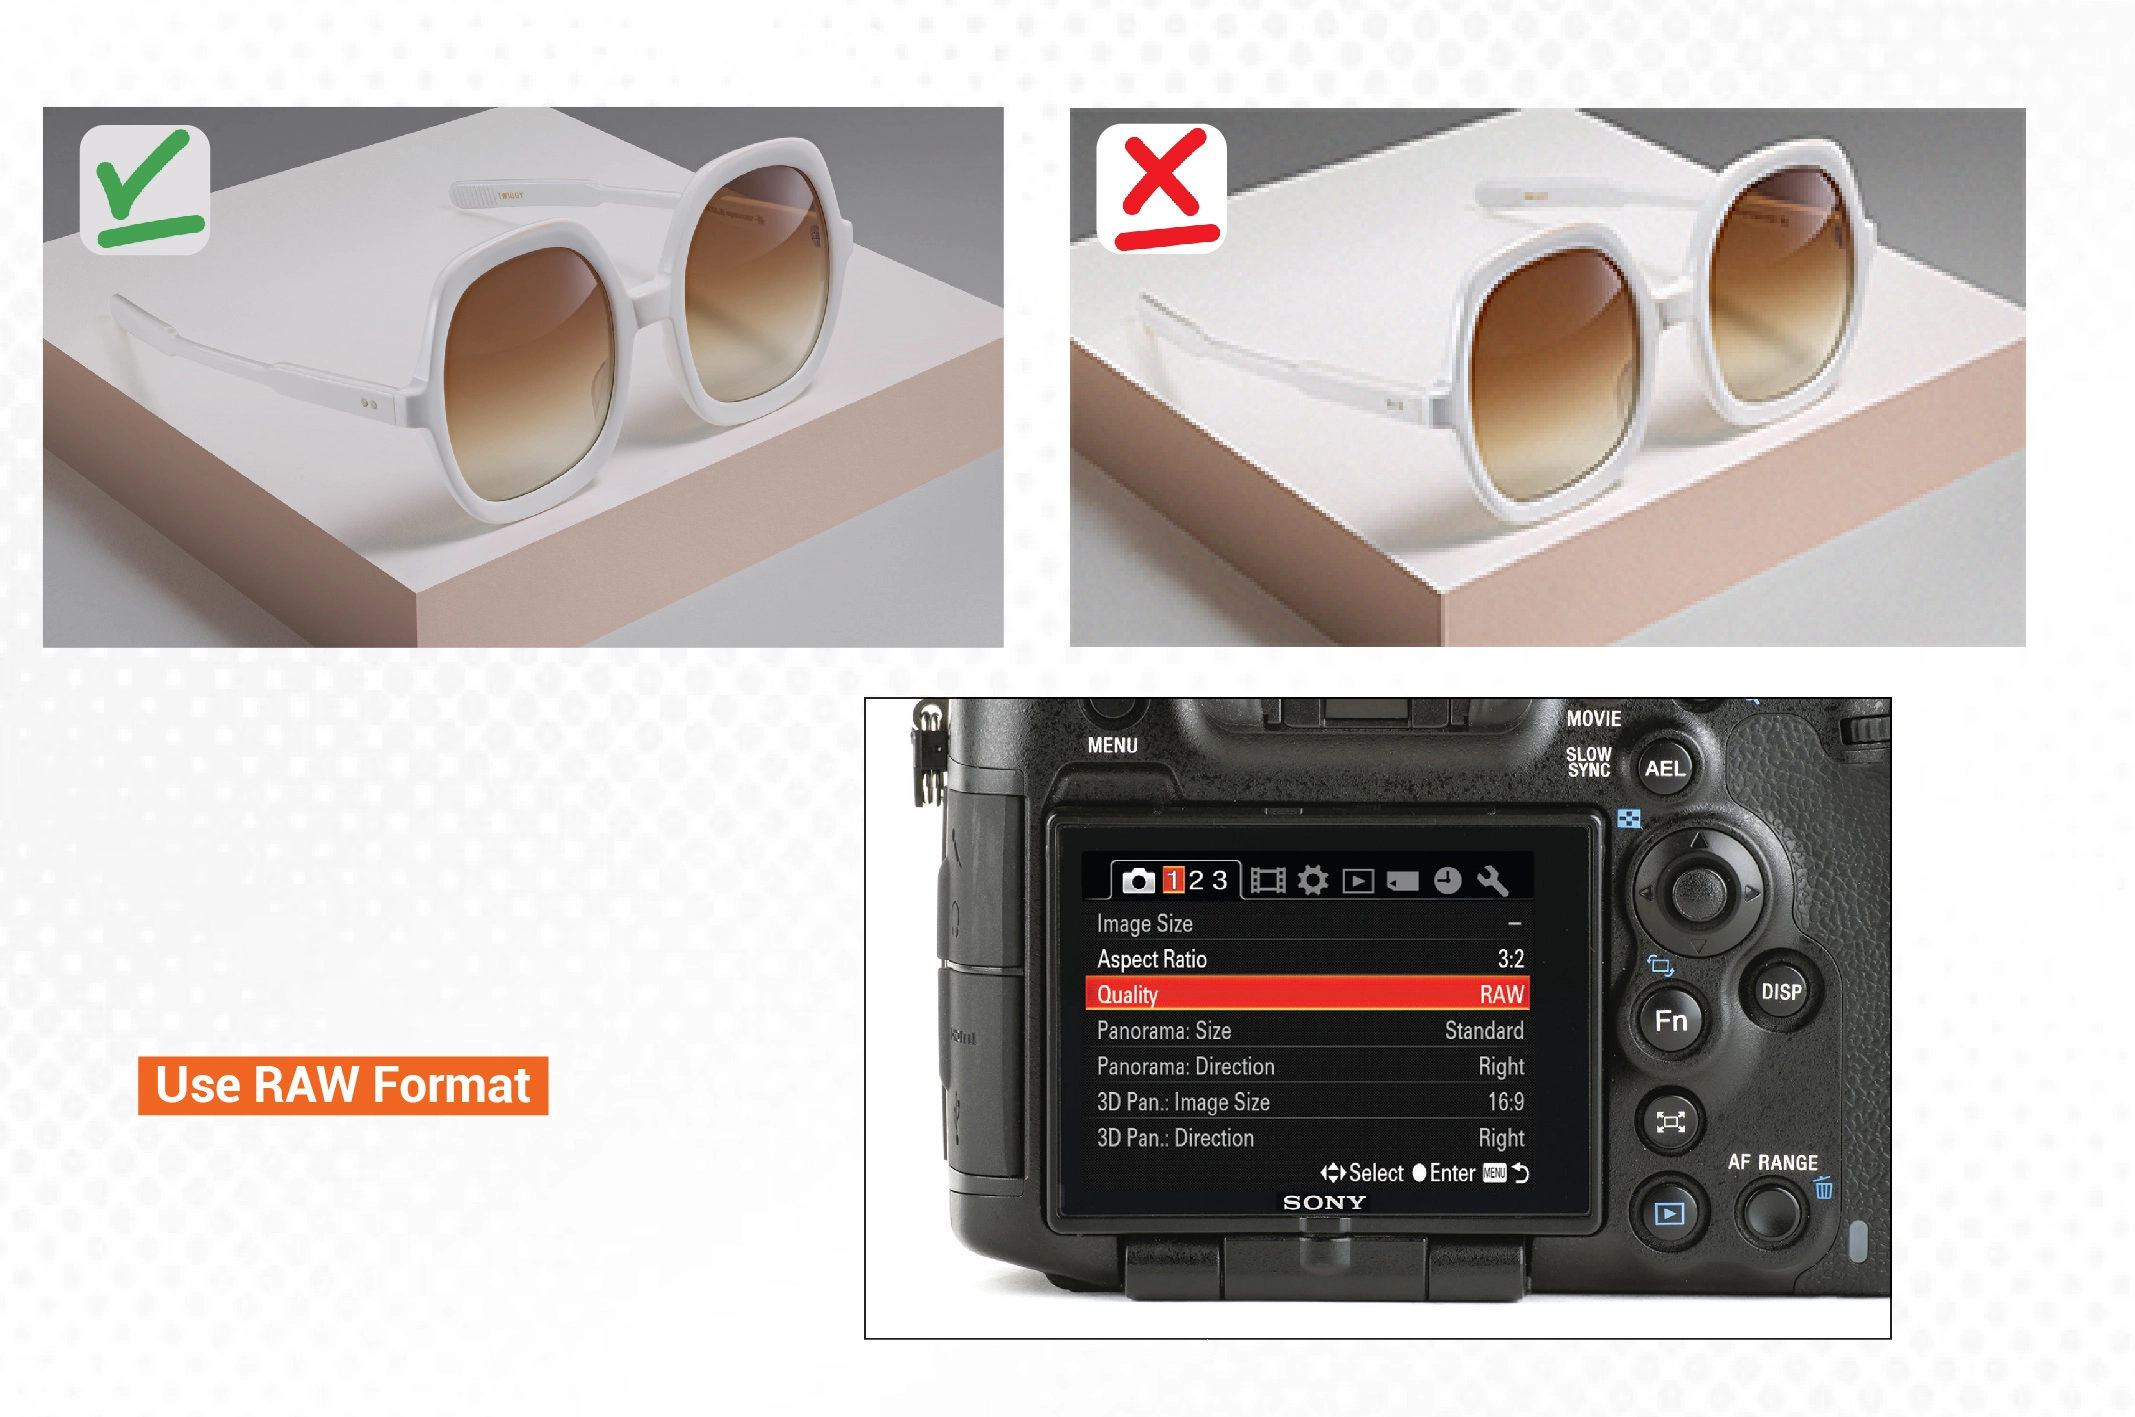
12. Use RAW Format
RAW format images are superior in quality as they are not compressed. Your camera settings will store the maximum level of data in the image. Even if your product photos have lighting issues, you can fix them during post-production. Besides, this type of image has significantly higher color depth and higher levels of brightness. You can easily adjust the color, contrast, white balance, density, and color temperature of the light.
Moreover, RAW format photos are highly versatile and can be edited in various editing programs like Adobe Camera RAW, Bridge, or Lightroom.
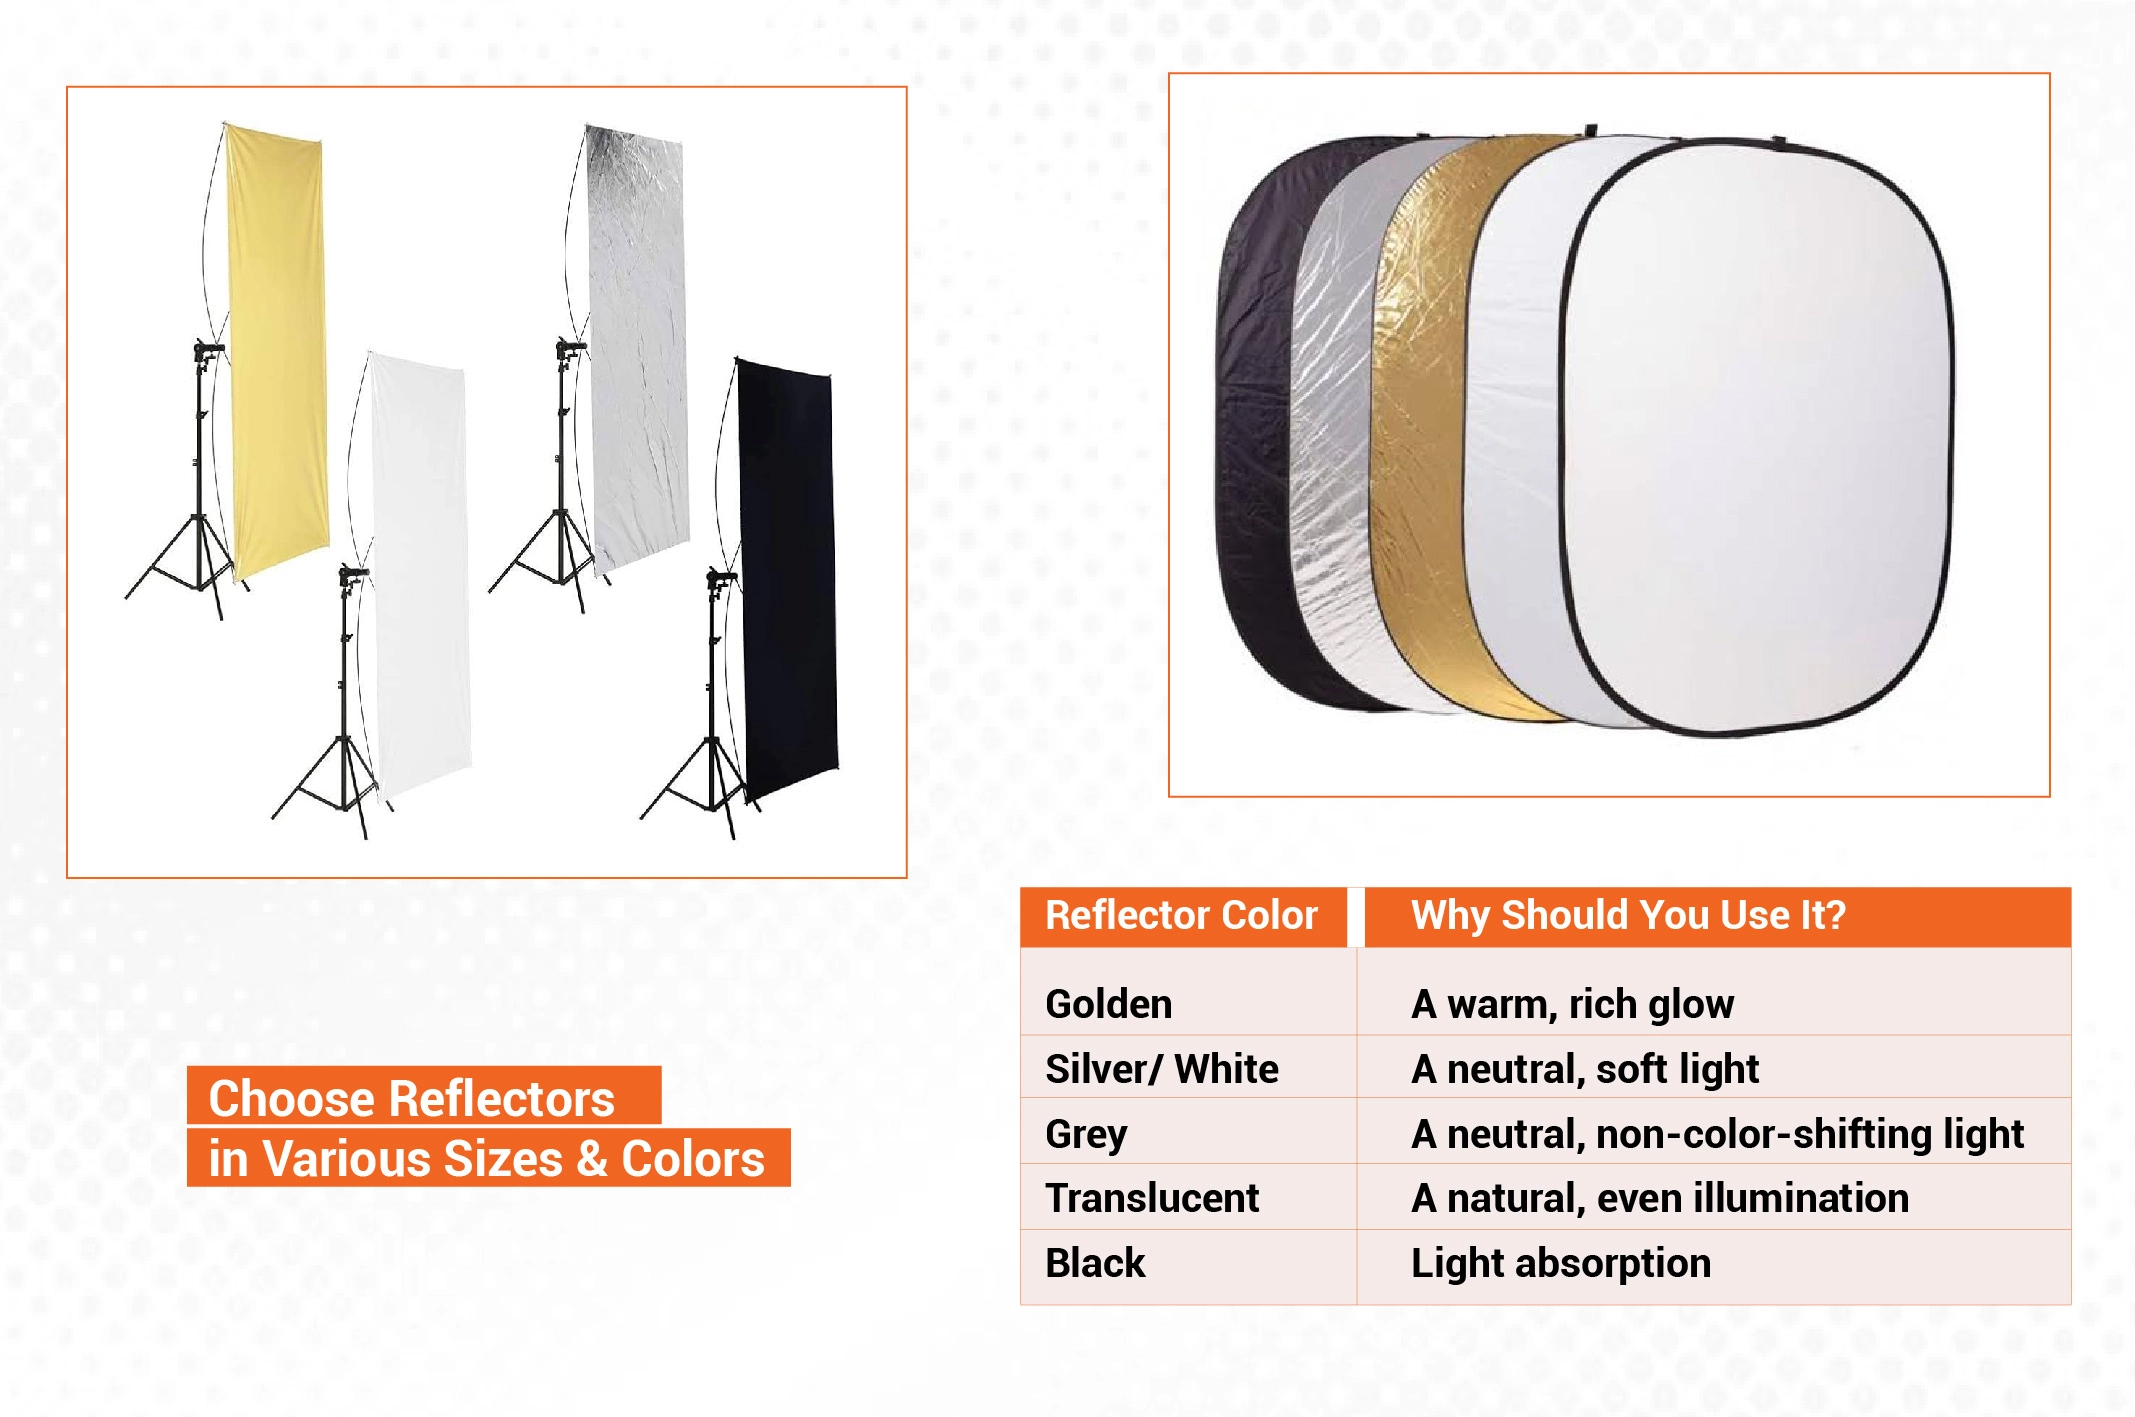
13. Choose Reflectors in Various Sizes & Colors
Reflectors play a key role in achieving more flattering and industry-standard product shots. They elevate the lighting conditions. Photographers mainly place them opposite your primary light or window to manipulate and control the light. Use a free-standing arm to support the reflector. So, what size reflectors should you use for studio product photography? It can be anywhere from 14” to 50”. If you prefer broader light coverage, large reflectors are better. They are perfect for larger setups. However, smaller reflectors are suitable for targeted lighting, especially for close-up shots.
What color reflectors should you use to capture product photos? Different colors of reflectors play unique roles in product photography. Let’s figure them out!
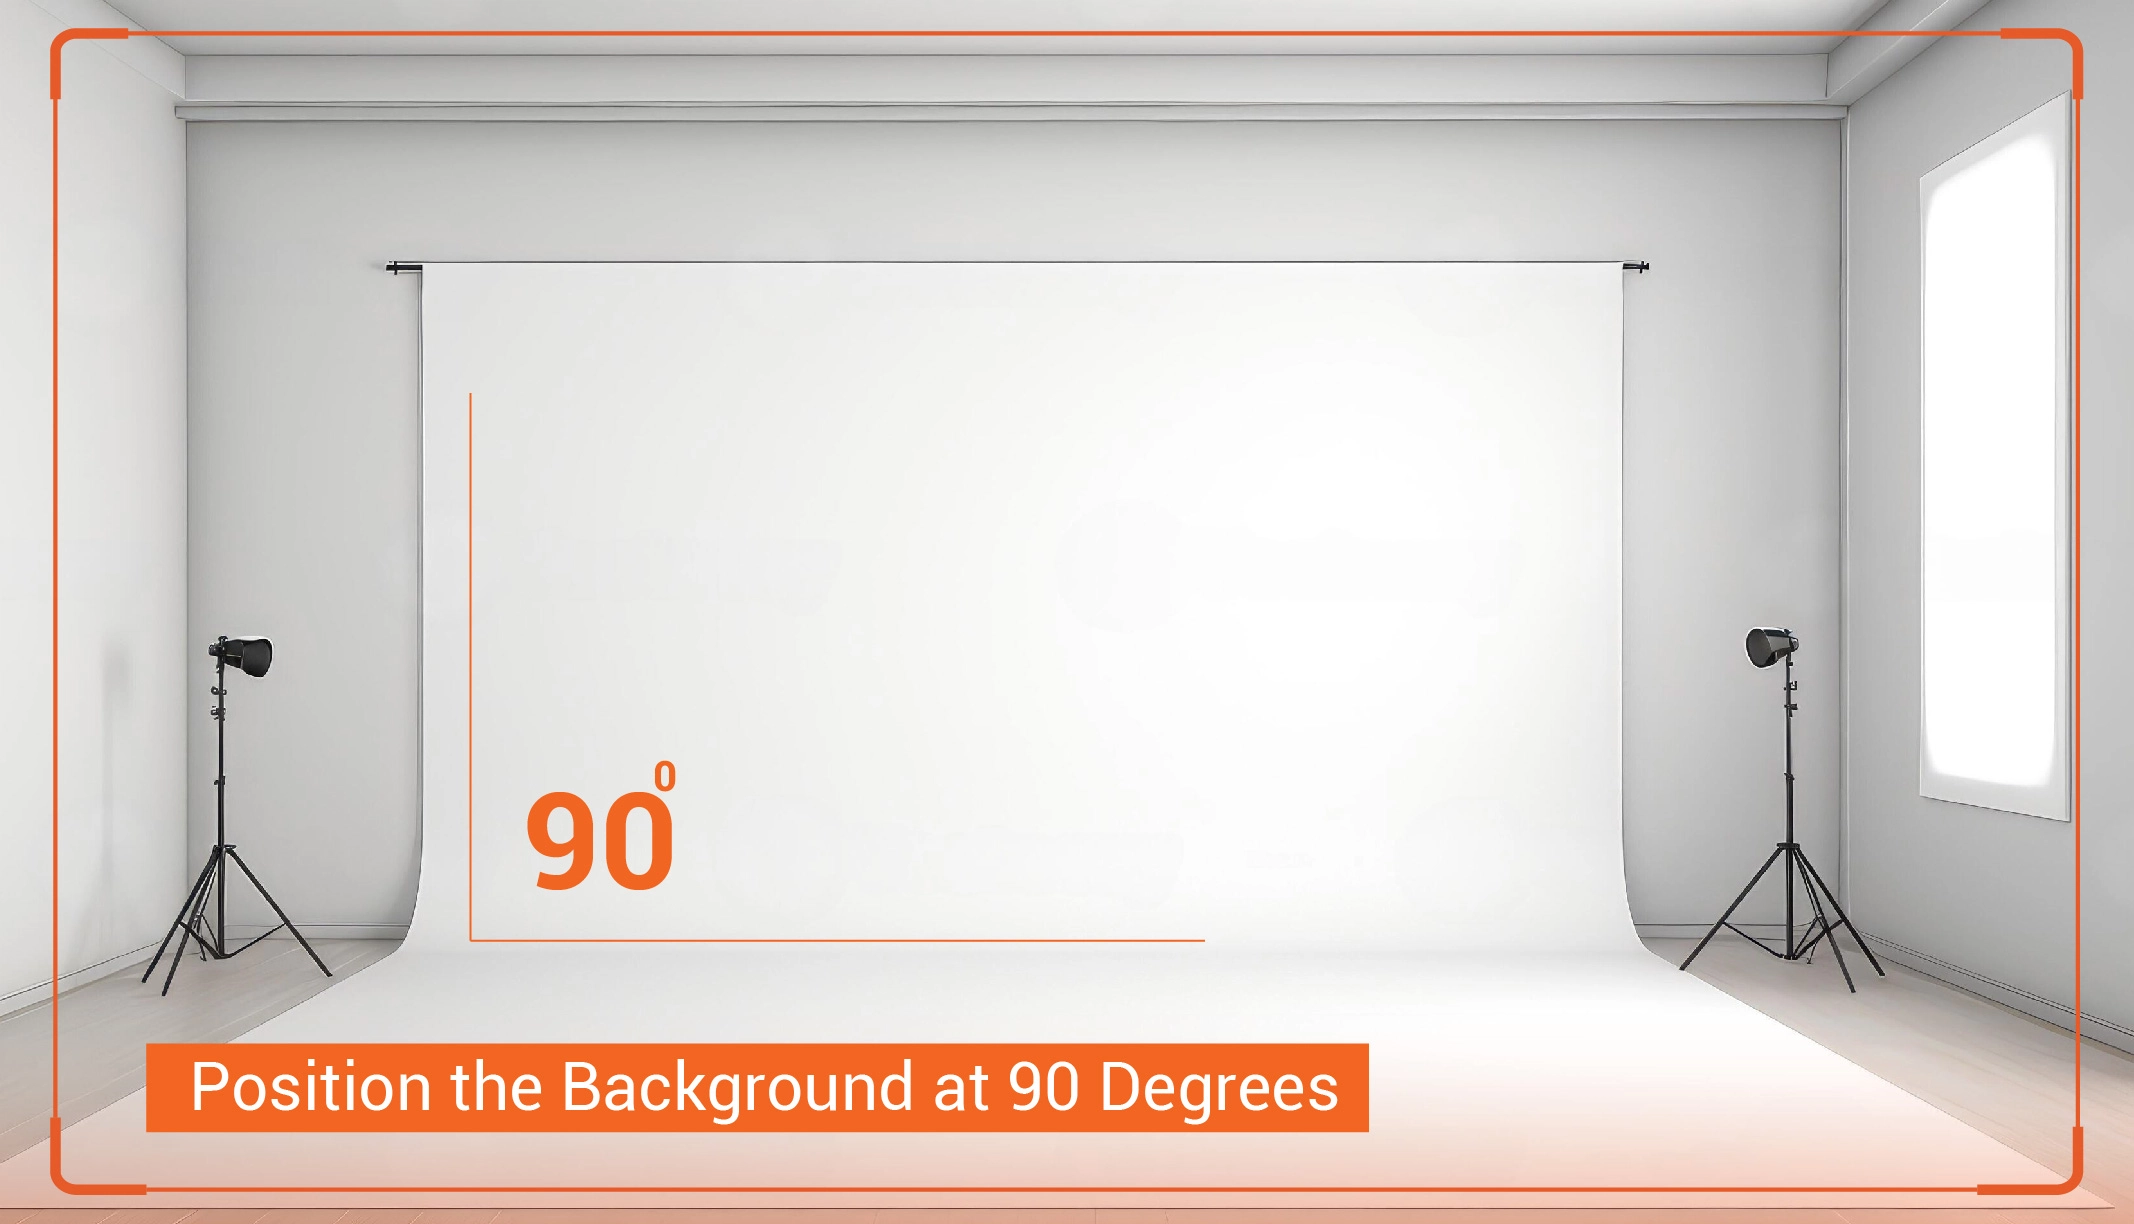
14. Position the Background at 90 Degrees
Use a right angle or a 90-degree angle to keep the background flat and perpendicular to the camera. You won’t have to worry about image distortion or awkward shadows. The key features of the product will remain the focal point.
In addition, product photographers can maintain a clean, consistent framing across all images. A 90-degree angle in the background makes the item stand out by creating a sense of stability.
15. Use Window Light
Is your studio window located in a perfect area? Window lighting can offer soft and well-balanced light with gradual and subtler shadows. Your product will look more organic and natural. You won’t have to use a flash as you are getting soft, diffused illumination freely. However, the wrong location of the window may cause overexposure issues. Besides, a too-large window may not add enough value if your studio background is white or solid black.
Should I tell you a free, effective trick to control window light? What about my tips? Just kidding! You can use a curtain to diffuse harsh rays and prevent overexposure and glare.
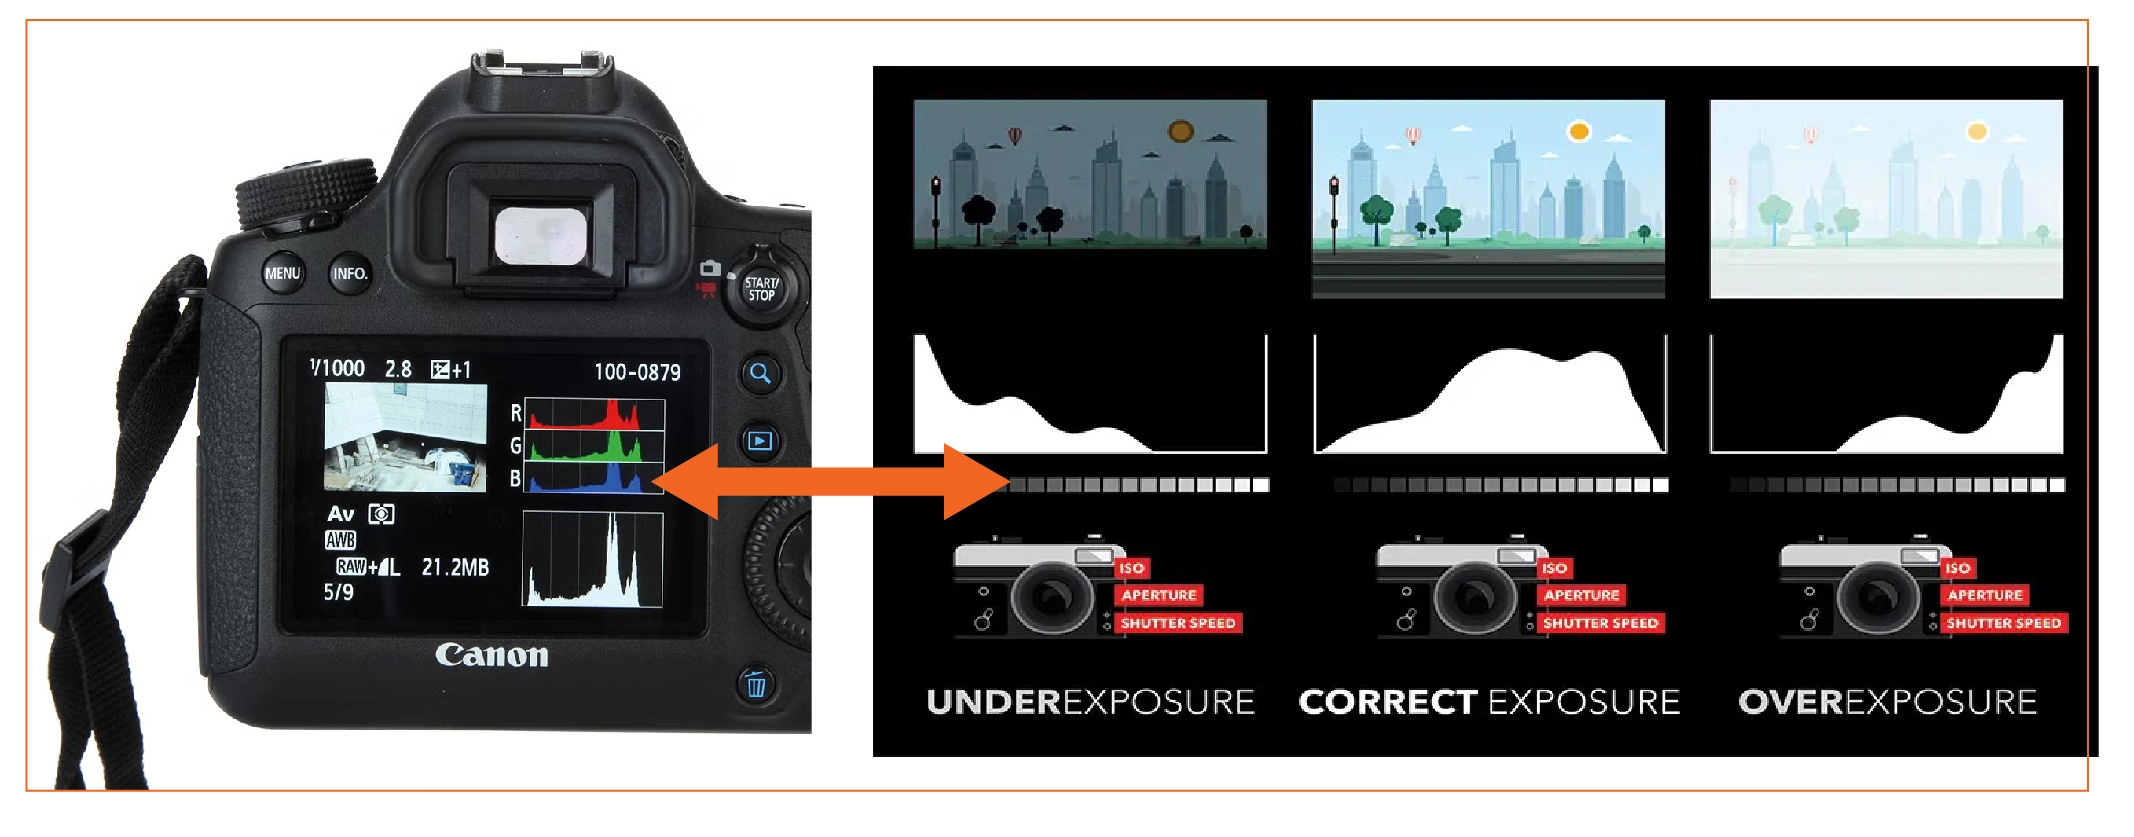
16. Adjust the Exposure
Those days are gone when photographers used to rely on light meters to set the perfect image tone. Modern cameras are equipped with advanced technology. You can utilize the histogram function of your digital camera to achieve the right level of exposure. No need to worry about under-exposure or over-exposure!
Different locations in a studio may show different exposure levels. Once you find the sweet spot, use gaffer tape to mark the area.
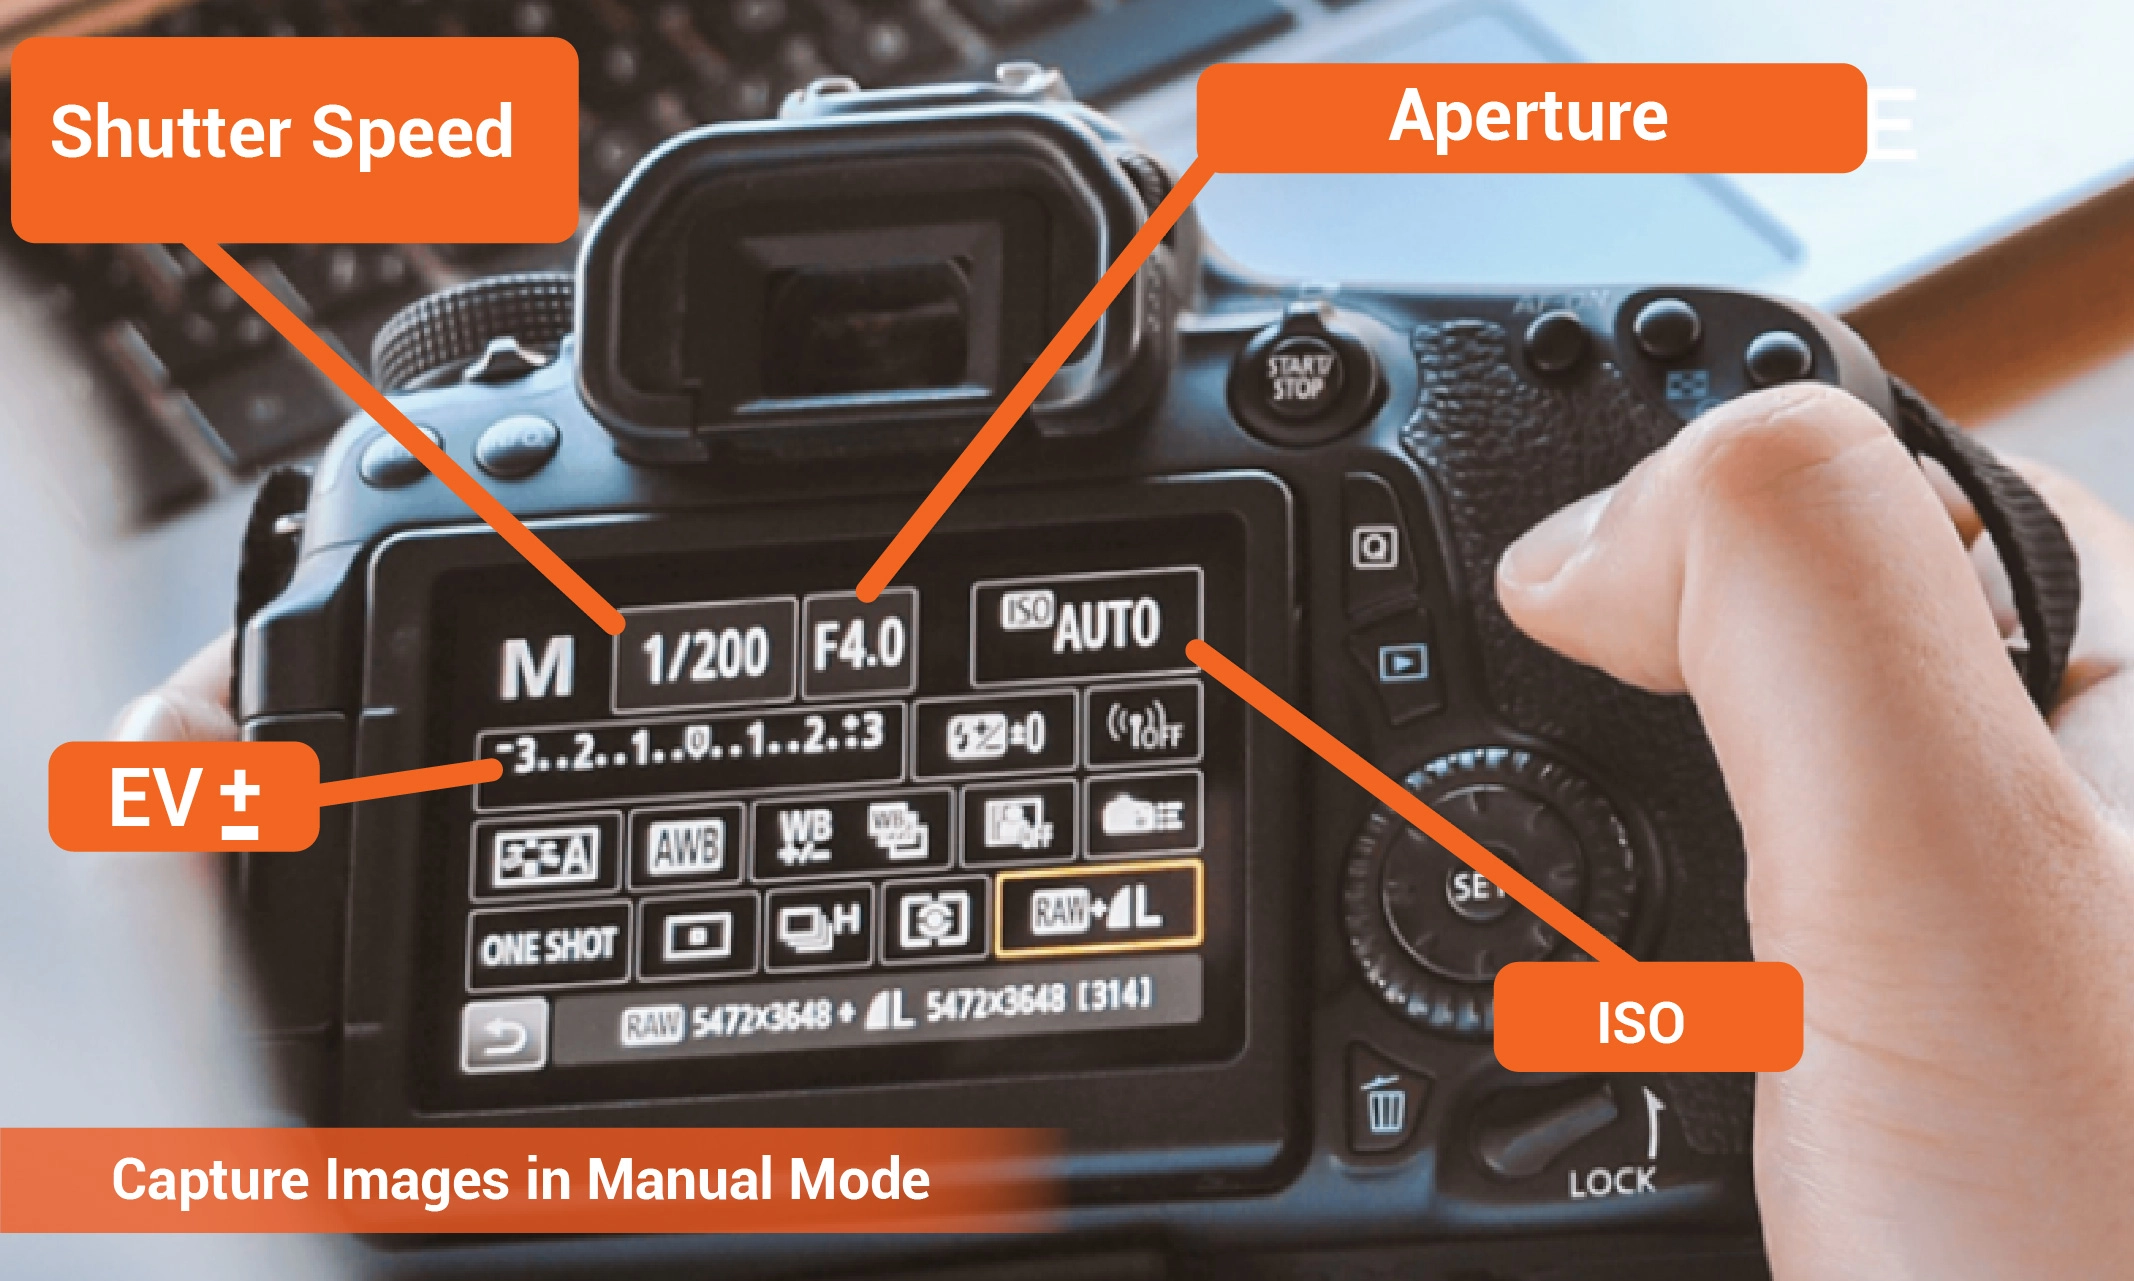
17. Capture Images in Manual Mode
Product photographers need to be creative. Automatic modes in DSLR cameras limit their understanding regarding depth, light, exposure, blur, and focus. If you want to push your boundaries and prefer better control over the light, subject, aperture, shutter speed, and ISO, capture product images in manual mode. You have complete control over what your photos will look like.
However, manually entering all the perfect settings takes a lot of practice. You have to adjust them precisely. Otherwise, it may ruin the focus, brightness, or clarity.
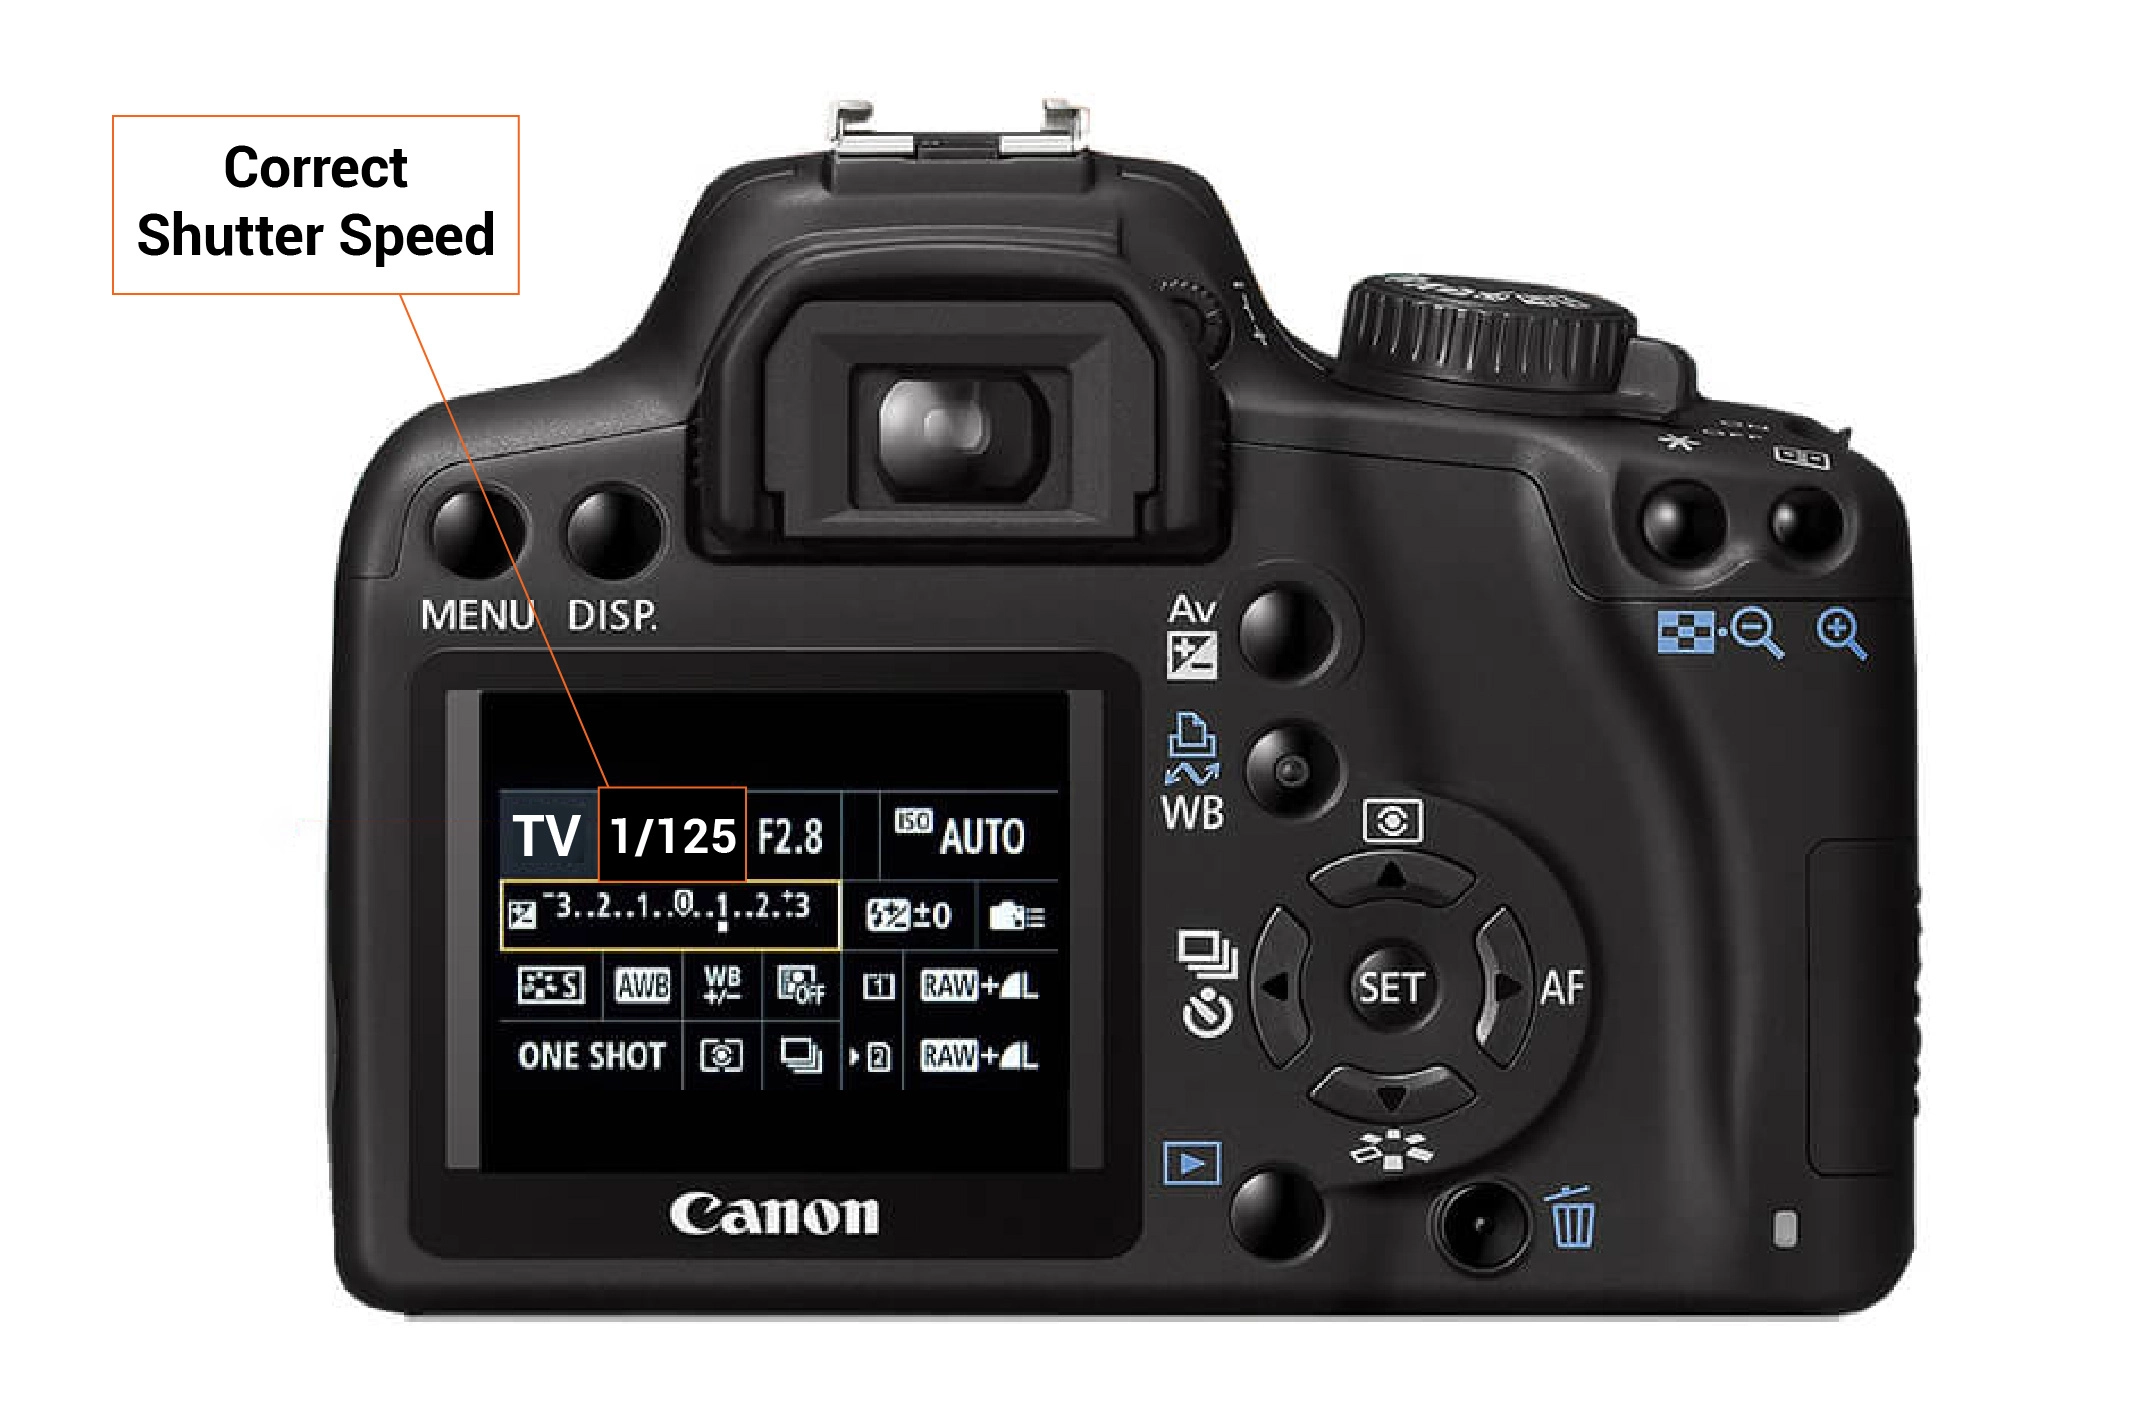
Shutter Speed
Shutter speed plays a pivotal role in the exposure level of an image. It also determines how much light will enter a photo. So, what is the ideal shutter speed to capture products in a studio? Will you hold the camera in your hands? Or use a tripod to support the digital device? If you are holding it, keep the shutter speed 1/125th or higher for product studio photography in an adequately illuminated room.
However, maintaining a balance between shutter speed and the lens’ focal length is the key. Otherwise, it may cause blurring effects from camera shake. Faster shutter speeds with longer focal lengths are better for capturing clear, unblurred images.
Aperture
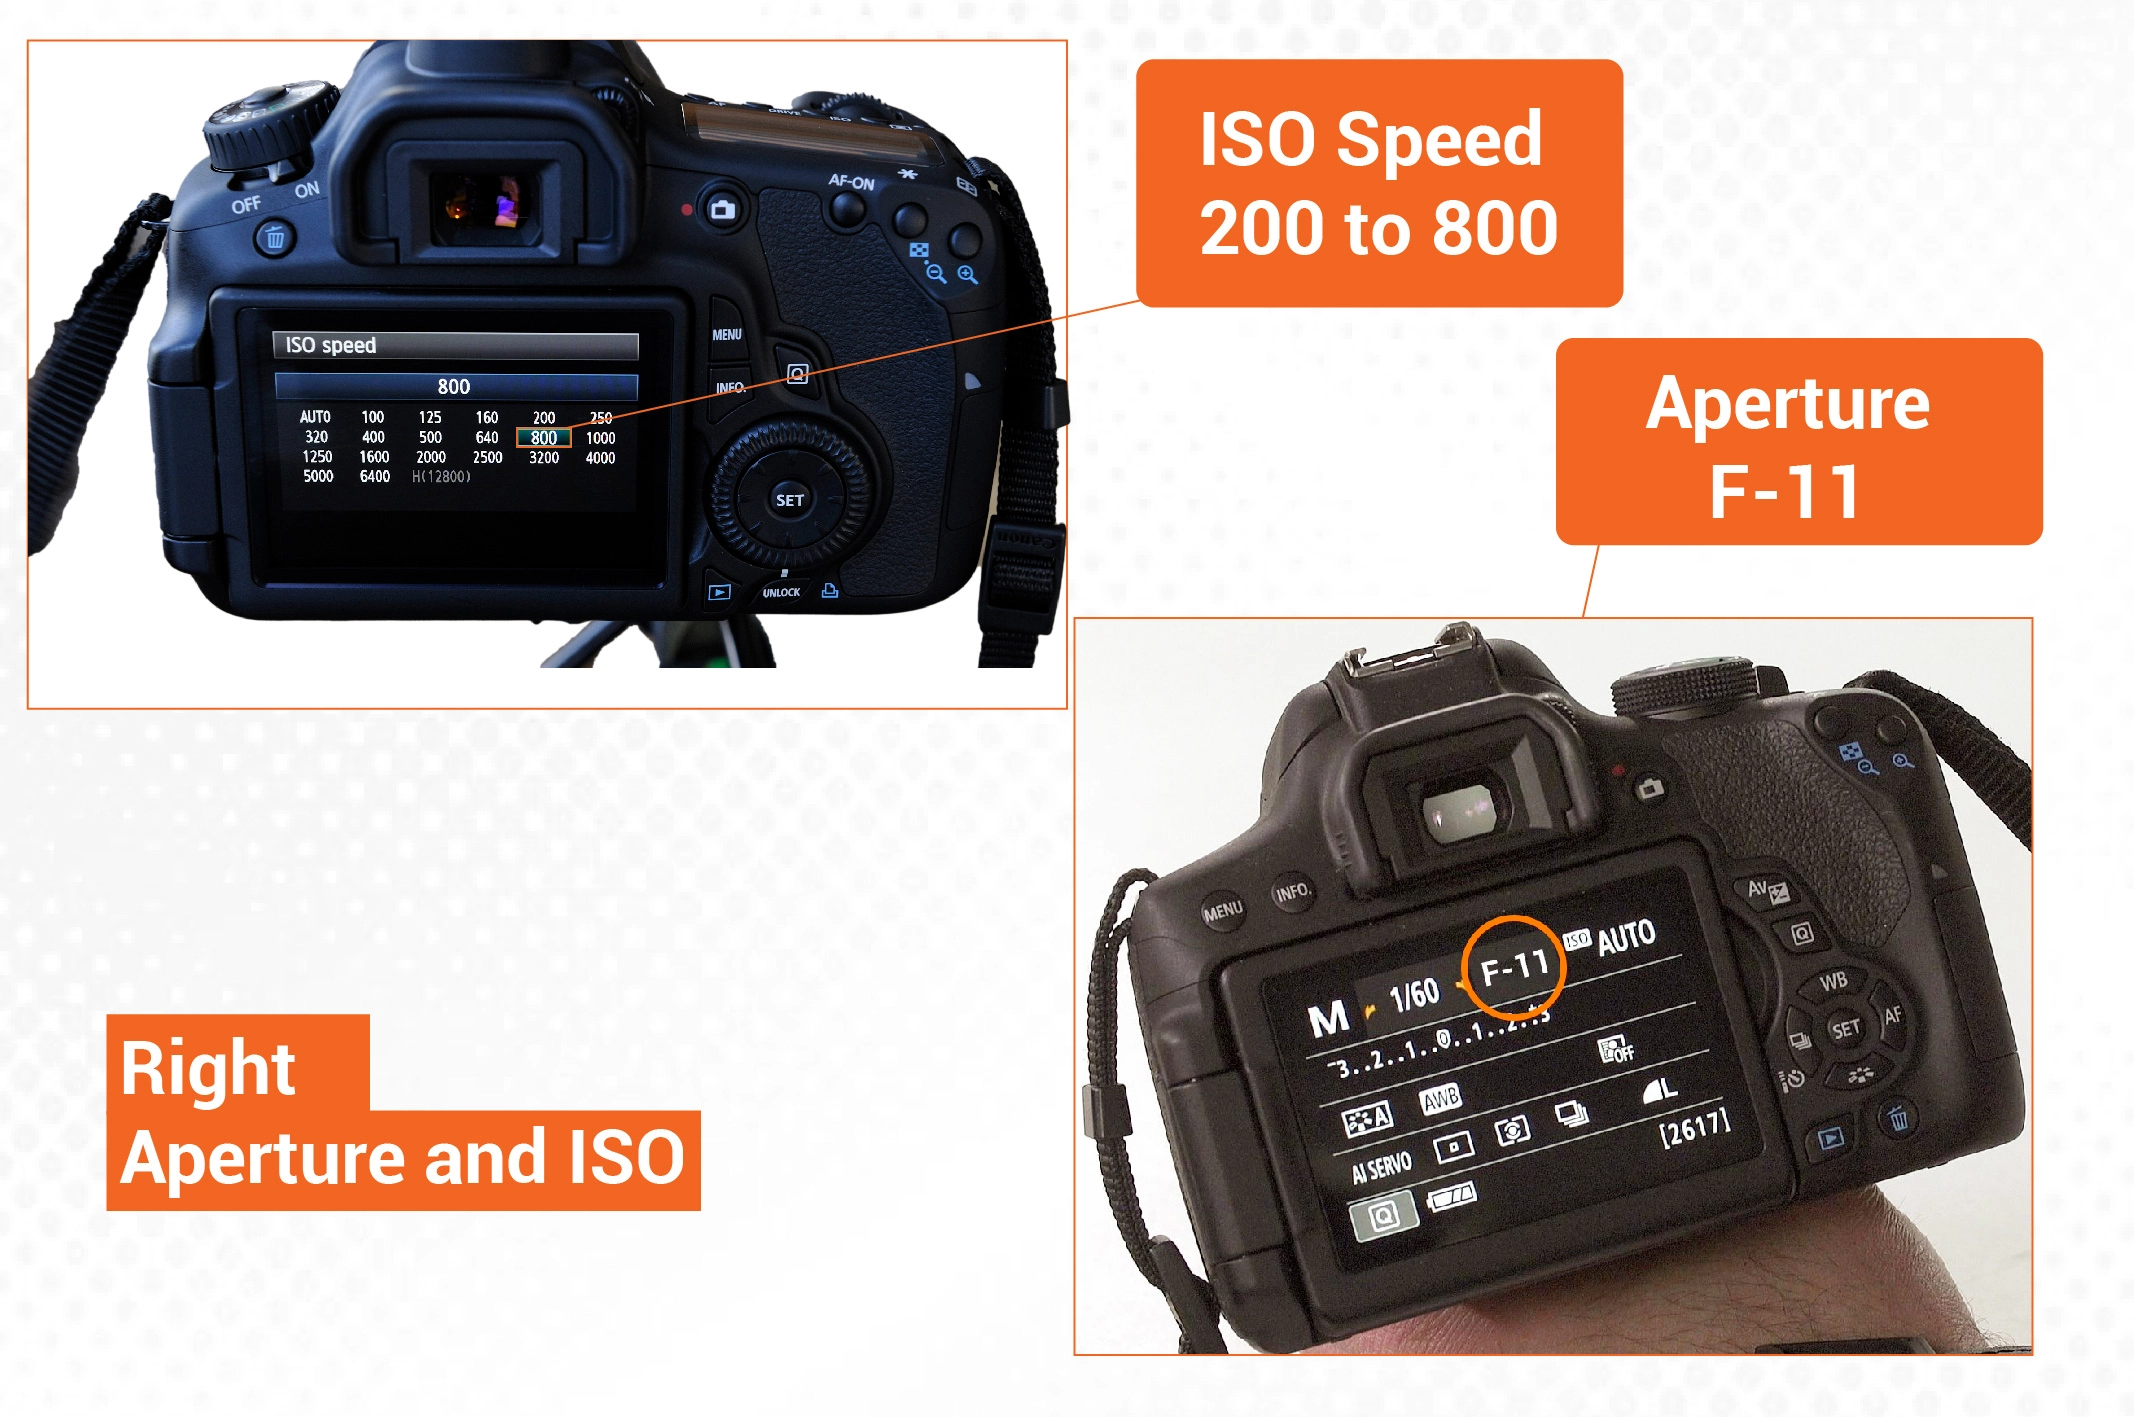
Should you choose a small or larger aperture for studio product photography? If you are photographing small products, a narrow aperture is a good choice. It enables you to showcase intricate details.
However, most professional photographers recommend keeping the aperture settings F/8 to F/16. It can cope with almost any kind of situation. You will get the best sharpness level across the photograph.
ISO
So, what about the ISO? The ISO settings can be anywhere from 200 to 800. But keeping it low is better to decrease image noise and grain.
You may also like to read… Ultimate Guide for Best E-commerce Product Photography
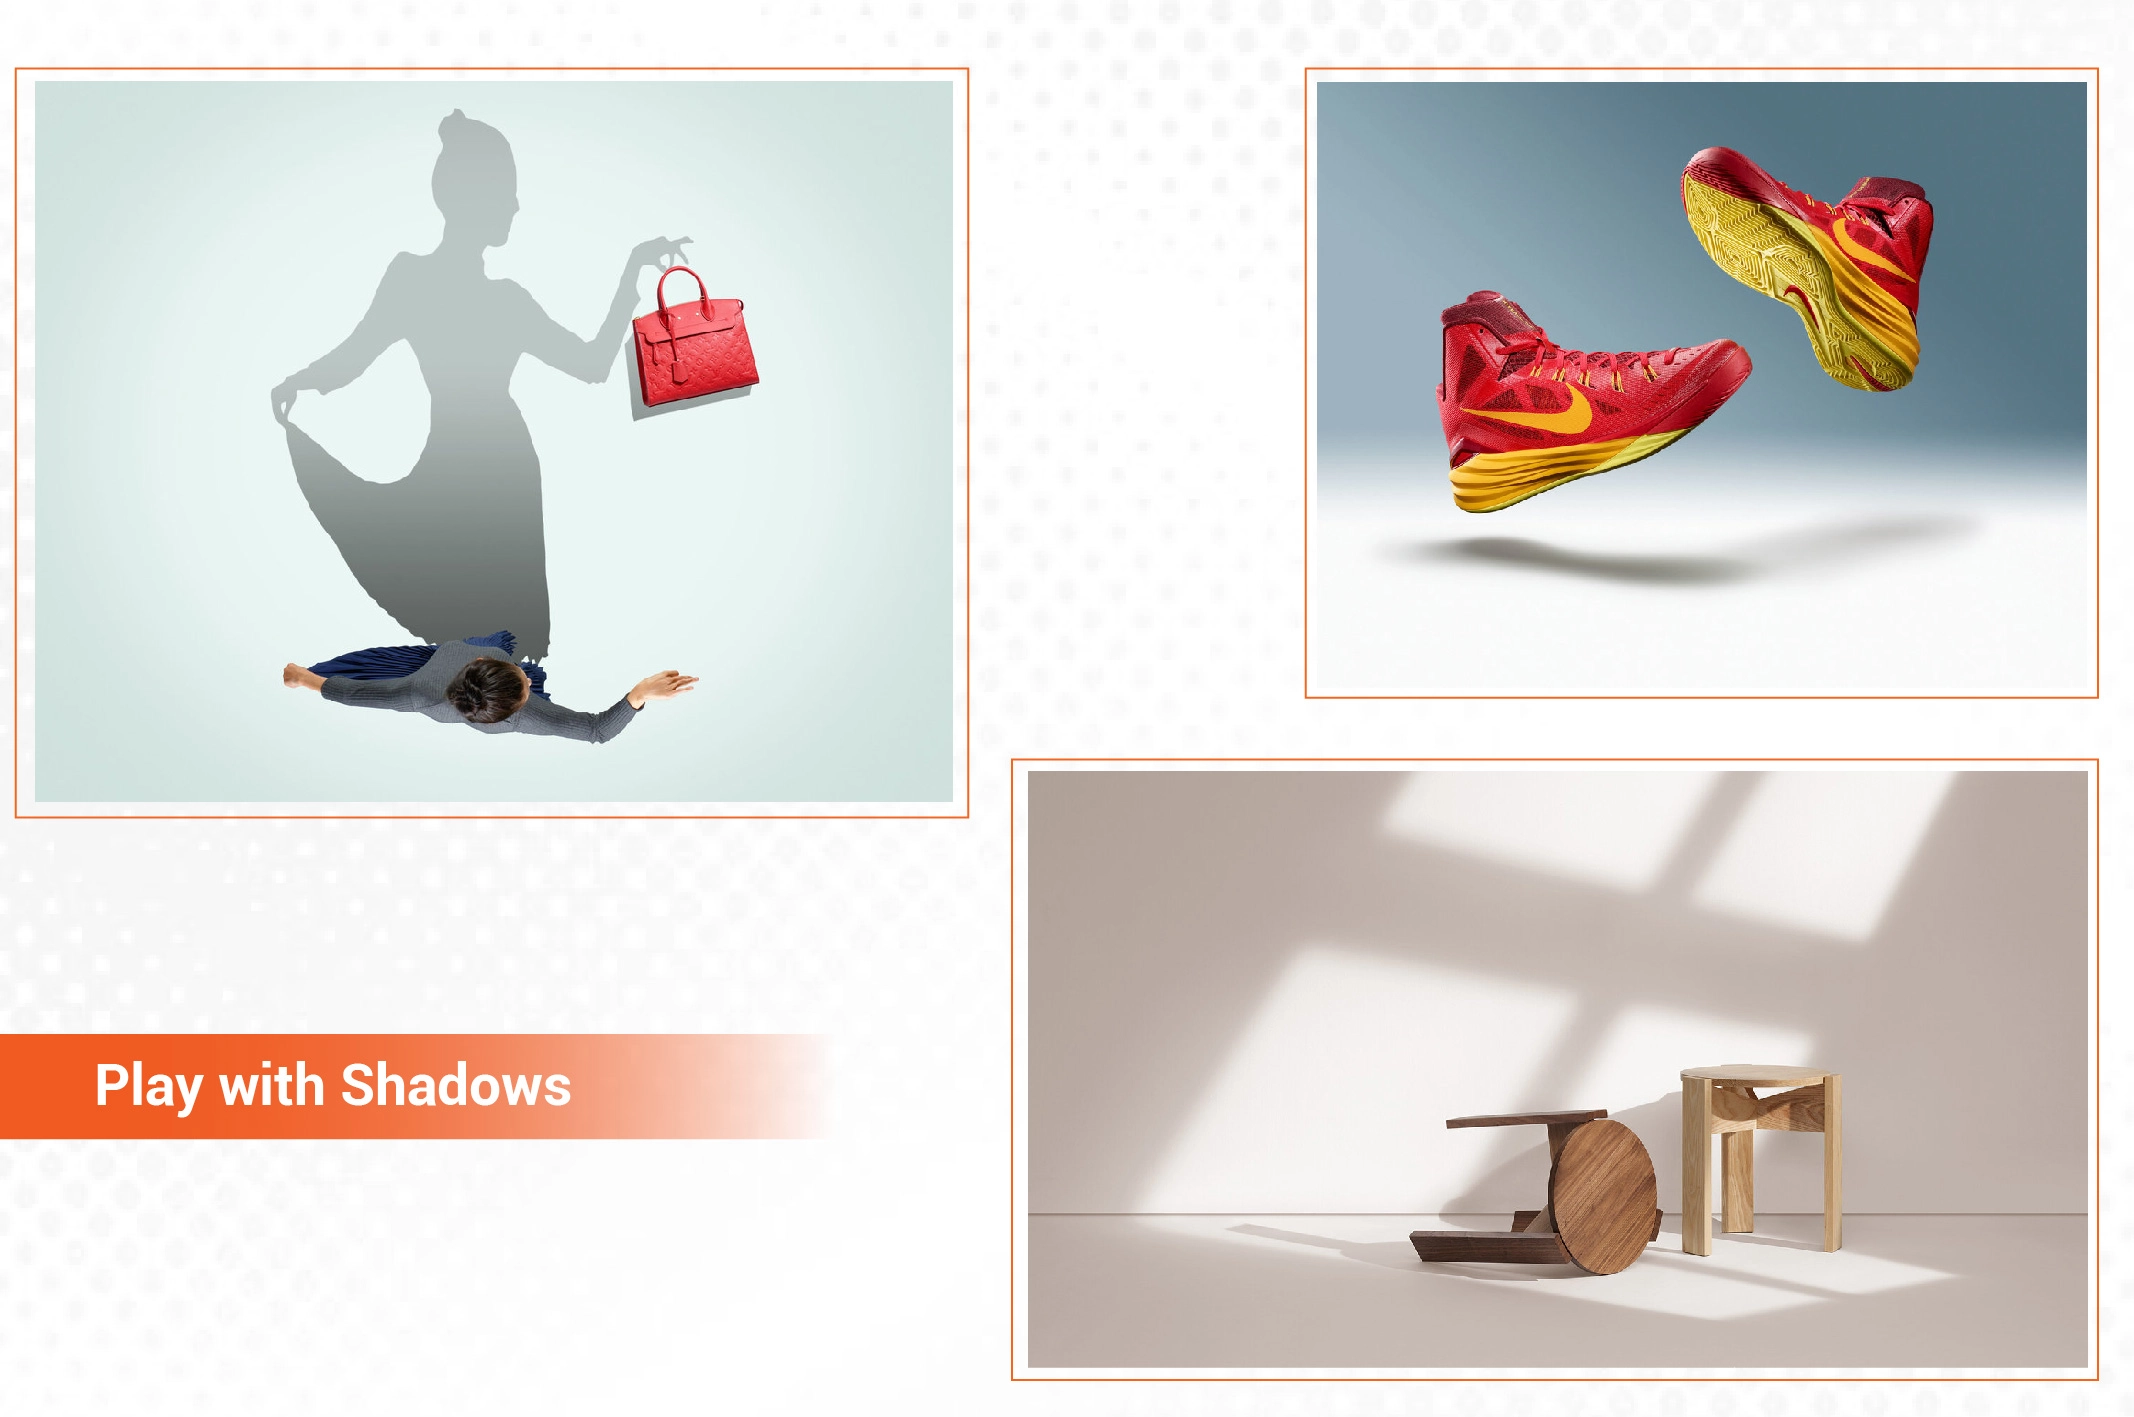
18. Play with Shadows
Shadows can add depth and dimension to product images. You can either form shadows during the photo shoot or in post-production. Casting shadows during the shoot will save you valuable time and effort.
So, what things do you need to form a perfect product shadow in a studio? You need to use both primary light and secondary light sources. Light modifiers and additional tools are also required to control shadows. All these things will determine the shadow’s direction, intensity, length, and sharpness.
| Primary & Secondary Light | Light Modifiers | Shadow Control Tools |
| Studio Strobes | Softboxes | Gobo |
| Continuous LED Lights | Grids | Black Cards |
| Speedlights | Snoots | Reflectors |
| Large Polystyrene Plates | Barn Doors | Diffusers |
| Flashlights | Flags | Light Control Screens |
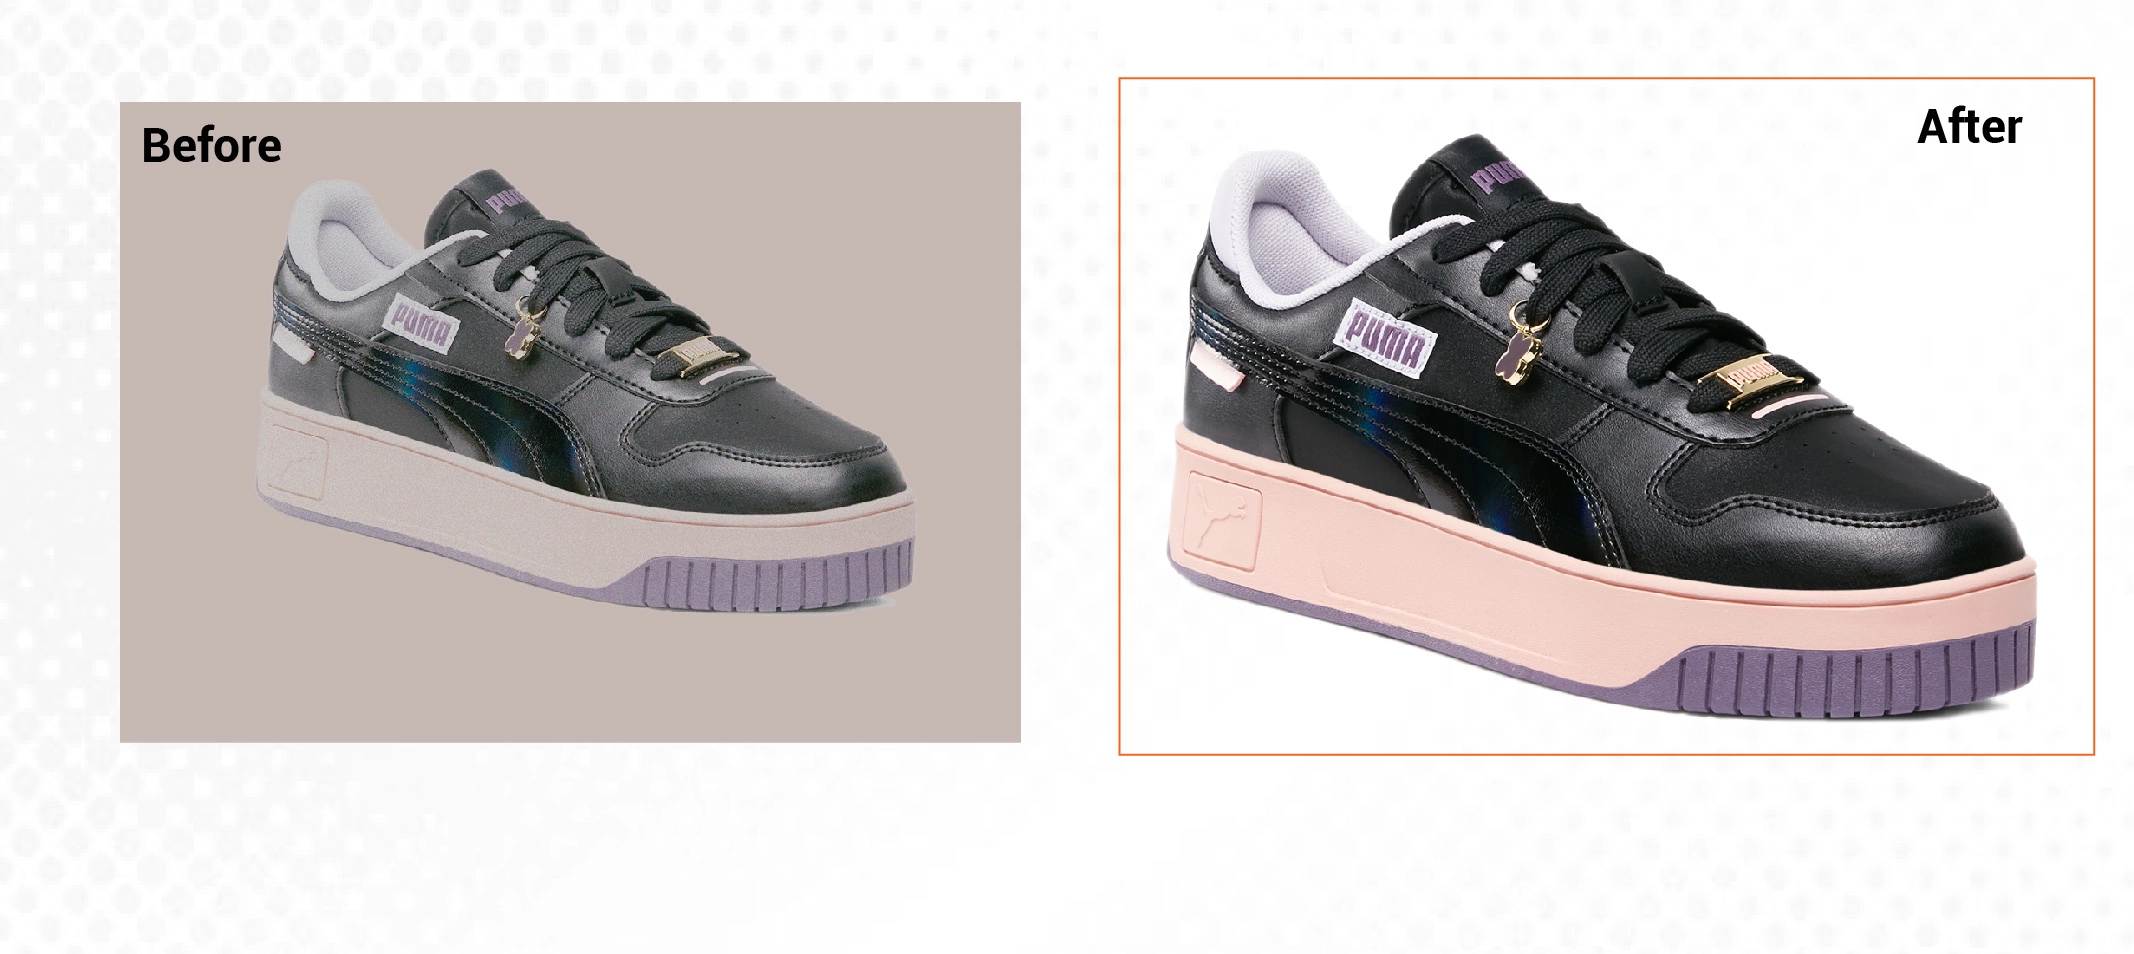
19. Tie Up with Professional Editors
Completed your product shooting? Satisfied with the work? Maybe not! They are likely to need a final touch-up. Your captured product photographs may require background removal or object removal, professional color correction, shadow creation, or high-end retouching.
Hire an e-commerce photo editing service provider based on what type of post-process work you need. If you want professional multiple-image editing services, choose a company that offers everything in a package. It will save you money and time.
FAQs
-
What are the best settings for product studio photography?
Keep the shutter speed 1/125th or higher, aperture settings F-11, and ISO settings 200 to 800 for studio product photography.
-
What does a photographer need in a product studio?
A photographer needs DSLR cameras, several lenses, various types of lighting, backgrounds, props, and many other items to capture professional-grade product photos in a studio.
-
How much does it cost to book a product photography studio?
It can be anywhere from $20 to $500 per hour, depending on the product type, studio size, setup requirements, background options, etc.
-
How much does it cost to set up a product photography studio?
Setting up a product photography studio can be anywhere from $10,000 to $20,000+ based on the studio space, equipment, and other attributes.
-
How do I make high-quality product studio photos?
Apart from high-end cameras and lenses, you need primary and secondary lights, diffusers, reflectors, and other relevant equipment to capture better-quality product images in a studio.
Final Words
Setting up a perfect studio for product photography requires a lot of planning and effort. You have to plan everything from setting up the ideal lighting and backdrop to editing the final image for a polished, professional look. We have mentioned some pro studio product photography tips to take your product photography skills to a new height and fulfill your clients’ goals.

