
Hero shots alone can’t do all the work. Ecommerce product listings push you to look at products from a more versatile perspective. For good reason, to get the best product photography angles, you change the position of both yourself and the product.
It’s worth taking these kinds of shots. It becomes clear when you see that the time between ecommerce website visitors landing on a product page and clicking add-to-cart is getting shorter.
Even this different view of yours is why they are making checkout confidently.
Keep going with this blog. We’re going to talk about the best 6 of those different angles you’ll want to use in your product photoshoot.
1. Front / Straight-On Angle
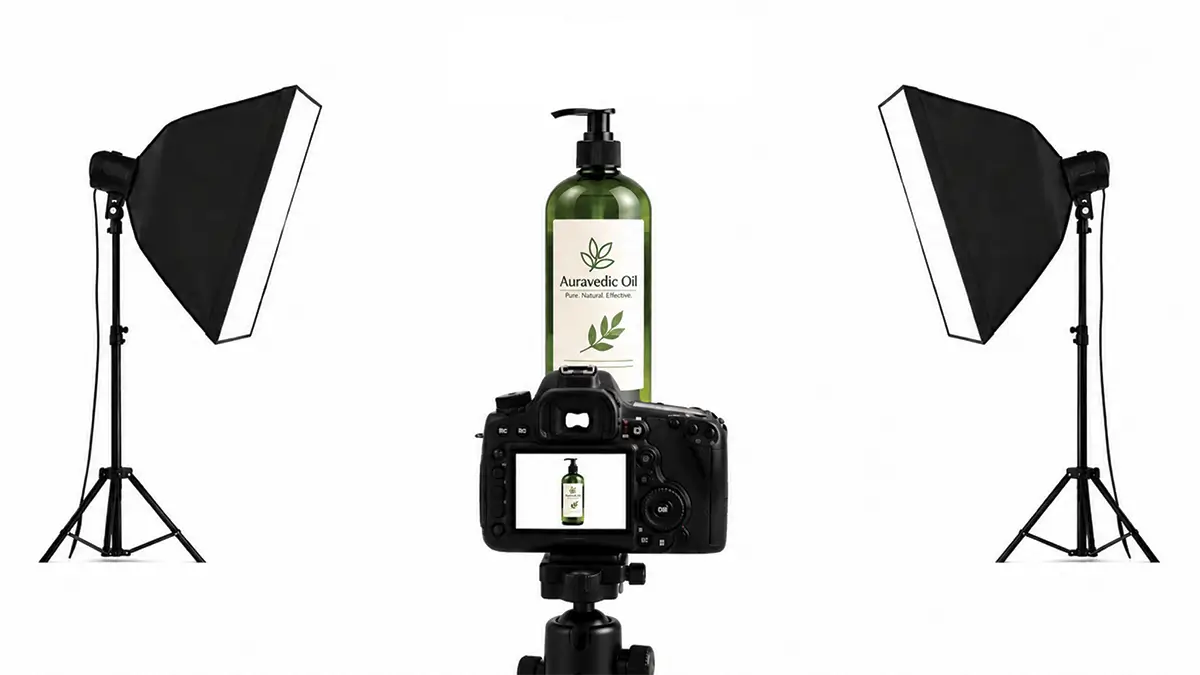
Whenever people (even photographers) go to take a photo of something, in most cases they try this angle first. At this time, they stand directly in front of the object they are photographing (not at an angle or tilted), with the camera at about the same height as it.
This is, on the one hand, the easiest angle for ecommerce product photography, and on the other hand, it is effective for visitors to get familiar with the product in the most natural way.
For example, viewers can clearly see the label on the front of a shampoo bottle or get an idea of the branding on a perfume bottle. Overall, in this view, the buyer can immediately understand what he is looking at.
2. Three-Quarter / 45° Angle
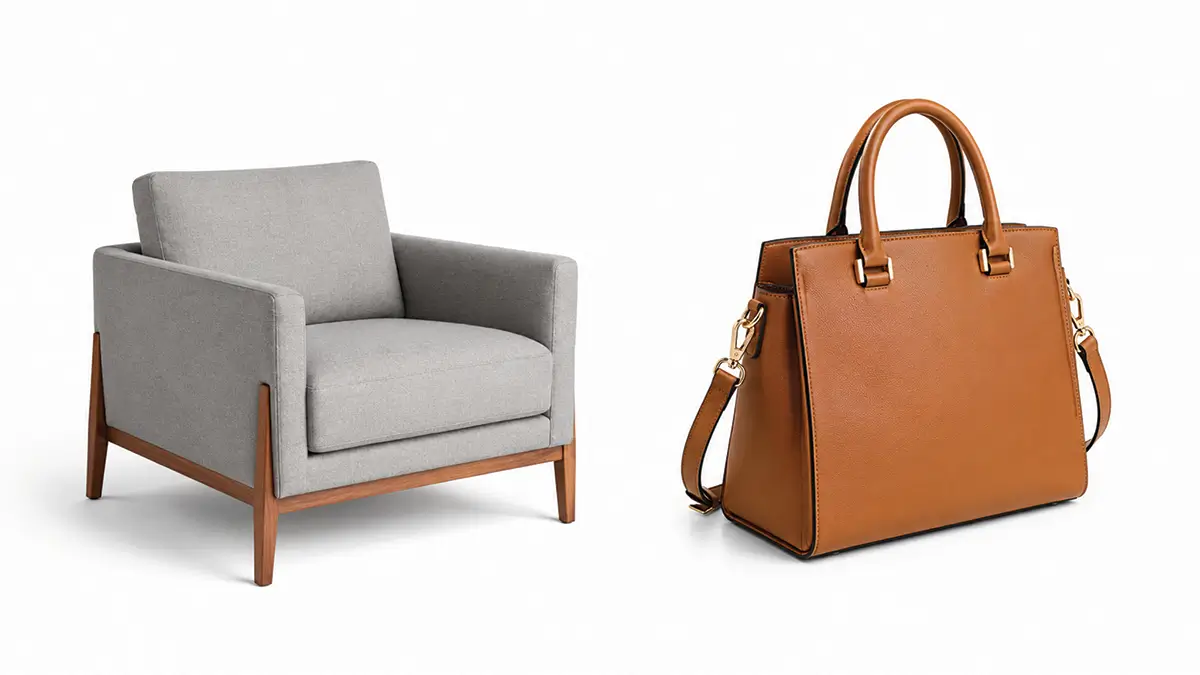
When taking this shot, photographers place the product at a 45-degree angle to the camera. What this does is that viewers can see both the front of the product and either the right or left side of the image.
Suppose your audience wants to place a piece of furniture in the corner of your room. So they need to see whether it will fit against the corner wall. This three-quarter view will give them a clear idea in this case.
If you can shoot it right, your viewers will be able to see how thick the furniture is from the side. You can also take a picture of a handbag at a 45° angle and see how easy it is to tell if it can be carried comfortably.
3. Profile / Side Angle
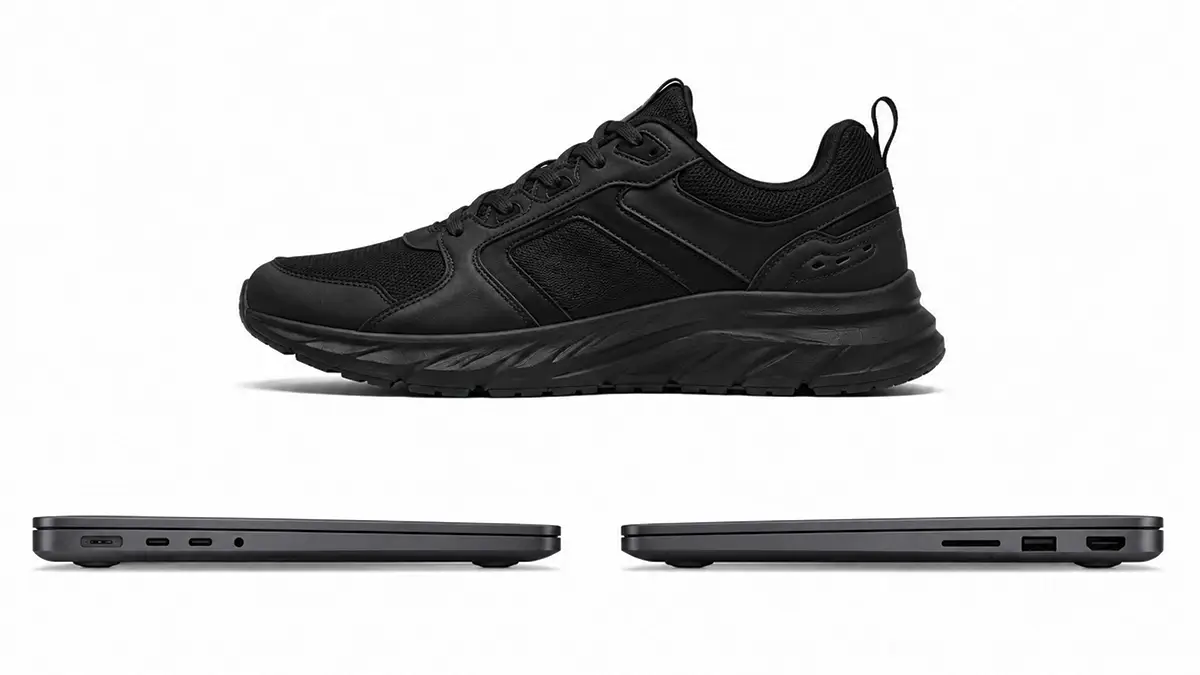
A photo of a product taken from either the right or left side is called a profile shot. While this angle is important for any thickness- or shape-dependent product, you can’t think of footwear products without it.
| For sneakers, everything related to the design is visible in the side view, none of which is present in the front. |
Furthermore, the 3/4 shot actually answers your viewers’ tag question – does the product have thickness? Yes. And in the side view, they can measure that thickness.
You’ve probably noticed this when you take a picture of a laptop. Do you only need to look at the side of it to know how much space it will take up on a table? No, it also shows the location of its ports.
4. Flat-Lay / Top-Down Angle
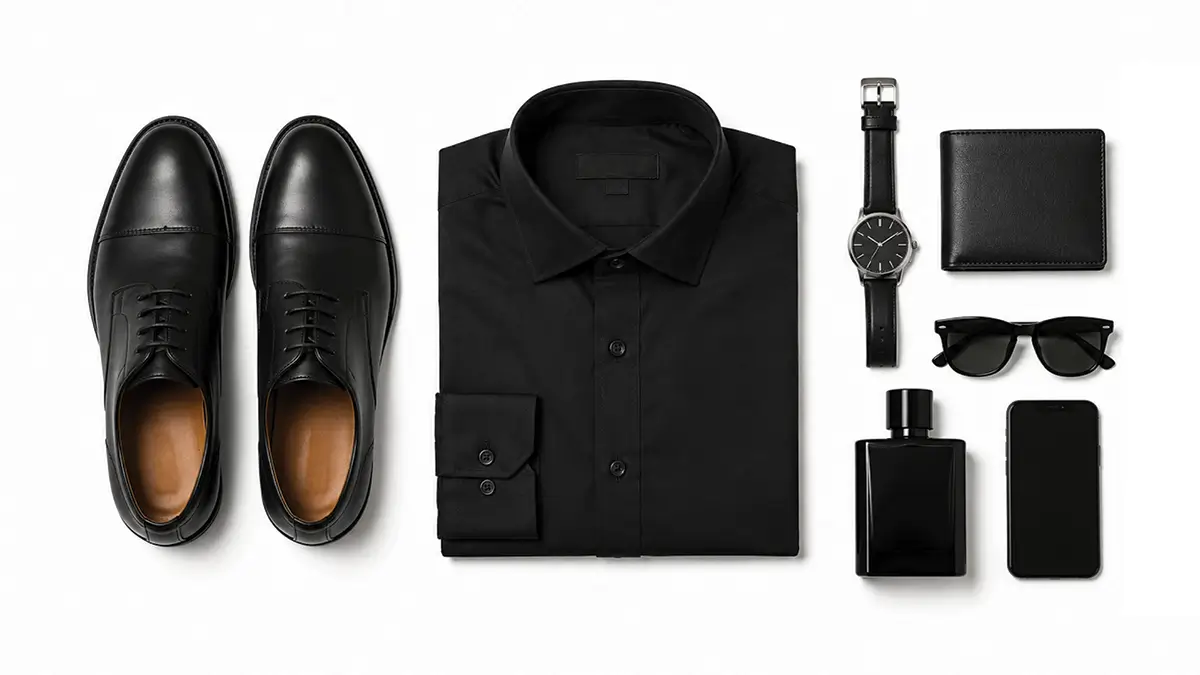
When taking photos at this angle, photographers place the product on a flat surface and hold the camera directly above it. Hence the name flat lay.
This shot is especially suitable for clothing, jewelry, cosmetics, watches, and product bundles.
Here you need to pay attention to the surface color, whether it covers the details of the products. But if you can do it right, viewers will get a clear image of the small details on the product. You know that the best view to see the details is the top view.
While a three-quarter shot would be better suited to showing individual products, this top-down shot is best for showing the entire collection at once.
5. Slightly-Below / Low Angle
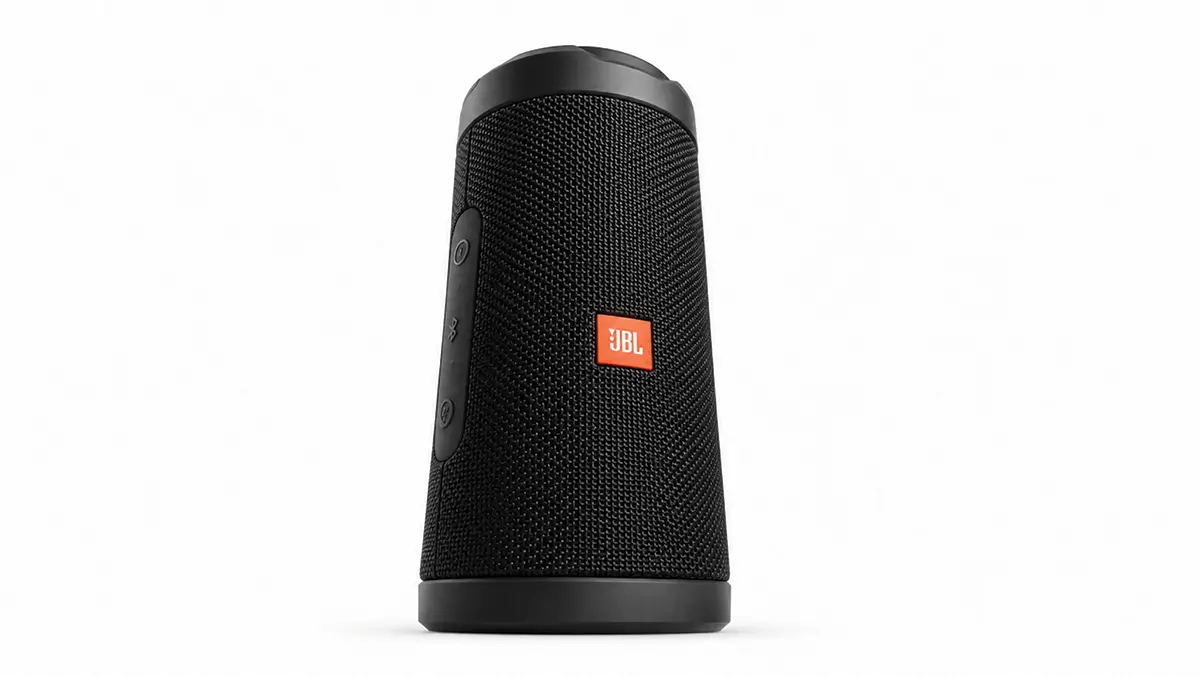
This is the premium angle where you place your camera just below the center of the product and point it slightly upwards. The pointing isn’t so high that it goes beyond the top of the product, because then much of the bottom of the product will be out of frame.
| This angle works best with large, tall, and sturdy products. Especially for bottles, car accessories, large furniture, and luxury products, it brings a royal feel. |
You can give a normal speaker a try by taking its picture from a slightly below angle. You will see that its entire look has changed and it looks more impressive.
A cautionary note is that it is best not to take this shot for products where the measurement aspect is significant.
6. Rear Three-Quarter / Back Angle
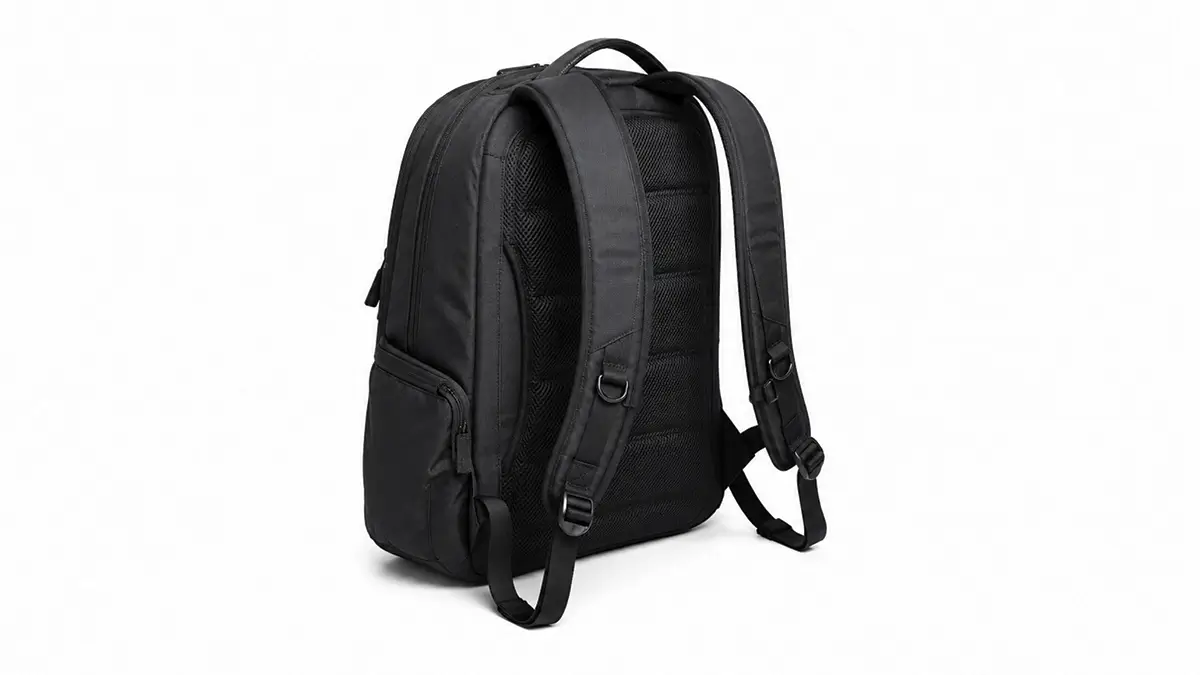
Like the front angle, this view shows the back of the product, but not directly, but at a slightly angled angle. The gain of this take is that along with the back side, a portion of the left or right side also comes into the frame.
Consumers of apparel, footwear, furniture, and tech gadgets are keen to see the back of the product before making a final purchase.
Backpack photographers can relate to this the most.
The front photo shows the bag’s chain and straps, while the important parts like the shoulder strap, back padding, stitching, and handle are all in the back three-quarter photo.
Frequently Asked Questions About the Best Product Photography Angles
1. Do I need to move the camera to exactly a 45-degree angle when taking a three-quarter shot?
No, it doesn’t have to be exactly 45 degrees. If you take the 3/4 shot of the front, see if the front and either the right or left sides are well in the frame. Do the same thing for the rear three-quarter view.
2. What angle is best for depicting the outside shape or outline of something?
The profile angle would be the best if you want to clearly show the outside shape of the object in your photo without any distractions.
3. What product views should I take to create a catalog image for eCommerce platforms?
The safest angle for product catalog images is either a three-quarter or front angle. But always avoid low angles in this case.
4. What products do flat lay shots usually go well with?
Flat lays work well with clothing, jewelry, watches, phone accessories, shoes, and bags. Moreover, a group of products displayed in a bundle, such as a gift set, also gets a good view in top-down shots.
5. When taking a front view, where exactly on the product should I point the camera lens?
Not above the product’s head, not as low as its bottom. You’ll want to point your camera lens right in the middle if you want to get a direct front view.
Takeaway
This is the product photoshoot where the effort to convert ecommerce store visitors into customers begins. The photos exposed to these best product photography angles are why browsers are clicking add-to-cart without a second thought.
Now, if you ask me to even narrow down these best shots and choose one, I would go for the three-quarter angle. Because when it comes to bulk ecommerce product photography, I feel like it gives a better view of the shape than a flat front or back.
After this long photoshoot project, you’re no longer in a position to tackle post-production. You’re praying with all your heart that you’ll get the images ready with the necessary edits before uploading them to the site!
With just the solution, Retouching Zone is ready for you. This thriving team of 400+ product photo editing professionals has been serving a variety of product-based businesses for a decade with success.
You can check out their expertise with this free trial. This could be the very first step in a long-term partnership, where you don’t have to worry about bulk image editing anymore.