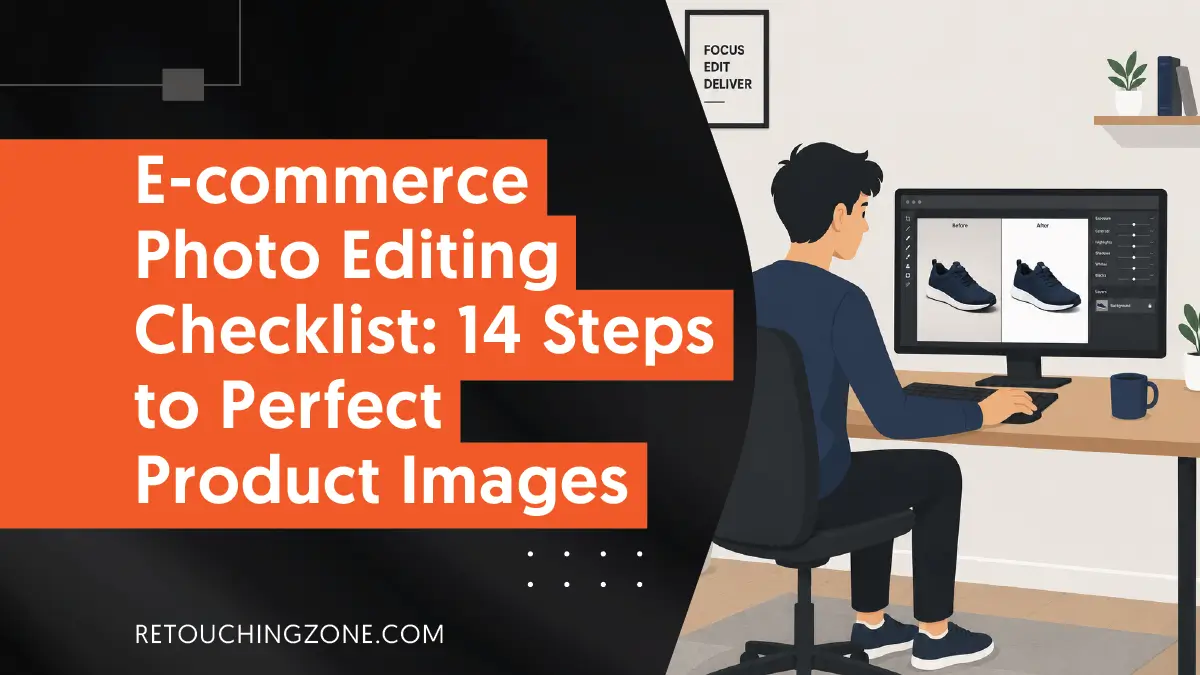
To create top-quality product images with very fine pixel work, you should use ecommerce photo editing methods designed for each particular job. What if you could get them all in one place, so you could use them as a one-stop manual when you need them most?
To solve this very pain spot, we have arranged 14 important steps that work well for ecommerce. Every part, from uploading the images to exporting them, is included in this checklist, which sets out to bring you the plan for making visuals that convert more effectively.
Let’s get down to the very first step.
Step 1 | RAW image import and batch conversion

Adobe Photoshop, Lightroom, or Capture One, you can choose any image editing software you want. But you need it to be ready to go right from the start. Because you don’t want to risk destructive editing and repetitive work, right?
Setting the Stage for Batch Image Processing
- Import images into the software
- Keep the development settings in presets, as this will maintain a baseline color profile, exposure, and white balance.
- Batch convert; choose TIFF as the format.
Why TIFF?
TIFF is the image file format which maintains the highest quality of images and keeps its metadata accurate. This way, you don’t have to worry about the technical specifications of each image separately once you start editing photos.
Step 2 | Subject masking and background removal

The first touch of eCommerce photo editing starts with the clipping path. It has a simple background in the center, which, you know, is a must for images in online stores like Amazon.
Separate the Subject from Its Surroundings
- Select the sharp edges with the pen tool. Alternatively, go for an AI selection mask, which works better for fine textures like hair
- Put the product onto another background
- Adjust edge masking, but leave some edges less enhanced. Thus, you can keep tiny anti-aliasing right with the background.
Expert tip: Be sure to avoid edges that have fringing or visible halo effects, which happen normally because of sub-pixel anti-aliasing.
- Test whether the transparency channels are clear and the alpha layers are declared correctly.
The result you seek: Regardless of the distinct lighting environment, it will be easier to make the compositing error-free.
Step 3 | Adjusting exposure, contrast, and dynamic range

When you are fixing up an image, you aim to keep the depth and the lighting looking real, yes? These are some ways you could do this:
- Analyzing Histogram: This checking process lets you bring back bright parts and prevents shadows from cutting off abruptly. The thing is, by doing this, you do not lose information in the RAW file.
Expert tip: For making your photo’s dynamic range as optimal as possible, make sure the dark and bright spots are close to equal and do not let them be too exposed or underexposed.
- Exposure Adjustment: You can move the exposure slider back and forth to bring the midtones into the center.
- Contrast Adjustment: You can do this using the Tone Curve, which basically applies local contrast to the image.
Step 4 | White balance and color grading

The real color in the image effectively draws potential buyers to the product. The thing is, for this, you need to get things ready on the photo shoot stage before photo editing, as follows:
Things to do during the photoshoot
Achieve a neutral point, for which you will need a gray card reference. As a result, you can make the necessary corrections to the white balance.
Things to do during photo editing
- Use the eyedropper tool to neutralize the color casting in the neutral areas of the image.
- Adjust specific color channels along with the HSL slider. This color grading serves two purposes –
- Achieving the color that goes right with the brand
- The product gets its true color on different types of displays
Step 5 | Cleaning dust, scratches, and imperfections

A large part of the meaning of image quality is how clean the image is. This cleanliness includes not only dirt but also the cluttered look.
Ways to remove unwanted distractions
- Zoom in while editing; this will show the physical damage, dust, and scratches that have stuck to the camera sensor during the photoshoot.
- Do the healing in specific areas; you will need the frequency separation technique for this. This works well to separate the texture from the color of the product in the image without damaging the original surface design.
- Get the best out of the healing brush and clone stamp tools. Use them on separate layers, and you’ll efficiently get the distracting elements removed from the image.
Step 6 | Ghost mannequin effect and neck joint

Now you have come to the retouching method through which you can give a 3D effect to a still image. By going through the following steps, you will be able to see the Invisible Mannequin in action in your image:
- Merge the torso part of the clothing only with the details of the label inside.
- Carefully mask the inner neck and sleeve parts. You will see a human-shaped model, for which this ghost mannequin is named, is created.
- Keep the alignments from top to bottom correct, which will maintain the natural folds of the fabric even after retouching.
- Do layer masking with skill, and you will see that all the stitches are no more visible for good.
Step 7 | Maintain consistency between product resize and aspect ratio

In eCommerce stores, customers like to view products in different views. But the condition here is that you have to keep the display layout consistent across all views. What this will do is deliver a better user experience that will keep customers in the store longer.
To do this, you need to follow these steps:
- Set the image resolution so that it syncs well with the aspect ratio of the image. You must have already seen the most striking examples of this on Amazon, Shopify, or Etsy. No matter how you view the products there, the layout remains always the same, right?
- Make the most of scripting or Photoshop actions. This will change the canvas size without distorting the product’s aspect ratio to the entire image.
Pro tip: Keep the entire image 85 to 90 percent of the frame.
Step 8 | Alignment, centering, and orientation

Visual professionalism is about product alignment in photos, in which getting exactness does not simply follow regular standards. It has to do with product catalogs, which have a positive impact on brand value in the long run. So how do you make these necessary corrections around products in RAW files?
- Align products grid-wise. You don’t have to fight to get the product exactly in the middle of the canvas.
- Use the transform tool. As a result, even the slightest rotation error will be corrected.
Professional tip: Make the vertical axis and horizontal axis of products parallel to the edges of the image frame.
- Verify the product with different guide layers. This is healthy for the consistency of each product in your catalog.
Step 9 | Applying natural, drop, and reflection shadow

Want to bring a realistic level of depth to your photos? A skillful application of shadow creation can fulfill your desire.
Shadow creation procedure
- Make a new image layer under the product, which leaves a slight space between the product and the ground.
- Use a soft brush with a fairly low opacity and create a gradient.
- Use a blurred layer and then follow the direction from which the light falls on the product. As a result, you will get a drop shadow for your product.
Pro tip: Practically speaking, opacity should be set up to resemble the surrounding real light.
- Edges of the product get polished gently to produce a soft shadow effect on the ground.
Step 10 | Enhancing texture and material detail

The more visible the material details of the product are, the more your product photo will have the quality, so that it will give customers the experience of touching the product.
- High-Pass filter on duplicate layer: Before applying it, make sure it is set to overlay blend mode. The result? You will witness your product come to life with each bit of its texture and structure, which will impress your customers as you intended.
- Masking: Continue with the filtering above, mask the effect you have achieved. This way, you can apply the effect to specific areas of your product, such as metal surfaces and fabric weaves.
Pro tip: Adjust the opacity so that the product doesn’t look overly sharp and go artificial. The major good thing about this is that it brings back fine details that you may have lost during photo compression.
Step 11 | Optimum polishing and unwanted reflection removal

This step is mainly for giving a premium look to luxury items (especially jewelry), where you have to work on messed-up lighting. The required workflow is as follows:
- Use the Pen Tool Mask to separate the metal surfaces in a way that doesn’t ruin the sharp edges.
- Apply Frequency Separation. This removes the distracting reflections of studio light that can occur when the surface of the gemstone is quite shiny.
- Use Gradient Map. You will see how the shine of the metal is enhanced dramatically.
Step 12 | Keeping saturation and vibrance at an optimal point

You need to strike this balance not just in the background, brightness, and color, but in every stage of photo editing. Because leaning in one direction means you are losing full control over the image. Here’s a reliable check and balance on how you can do it:
- Give an overall balance to the intensity of the colors using the Global Vibrance Settings.
The result: The mid-bright tones will be in focus without overly saturating the general background.
- Target different colors on your product and apply Saturation Mask to them. This will make sure the reproduction of your brand’s colors.
Step 13 | Adding alt text and metadata properly

You’re done with all the editing. Don’t export your images just yet; in fact, it’s not the time yet. The two most important things you need to prepare first are metadata and EXIF data, which include alt text.
You need to make sure this data integration by all means, because this is the key to driving traffic to your product pages organically.
Preparing the back-end of image optimization
- Add Metadata: To do it, your needful to do is to pour the image’s file header with IPTC metadata, which stands for International Press Telecommunications Council.
This IPTC is not unfamiliar to you at all; you probably know about the image file creator details, copyright information, and caption, right? All these are collectively known as IPTC information.
- Add Alt Text: Name alt text to your image backend in a way that contains keywords relevant to the image. Be sure to make the entire text descriptive so that it clearly defines the image.
Step 14 | Exporting in browser and device-friendly formats

Now, finally, you’ve come to the exporting stage. Here, you need to focus on making sure your images are browser and device-friendly. In fact, all your hard work pays off when your viewers can view your images from their highest comfort zone, right?
Right format to export images
- Export your master files to a web format like WebP or AVIF. Result: You’ll get faster page loading, but you don’t have to sacrifice your images’ visual fidelity.
- Properly configure the encoding settings. Result: You can keep the image file size smaller, and you don’t need to compromise on image quality.
Frequently Asked Questions About Ecommerce Photo Editing Checklist
1. Which format should I choose for batch image conversion?
If you want to convert images in a batch, then choosing a TIFF type is better, since this one will conserve metadata of all images and also they will stay in top quality without loss.
2. How to keep compositing error-free during background removal?
To keep compositing error-free during background removal, you need to carefully clear transparency channels and properly declare the alpha layers.
3. How much of the entire canvas should the product photo cover?
When editing images, you must keep the product image covering 85-90% of the entire canvas.
4. Why should I add metadata to my photos when ecommerce photo editing?
Metadata like creators’ details, captions, specific product identifiers, and copyright information make your images crawlable by search engines. This gets your images indexed, which means your target audience is more likely to find them quickly.
5. In what format should I export my edited images?
Exporting edited images in AVIF or WebP is very important because it ensures your pictures will be viewed in the top quality by those who look at them. What is good is that WebP and AVIF make pages load faster, too, and the quality is not reduced.
Final Words
This eCommerce photo editing checklist explains the best steps for high-quality product image creation. At a glance, you’ll notice that these 14 steps collectively declare the dominance of background, color, lighting, and texture in the quality of product photos.
When combined with cleanliness, decluttering, and maintaining balance, these return brand value and customer loyalty.
Of course, after the final retouching, you shouldn’t neglect image optimization, as the ultimate goal is to expose those photos to the right audience.