Long before putting your inner creativity into it, it is highly important to clean up the picture. You admit that because you’ve seen how effortlessly a neat canvas easily shows off the artist’s skill.
For good reason, you feel the demand to know how to remove background in Procreate, which has generously brought sketching right to the fingertips of art creators.
Carry on with this quick guide. You’ll learn this one of the most essential image editing techniques with the help of Procreate, which will make your drawing work much more refined.
What Exactly is Procreate?

First of all, Procreate is an Australian-based software company, and if you visit their website, you will find three of their apps. The very first one is this Procreate for iPad, a drawing app developed exclusively for iPad users.
Providing a complete toolset for illustration and painting, this app has become a favorite of countless hobbyists as well as professionals around the world.
Among its features, the one that has resonated the most with designers is its extensive layering. Those who prefer to draw freehand from scratch have already been big fans of the Apple Pencil.
The way you can use its brushes however you want is a lot for a mid-range app.
Procreate’s 2nd app is Procreate Dreams, which is for creating animated videos, and the 3rd one is Procreate Pocket, which is another Procreate drawing app, but dedicated to iPhone users only.
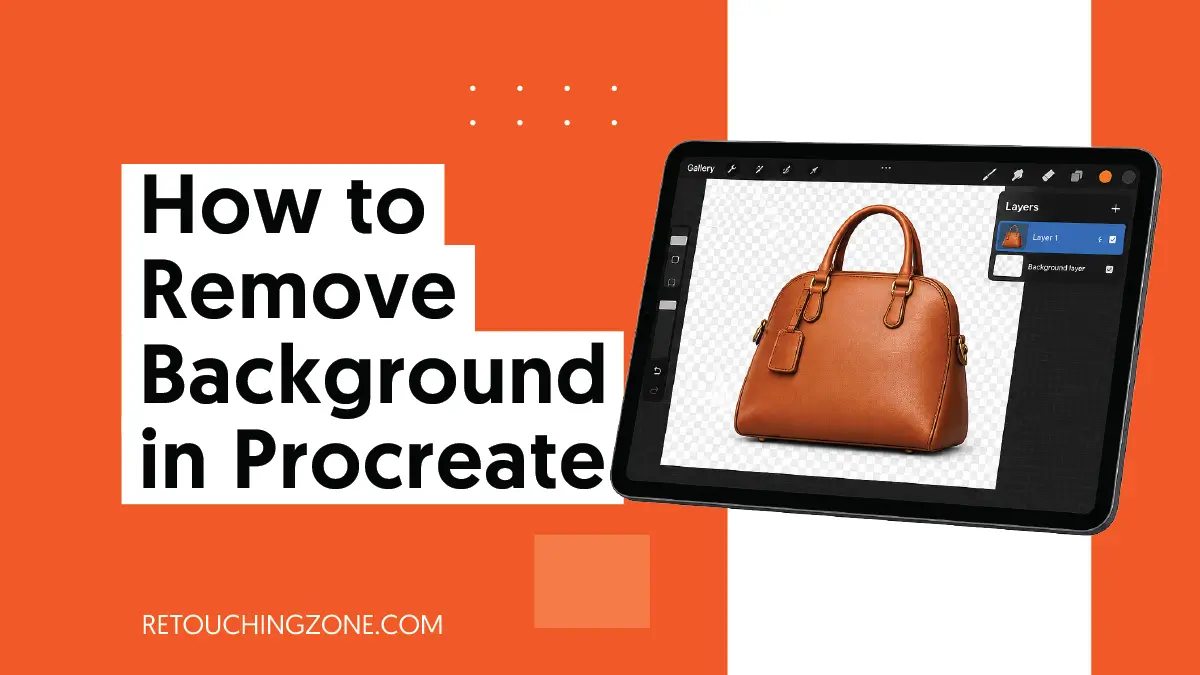
How to Remove Background in Procreate Step-by-Step
In this photo editing app from Procreate, you can perform background removal in the following two ways:
- Freehand Selection
- Automatic Selection
Method 1 | Freehand Selection
- Step 1: First, go straight to the ‘S’ icon at the top. You’ll see a two-layer toolbar appear just at the bottom of your canvas.

- Step 2: Select ‘Freehand’ from the options provided in the toolbar.

- Step 3: Now, create a freehand outline around the object on your canvas. This will create a loop of small dashes around the object with no gaps.

- Step 4: Then tap the ‘Invert’ option in that toolbar below. You’ll see that the entire canvas around your object has turned white.

- Step 5: Gently swipe left and right on the canvas with three fingers. You will see that whatever color canvas is around your object, it has turned white.

Method 2 | Automatic Selection
- Step 1: From the toolbar you saw after clicking on the ‘S’ icon earlier, choose ‘Automatic’ this time.

- Step 2: Now tap and hold anywhere on the background that covers a large area around your object and swipe to the right. Keep doing this until the selection takes over the whole background.

- Step 3: Does the selection cover the entire background except for the object successfully? If it does, swipe left and right on the canvas with your three fingers like you did before. And that’s it, your object surrounding will turn completely white.

How to Make the Background Transparent
You want the background of your photo to be completely transparent, not white. If this is what you want, you will need to complete one more step right before exporting the image.

- Tap on the second icon (overlapped square pair) from the top right corner, which will bring up a dropdown list.
- Find Background Color at the very bottom of the list and uncheck its checkbox.
If you skip these steps, it will leave your final image’s backdrop after export white instead of transparent.
Pros and Cons of Procreate Background Removal [What Image Editors Actually Experience]
Pros
- Full control: With Procreate, you can select a background in the shape of a rectangle or ellipse. What’s more, Freehand gives you full control over isolating the photo object.
- Editing security: Your editing work of each moment stays in a ‘.procreate’ file on your iPad, so there’s no risk of accidentally losing your unfinished edits.
- Apple Pencil’s comfort: Apple Pencil’s selecting objects and backgrounds easily and precisely gives editors an unmatched comfort zone.
- Editing convenience: Edits saved in the ‘.procreate’ file take up very little space on your iPad and load very quickly whenever you open the file to work on it.
- Not internet dependent: The app is editable offline, so you don’t have to worry about using it in places with poor connections.
Cons
- Complex editing drawback: If either the background or the object is complex enough, you may have to spend hours removing the background, even using the ‘Automatic’ options.
- For iPad users only: A large portion of desktop and Android users remain outside the use of this app.
- Red flag for beginners: If you’re not quite careful with very fine edges and color shades, you’ll have a hard time getting quality results.
Frequently Asked Questions
1. Can I work with images I edited in Photoshop in Procreate?
Of course, you can. Procreate can take inside your PSD files, including all its locked layers and groups. You’ll get each layer blend mode and the filters you previously used in Photoshop.
2. How to remove background in Procreate, even though it is complex enough, like hair or fur?
Hair or fur that has sharp edges can be quite difficult to remove with Procreate. Even if you miss a tiny detail, it can result in poor quality results. Moreover, it takes hours for you to carefully hold each edge and isolate the object finally.
3. How to change the background color in Procreate?
At the very beginning, open the ‘Layers’ panel by tapping the second icon from the top right corner. Then, find ‘Background Color’ from the dropdown list and tap on it to get the ‘Color Panel’. From here, you choose a new color for your background and tap ‘Done’.
4. Is Procreate a free drawing app?
No. You have to pay to use Procreate, and there isn’t even a trial version that you can use for free.
5. What formats can I export images edited in Procreate to?
The formats supported for export in Procreate are JPEG, PNG, PDF, TIFF, and PSD. If you are working with small animations, you can also choose Animated PNG or Animated GIF.
Final Verdict [Is Procreate Worth Trying?]
If you intend to work with less cumbersome objects in a sleek interface, knowing how to remove background in Procreate comes in handy. Lean into the expertise to select every single edge of the object, and you’ll find the Freehand tool works great for you.
You’ll find this to be true for fairly complex objects and their surrounds, but you’ll have to forgive the time loss. Unless the image is very basic, it’s probably best not to resort to the automatic tool.
If your photo assets are quite thick, it’s natural that you don’t want to play games with whether or not you get the desired quality. That’s the time to go to the professionals to save time and effort.
There is a decade-long reliable name in this field – Retouching Zone. By this time, they have been the first choice of hundreds of brands in background removal services. Try their free trial, and see for yourself how skillfully they handle the product isolation.