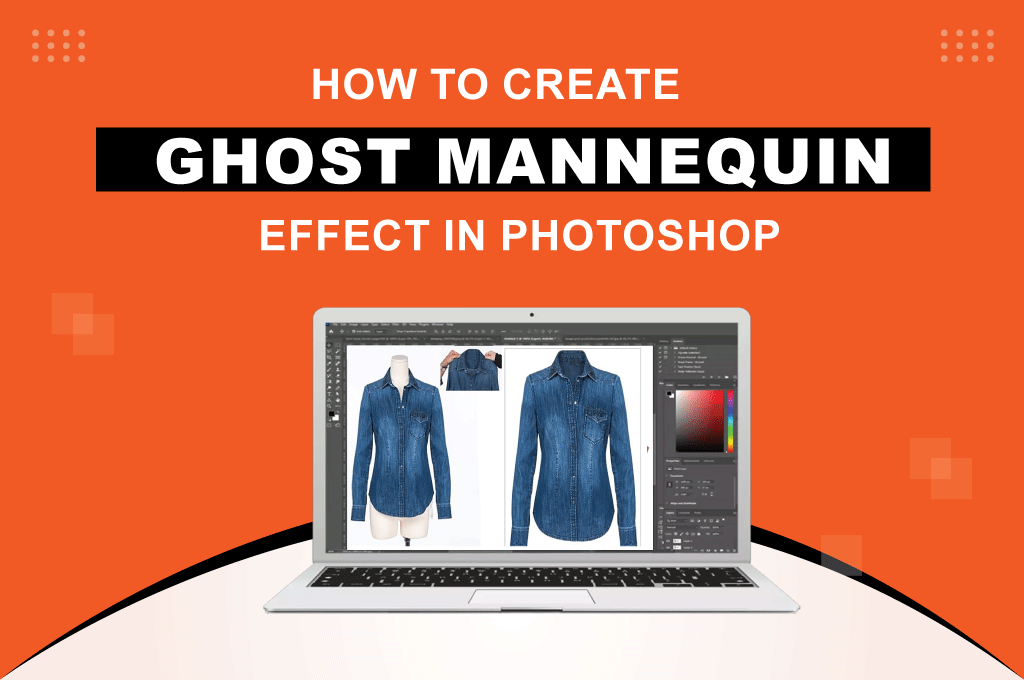
You must have felt how essential it is to be an expert in how to create a ghost mannequin effect in Photoshop! Especially when everyone is busy getting detailed measurements of their desired product from eCommerce stores.
Basically, the secret to high conversion lies in this transparency. It isn’t only highlighting the measurements, the invisible mannequin effect also gives the product a 3D look that adds a great dimension to its appeal.
In this quick guide, you will adapt the steps to create a ghost mannequin effect using various tools in Photoshop like a pro, even if you are a beginner.
Ghost Mannequin Effect in Photoshop Step-by-step
Before making a ghost mannequin effect in Adobe Photoshop, don’t forget to take off the mannequin from the cloth. Check out this article to learn more about it.
Step 01: Import the Image
Open the Adobe Photoshop software on your Windows or Mac. Import the image you want to add a mannequin to create the effect.
Step 02: Make New Clipping Paths
- Navigate to the upper menu option and choose the pen tool to create a clipping path. If the new path is not visible automatically, check the drop-down list from the “Window” section.
- Again, use the pen tool to draw a perfect clipping path along the borders of the image object.

Step 03: Select the Clipping Path
After creating the clipping path, type Ctrl + Enter on Windows or Cmd + Enter on Mac and select it appropriately.
You may also like to read… How to Choose the Best Clipping Path Company
Step 04: Smoothen the Edges
- Head to the “Select” option from the top menu bar and tap ‘Modify,’ then ‘Feather’ from the drop-down lists.
- Alternatively, type Shift+F6 on your Windows or Mac. It will soften the hard edges of the image object. When the submenu option comes, set it to 0.5mm feather.

Step 05: Create A Duplicate Layer
- The next step is creating a duplicate layer. Choose Layer > Duplicate Layer or type Ctrl + J on Windows or Cmd + J on Mac.
- Again, create another duplicate background layer and mask the copy layer to easily hide or reveal parts of the image. Pick a solid color layer at the midpoint.

Step 06: Import and Crop the Other Image
Now, import the other image containing the collar or backside of the clothing. Label and crop it to the particular section.
Step 07: Position the Cropped Image
- Compile the first image with the cropped image. Place and adjust the cropped (backside of the clothing) image under the First Layer.
- Next, select ‘Edit> Free Transform Path’ or type ctrl+T on Windows or Cmd + T on Mac for accurate placement of the backside of the clothing image.

Step 08: Change the Angle of the Cropped Image
The next task is clicking the right button on your mouse and choosing the ‘Warp’ option from the drop-down menu. It will help you shift a proper angle for the image object.

Step 09: Erase the Unwanted Sections
- Make a new clipping path to remove unnecessary areas from the image.
- Next, visit the “Select” option from the top menu bar and tap ‘Modify,’ then ‘Feather’ from the drop-down lists. It will soften the hard edges of the image object.
- Hit the “Select” option from the top menu bar and tap the ‘Inverse’ option.
Step 10: Add A Shadow
Make a new clipping path to add shadow for the backside of the clothing. Again, smoothen the edges by following the same step: Select > Modify > Feather.’

Step 11: Save the Image File
Copy the Layer and mask it. Finally, multiply it. That’s it! You have successfully created a perfect ghost mannequin effect in Photoshop. Make sure to save the file.

Similar Reads for You
Frequently Asked Questions for Ghost Mannequin Effect in Photoshop
-
Why is the invisible mannequin technique preferred over using models?
It is a cost-effective and time-saving post-processing technique that maintains visual consistency across all product listings without the recurring expense of professional models.
-
What is the best tool to use when learning how to create a ghost mannequin effect in Photoshop?
The Pen Tool is the most essential tool for this effect, as it allows you to create precise clipping paths around the borders of the garment for a clean cutout.
-
How do you prevent the edges of the clothing from looking too sharp or digital?
You should use the Feather command (Select > Modify > Feather or Shift+F6) and set it to approximately 0.5px to soften hard edges for a more natural look.
-
What role does the Warp option play in the editing process?
The Warp option (found under Edit > Free Transform) is used to shift the angle of the backside clothing layer so it matches the curves and perspective of the front layer perfectly.
-
How do you add depth to the hollow area of the clothing?
Depth is achieved in Step 10 by creating a new clipping path specifically for the inner-back section and adding a Shadow to simulate the natural lighting inside a garment.
Conclusion
Learning how to create a ghost mannequin effect in Photoshop takes you on a journey that will ultimately improve your clothing, both in terms of look and dimension. At the start, there are clipping paths and layer setups that will give you solid skills in restoring the sharpness of your product.
Finally, you’ll also feel the presence of this craftsmanship when adding shadows, which will create a 3D effect at the final moment. Don’t just try it once; you should practice these steps from today to get the perfect results for the invisible mannequin effect.