Many new graphic designers often wonder, “What is a clipping mask in Illustrator?” A clipping mask is a standard tool graphic designers use. It helps them create intricate designs and stunning effects. This tool enables you to add depth and composition to your visuals. You can apply this powerful tool for simple and complex effects. Graphic artists mainly use Adobe Illustrator to create vector graphics. But you can utilize this professional-grade software to use a clipping mask. This article gives you an idea of the benefits of using a clipping mask in Adobe Illustrator and how to use it.
What is a Clipping Mask?
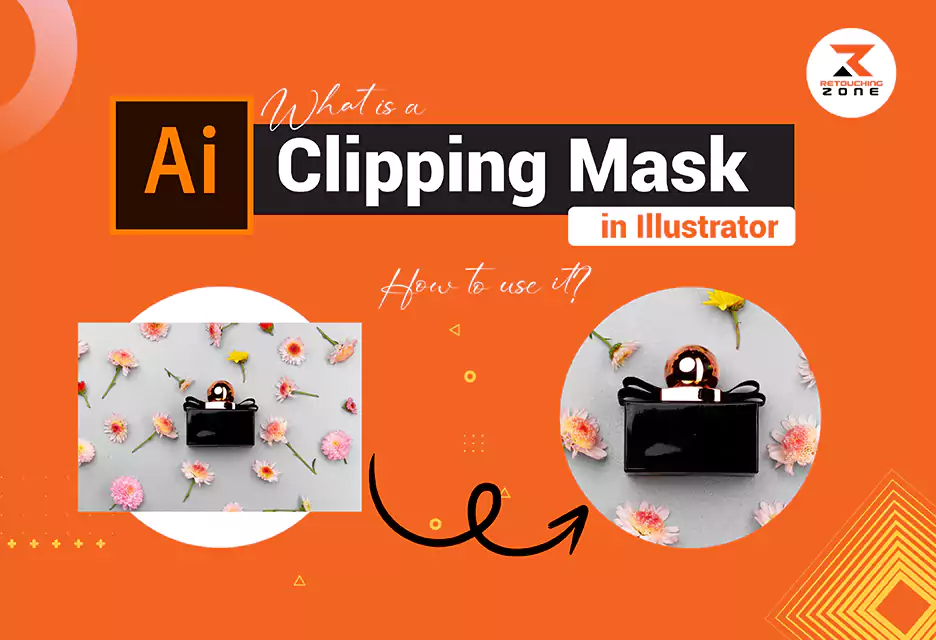
A clipping mask illustrator users rely on is a powerful image-manipulating tool. It enables editors to isolate a portion of an image and make it visible. You create a boundary within a clipping mask. Everything you paint inside the boundary will be visible. But painting outside the cut-out area won’t show it.
Creative professionals use this versatile tool to hide specific areas of an object or make only preferred portions of the image visible. This concealing technique can be used to create unique text effects, logo design, editorial layouts in magazines, etc.
What is a Clipping Mask Used for?
Graphic designers do various types of tasks using clipping masks. Let’s learn why you should use it.
Adding Depth and Dimension
Clipping masks enable graphic designers to add depth and dimension by performing opacity variations and blend modes. They can produce realistic overlapping elements by preserving the editability of each layer.
Making Uncommon Composition
A clipping mask enables you to merge various objects, shapes, and photos to make eye-catching designs. This allows you to produce dynamic compositions without affecting the original image.
Finetuning Designs
Clipping masks allow you to change the shape or position of the selected mask without interfering with the surrounding areas. This is especially helpful for adjusting color, texture, or effect in specific layer areas.
Concealing Unnecessary Parts
Do you want to conceal some specific areas of your image or text? A clipping mask is a versatile tool that allows you to do non-destructive edits. You won’t alter the main visual.
Saving Time and Effort
You won’t have to remove or mask specific portions of an object manually. Clipping masks automatically conceal these parts to increase your time efficiency and productivity.
Difference between Clipping Mask and Clipping Path
Confused between clipping path and clipping mask? This simple comparison will help you differentiate them easily.

Things to Know Before Clipping Masking in Illustrator
- Keep the object or text you use as a mask above all other objects.
- The object or text you use as a mask must be at the top of the layer over other layers.
- You can only use vector graphic options for masking in Adobe Illustrator.
- There can be only one object, or a text can be masked in Adobe Illustrator at a time. You can’t mask several objects simultaneously in a photo, shape, or text.
- Unlike a standard clipping path illustrator users might create with the Pen tool for background removal, a clipping mask in this software relies on the stacking order of your layers to determine visibility.
How to Use a Clipping Mask in Illustrator?
Creating a clipping mask in Adobe Illustrator is not as hard as beginners think. You just need to use the right technique. Here, we come up with a step-by-step guideline to make your job easier.
Step:01—Import the Image into Illustrator

Launch your Adobe Illustrator software. Navigate to the top menu bar area and select File > Place. Or use the drag-and-drop technique to open the image. Position and resize the photo based on your preference.
Step:02— Draw a Basic Shape

Any idea about the first task in creating a clipping mask? You have to design a basic shape for masking the image. It can be a segment, a rectangle, or a circle. However, you can mask a text to add textures into typography.
Go to the Tools panel on the left side of the software. Tap on the ‘Shape’ icon. Select your preferred shape. Use your mouse cursor to create a shape.
Step:03— Add your Content

The next task is adding your content inside the shape you have created. You can add a photo, text, or even another shape. Once you choose your content, drag it inside the main shape.
Step:04— Create a Clipping Mask in Illustrator

- Place the basic shape above your content for masking. Now, simultaneously tap on both objects while holding the ‘Shift‘ key.
- Navigate to the flyout option menu bar area and select the “Locate Object” function within the Layers panel. The system automatically takes you to the areas where you have chosen both objects.
- Right-click on the objects and Clipping Mask > Make. Alternatively, use “Ctrl + 7” for Windows or “Command + 7” as a shortcut.
Step:05— Edit and Refine

Once you create a clipping mask, it might be necessary to adjust some parts to achieve your preferred outcome. Tap on the clipping mask area and choose the Direct Selection Tool from the toolbar on the left side of the screen. The shortcut key is the “A” button.
[Pro Tip: If your mask isn't working, ensure your "Masking Object" is a single vector path and sits at the very top of the stack.]
Alternatively, double-click on the masking area after choosing the selection tool. Now, you can edit the content without changing the surrounding areas.
Step:06— Save the File

Once you are done editing, go to the menu bar area on the top panel. Select File > Export > Export As. Choose a specific image file format, such as JPEG, PNG, PDF, etc. You can also adjust other settings, such as compression, resolution, etc., based on your preference.
Frequently Asked Questions about Clipping Mask in Illustrator
-
What does mask mean in Adobe Illustrator?
It is a popular image editing technique to conceal unwanted parts of an image or artwork.
-
What are the types of mask illustrator?
There are three types of masks in Illustrator: clipping masks, opacity masks, and layer masks. It varies depending on the object’s complexity and type.
-
What is the difference between a clipping mask and an opacity mask?
Clipping masks make a specific portion of an image, text, or shape visible after creating a shape. An opacity mask allows you to increase or decrease the transparency level after adding gradient and feathered effects.
-
How can you edit or move a clipping mask in Illustrator after creating it?
The Direct Selection tool is the best tool to edit the clipping mask shape or adjust its position.
Final Thoughts
A clipping mask is a fundamental tool for editing graphics. It enables graphic designers to manipulate images, text, and other design elements. Plus, you can easily mask or hide sections of a design. We have already outlined what is a clipping mask in Illustrator. Our guideline also covered how to use this tool effectively to create complex compositions. But make sure to maintain the original objects’ integrity cautiously.