Product Photography with White Background
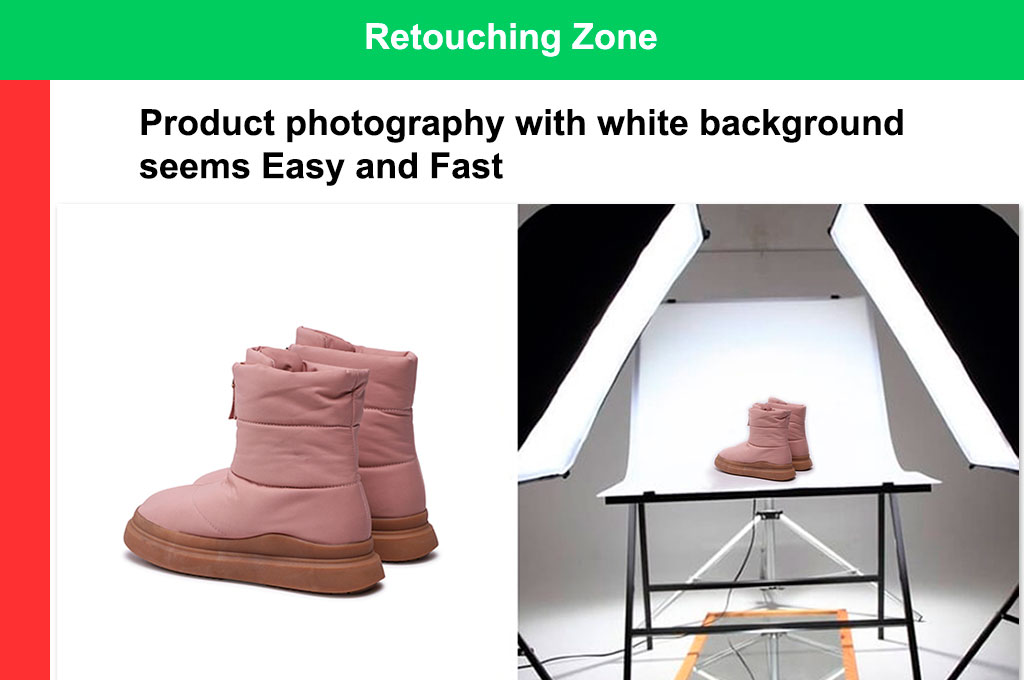
Product photography is meaningless without a decent background. Despite having a good camera setup, director, and budget, the output image may not look lively. Product photography with a white background can only resolve this problem.
The white background makes the subject more focused on the customers. As the white background easily represents the details, customers are always satisfied with this background. Editors are also fond of this background as it’s never hard to edit a white background picture.
After setting the tripod, light, and camera on spot, you need to take several shots. Once you find the right shot, you can make it more attractive throughout editing. Investing in cameras is encouraged for long-term product photography. Otherwise, think about borrowing one.
Why is it important to do product photography with white background?
The presence of white background in product photography adds extra value to the product. Let’s see some beneficial aspects of product photography with white background.
Make the product more focusing
Any product with white background naturally takes your fullest concentration to the product. The white color never distracts your mind and isolates the product from the background easily. When checking the product, your focus always remains on the product details, not on the background.
Brings professional vibe
Any product image with white background brings the highest consistency. People have an old belief that product photography with white background is a symbol of professionalism. When customers figure out that you’re trying your best to represent the product, they naturally rely on it.
Reflection convenience
White color is highly convenient for reflecting lights. Product photographers always prefer white backgrounds for a perfect lighting combination. No need to spend money for lighting set up, no need to spend money for backgrounds. Also, some product photography challenges will be eliminated. According to Sciencing white or light-colored objects reflect the light of most wavelengths. So, they have high reflection convenience.
Versatile for various platforms
Most e-commerce and online platforms allow advertising any product with white background. Some platforms accept any light-colored background, which means you can upload your white background image there also. The biggest e-commerce website Amazon.com says: the backgrounds must be pure white (RGB 255,255,255).
Ease of editing
It’s easier to edit an image with a white background than any other color. The details are sharp, the borders are clear on a white background photo. That’s why any unwanted part can easily be disposed of from a white background photo.
Shifting to a different color
It’s never easy to shift to a different background color if there is any color except white. Light colors are also acceptable, but they’ll make your work difficult. Adding a spot of color to the background requires starting with a solid color like white.
How to do product photography with white background?
Here you know a detailed overview of how to do product photography with white background.
Set up
Primary guideline
A photography guideline is significant to make your final output attractive. This guideline includes dealing with lighting setup, angle management, and background fixing. Next, you’ll know everything about adjusting a camera. After finishing the shooting, you’ll know the pros and cons of editing a white background photo.
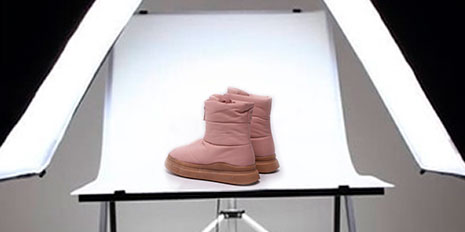
Necessary things
- A good background
- Lighting setup
- Shooting table
- A tripod
- Professional-grade camera
- Editing tools
Now, you’ll know a detailed overview of these items like which model, which light, etc. are the best pick.
A good background
The white background requires it to be properly white, devoid of dust and other colors. Using a poster board is good for shooting small products. In the case of large products or human models, you can use a white-colored wall. The area of the background must be at least four times larger than the product’s area.
Lighting setup
Lightboxes are the best choice for consistent lighting for product photography. This setup fights against shadows, bringing a sharp image with every detail of the product. Using a softbox is another great idea if you’re thinking about top-notch photography. You can pick any popular lightbox brand from the list below.
- LitEnergy A4 Tracing Light Box
- Daylight Company Wafer 3
- Huion L4S Light Pad
- Lumsburry A3 LED lightbox
- Square Perfect
- Huion A3 LED Light Pad
- Cricut Brightpad Go
- Sun Cling A3 LED Light Box
The distance of lighting setup from the product has no rule. Just ensure that it’s facing the product. If you use two light sources, position them at a 45-degree angle when taking portraits.
A shooting table
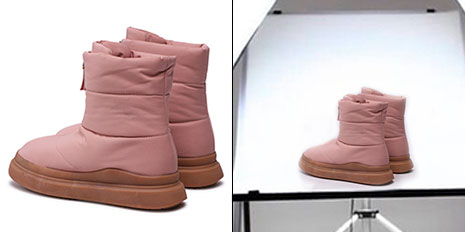
A shooting table is mandatory to ensure the professional-grade image of your product. There is a photo background shooting tables of different designs. A table with around 25 inches in width is ideal. You can use a chair or any flat surface also, but it must be completely flat.
A tripod
Using a tripod helps in adjusting the image orientation along with providing height stability. Most high-end tripods can easily take a load of your camera, as well as the heaviest lens. Here you know about some demandable tripods that can integrate your photography experience.
- Vanguard Alta Pro 263AP
- Manfrotto MT055CXPRO3
- Amazon Basics 50-inch
- ZOMEi Camera Tripod
- K&F Concept TM2515T1
Professional-grade camera
DSLR or SLR cameras are best for this job. But, any camera with a good lens is acceptable. Some products require shooting images with tiny details. Only professional-grade cameras with macro lenses can execute this part. If you’re ready to invest here, you’ll surely get twice or more in return. Some of the top-grade cameras are:
- Sony A6100 mirrorless camera
- Fujifilm X-S10
- Sony RX-100 V
- Nikon D3500
- Sony A7R IV
Editing tools
Finally, you’ll need one professional photo editing software. Adobe Photoshop can do most of your editing work. You can also go for Lightroom, GIMP, Pixlr, and so on. The editing software requires it to be matched with the computer’s specs. Only a high-spec PC allows this software to run and & edit perfectly.
How to move forward
This part talks about some initial moves before starting product photography. Here are photo background removal service for professional photography.
Ensure natural or artificial light
If you’ve no lightbox, then natural light is the only way. Taking product pictures with white background requires plenty of lighting that natural light can’t properly distribute. For the best result, you’ll need at least two clamp lights with sharp bulbs. Position the light in front of the product while maintaining proper angles and shadows.
Setting up the camera
You need to keep a clear idea of product photography with white background camera settings. Otherwise, your camera won’t show its fullest potential. Focus on enabling the following camera settings for white background product photography.
- Camera megapixel: 12 Mp or above
- ISO: 200 to 800 (Natural light), 800+ (in low light condition)
- Aperture setting: F8-F11 settings for best focus
- Shutter speed: 1/125 or higher
- Lens: Your preferred one
- White balance: Automatic
- Filter: Avoid it / Disable it
- Auto-focus: Enable
Positioning the tripod
Even after a perfect camera setting, a wrong tripod setting can ruin your product image. Perfect focusing on the product highly depends on the right positioning of the tripod. Furthermore, the subject will be blurry when you have a slow shutter, but not using a tripod.
So, put your camera on the tripod and keep it in a safe position. Rather than moving the tripod, again and again, you should change the product’s position. Otherwise, the camera focus will be interrupted, the setup may require fixing again.
Fixing the white background
To ensure the best white background for product photography, you need to block additional lights. It discolors the background and prevents the reflection power of the white color. If natural light keeps increasing and decreasing, the image will be disastrous. So, keeping a clear idea of how to light white background photography is mandatory.
If the white background is somehow wasted, better replace a new one instead of fixing it. In case you’re using a white wall as a background, make sure it has no tiny holes and debris.
Set up the product
Before shooting, it’s important to observe the position of the product for the best focus. The product should be placed on a purely flat surface first. According to the camera angle, the surface as well as the product should be re-positioned.
If you’re intended to disclose the product label, keep it in the middle position. Besides, make sure that its front part is getting sufficient light. Fixing the shadow of the product will be easier if you set up the product in front of light boxes.
Shooting
Shooting product photos is the most challenging part of best product photography. Once you’ve set up everything nicely, it’s time to get some aesthetic clicks.
Step:1- Take your position
Take your relaxing position in front of the tripod. Check through the camera window if you find a satisfactory view of your product.
Step:2- Set timer
The timer is set for taking the picture at a specific moment after an interval. But, it’s not mandatory as you can go for manual clicks. The risk of manual clicks is: shaking, decreasing focus, light imbalance, and others. Once you set the timer (assume for 10 seconds), the camera gets sufficient time to focus on the product.
Step:3- Take the shot
Take a shot of the product gently. You should take a few more shots at the same time. Then, check the photos if their first impression is pretty cool. Unless you get your desired photo, take the shot again and keep it going until you’re satisfied.
Step:4- Evaluate the details
After getting a nice shot, your turn is to evaluate the details of the image. Zoom in on the image, and check for any faults if you can identify them. After uploading the image on various platforms, its quality will severely be compromised. So, evaluating them and finding the best unit is essential. For better results, zoom in on the image by shifting it to the large screen. The computer’s large screen may help to get the error in the details easily.
Photography Editing
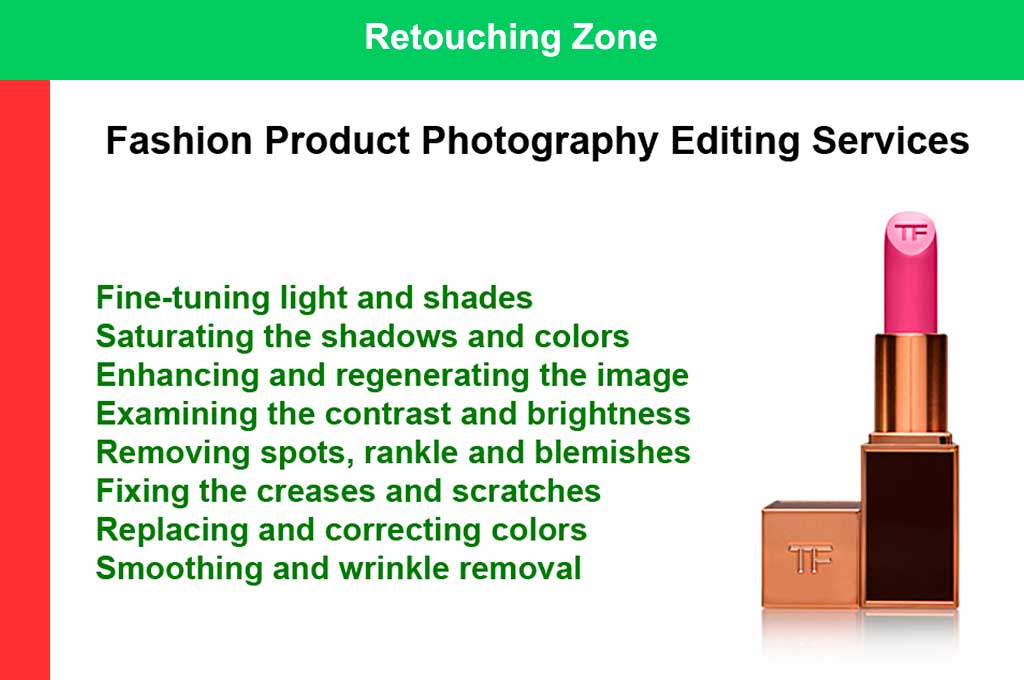
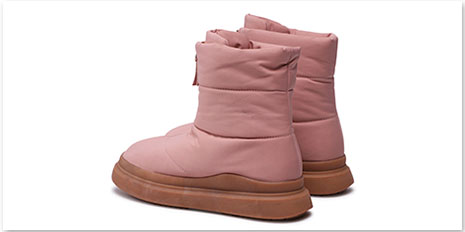
If you know how to make background of photo white in Photoshop, your hassle will be decreased. Converting any background to white background is easy by using editing software. But, the output is way much worse than real white background product photography. However, here’s a brief overview of how to edit white background product photos.
Step:1- Getting ready with a course (Only for beginners)
Product photography for professional purposes isn’t easy unless you know perfect editing. Editing skills will grow day by day if you keep yourself under proper practice. Here is a Udemy course link for making your editing sense better.
Product Photography: shoot, edit & add white background
Step:2- Perform necessary crop
Open the white background product image on the computer and look if there are any backdrop edges. It’s simple to remove- crop the area using any photo editing software and hit the action button.
Step:3- Fix the brightness
Brightness is important to uphold the details of your picture. So, adjust the brightness manually from your editing software. Increasing brightness on a larger scale may endanger the details. You need to fix other settings as well for better results.
Step:4- Change the contrast and saturation
Changing the contrast and saturation is essential when you deal with brightness. Some editors prefer keeping the natural brightness and increasing the exposure. That’s also acceptable. Adding over-saturation may distract the color balance of the image. Also, increasing or decreasing contrast unnecessarily will make the photo unrealistic.
Step:5- Retouch the spots
Retouching the spots means removing fibers or dust on any part of the image. Erasing tools are easy to use. You can manually or automatically erase the spots. It depends on which software you use and if it has an automated spot-removing feature.
Step:6- Saving the image
The last part is saving the image for publishing it for advertisement purposes. Most platforms accept png or jpg file formats. You can use an online image converter to convert your image from any format. Save the image as a jpg extension and keep several copies in your disk storage and online storage.
What background to use for product photography?
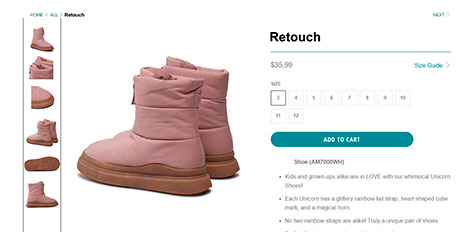
The power of background color is unimaginable as it plays a strong role in how your image turns out. Product background for e-commerce, reselling sites and others have no international rules as far as we know.
But, some sites have fixed their individual rule. Even, some of them have even fixed the color of the background specifically. The fact is every site agreed to one color- any light color for example white background. It has some usefulness and so, product photography is widely performed with white background.
- A light background works for most products
- Allows to represent the tiny products without any distraction
- Versatile for social media also
- Cast no unwanted colors in the background
Why does my white background look grey?
The white background may look grey-colored even after setting everything up precisely. It may happen due to setting the light to the wrong angles. Besides, using the wrong room, interruption of extra light and dirty background may be the possible reason. First of all, find the exact reason and move accordingly.
- Repositioning the light angles fixes this problem most of the time.
- If it doesn’t, then you have to increase the number of lights.
- Alternatively, you can change the power of the light.
- Furthermore, you can use diffusion
- Block all other light sources
- Check the background, and replace it if requires
Conclusion
Capturing product pictures with white background isn’t hard until you know its challenges. The lighting won’t be in your favour, the shots won’t be according to your imagination. But, you have to keep clicking the product until you get the best output.
Product photography with white background is a big challenge. One has to remain very patient in every stage. Your first image may have dirt in the background.
Then, you need to clean or replace the background and take another shot. The first result may not have great framing. Then, you’ll need to reframe the subject.
Another hard part is editing. A nice image can be destroyed if it’s in the hand of an unskilled editor.
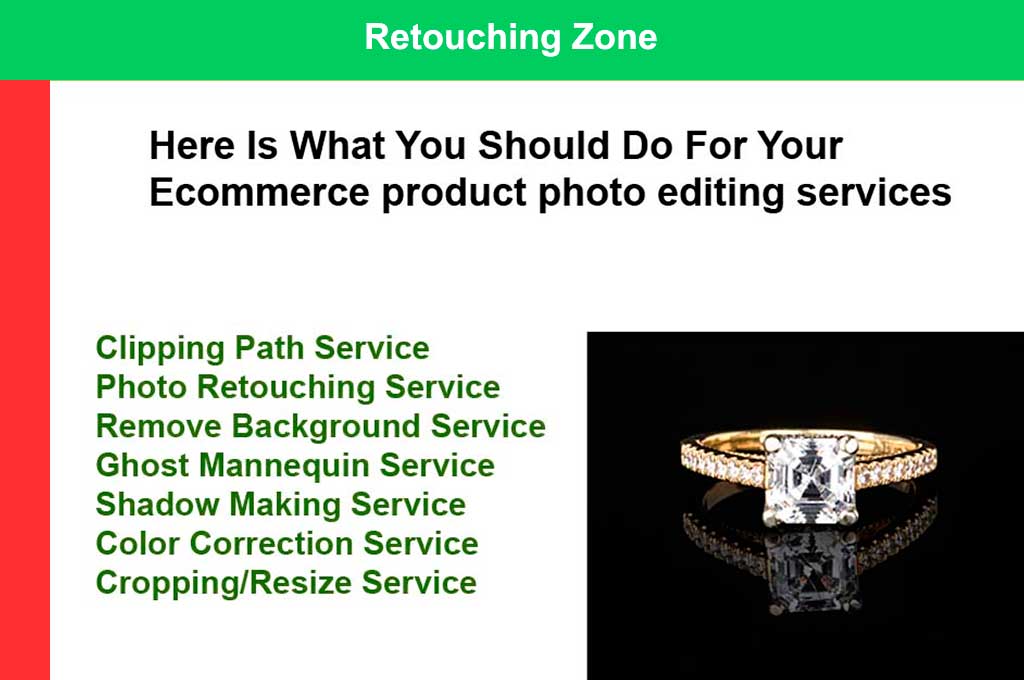
If your photo has some backdrop edges, a good editing session can make it disappear. The final output of a product image with a white background will be outstanding if you obey these regulations. Outsourcing product photo editing services with a low cost service provider.

